
Alright, so I got this idea to create some cool “wicked witch of the west photos” for my wall. I’m a big fan of the Wizard of Oz, and, let’s be honest, the Wicked Witch is way more interesting than Dorothy. So I thought I’d take you through the process of what I did, you can do like me!
Finding the Base Images
First, I needed some pictures to work with. It can be done as follows:
- I spent a good hour just scrolling through online image, looking for pictures of the witch. I wanted a mix of stuff – some classic movie stills, some fan art, maybe even some modern interpretations.
- I made sure to only grab images that looked like I could use them without getting into trouble.
Getting Artsy
I found a few great photos, time to make them my own!
- I opened my favorite simple editing program . It’s nothing fancy, but it lets me adjust colors, add filters, and do some basic touch-ups.
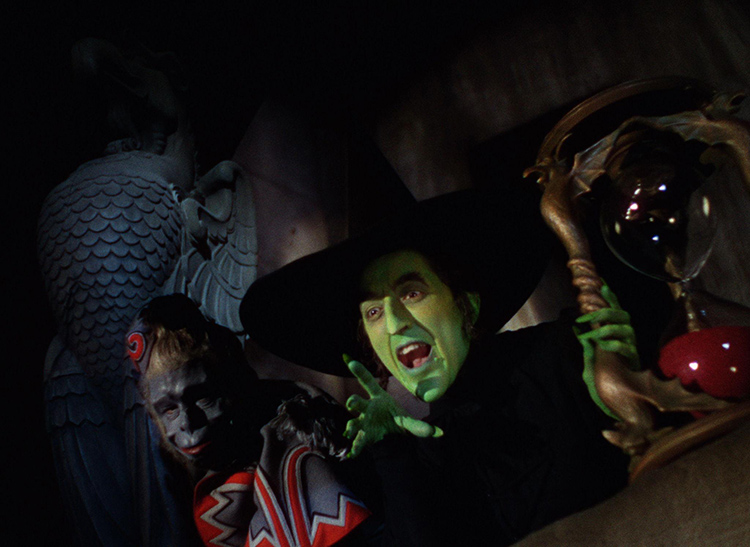
- For some images, I bumped up the contrast to make the greens of her skin and the blacks of her outfit really pop.
- I played around with some vintage-looking filters to give a few of the pictures an older, more timeless feel.
- On one particular image, I even added a subtle “glowing” effect around the edges, just to give it a bit of a magical vibe. I’m no expert, so I kept it pretty minimal.
Printing and Display
Finally, I gotta display these photos, below are how I done it.
- I decided to print them in different sizes. A couple of larger ones to be the main focus, and a few smaller ones to kind of fill in the gaps.
- I printed them out on my home printer using some decent photo paper, and used photo frames I picked up.
- Then came the fun part – arranging them on my wall! I went for a kind of collage look.
And that’s it! My wall is complete with awesome Wicked Witch photos, that’s how I finished it!


")


")


