Honestly cameras confused me for ages. All those buttons and weird numbers everywhere? Couldn’t make heads or tails of it. My photos always looked kinda washed out or super dark, especially indoors. Felt like I wasted money on a fancy doorstop.
Starting Simple (Well, Trying To)
First thing I did? Took the camera outta the box. Felt heavy, expensive. Good start? Not really. Turned it on, pointed it at my grumpy cat sleeping on the couch. Pressed the big button. Flash popped way too bright, scared the cat, photo looked terrible obviously. Too bright, weird colors. Tried again without flash… pure darkness. Just a shadow blob where the cat used to be.
Felt frustrated. Dug out the manual. So. Many. Pages. Tried reading about ‘aperture’ and ‘shutter speed’. My eyes glazed over. Way too much like math class. Closed the book. Thought maybe the little symbols on the dial (that green ‘A’ thing, the running man) would be easier. Flipped to ‘P’ thinking ‘Professional’? Nope. Still got bad shots. Kept messing with it:
- Took pictures of a mug on the kitchen table.
- Tried shots out the window when it was sunny, then cloudy.
- Even tried filming a short clip of coffee brewing… looked super jumpy.
The pictures just didn’t look… right. Too dark sometimes, too bright others. Colors felt flat. Motion looked blurry or super choppy. Camera stayed mostly on the shelf after that week. Kinda gave up.
Getting Messy Hands-On
Decided enough manuals, needed action. Turned the mode dial to the weird ‘M’ letter. Manual mode. Okay, pure terror. Saw three main settings showing on the screen:
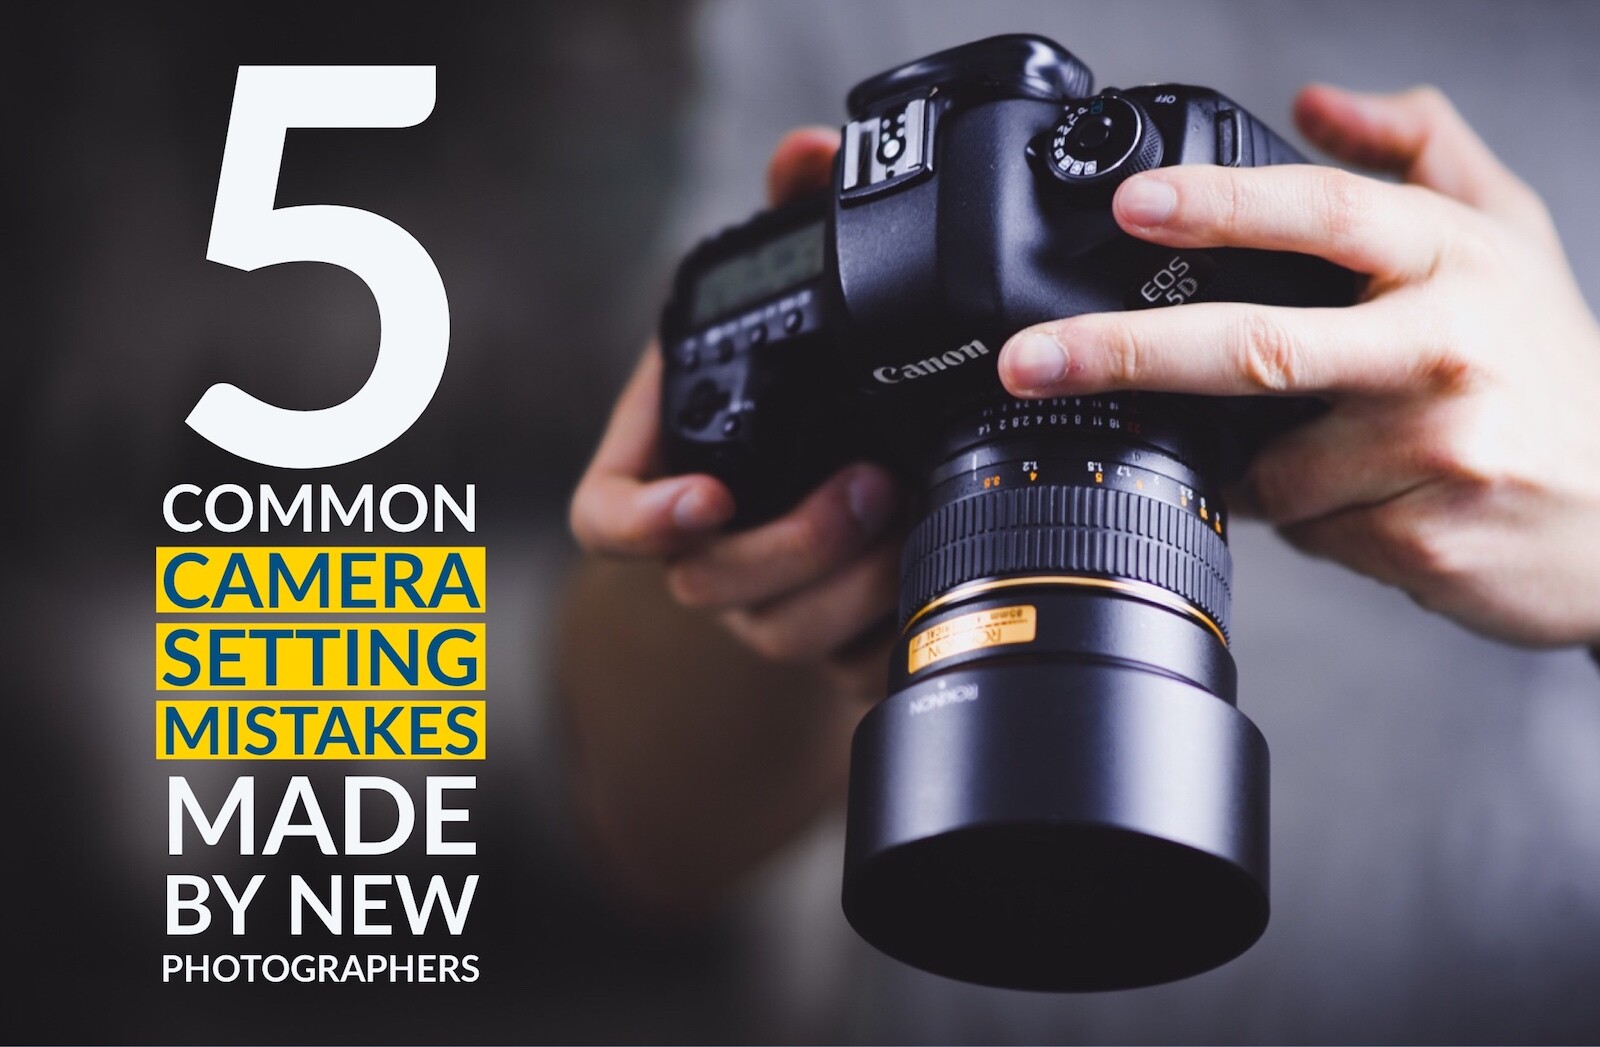
A big F number (like F5.6),
A fraction that looked like 1/60,
And an ISO number that said 100.
Started fiddling. Just twisted dials randomly watching what happened to the picture on the screen while aiming at the sad plant on my desk.
- Changed the F number (the aperture?): Higher number (like f/16) made the screen darker but the blurry background behind the plant got sharper? Lower number (like f/2.8) made it brighter and the background way blurrier.
- Played with the shutter speed fraction: Made it bigger (like 1/4) – screen got brighter, but then wiggling the camera made the whole image blurry ghost town. Made it super fast (like 1/1000) – screen got darker, but freezing my hand waving looked sharp. Also, the coffee brew stopped looking jumpy when filming!
- Pushed up the ISO (that 100 thing): Screen got brighter! Good! …But then looked kinda grainy and dirty, like old TV static. Yuck.
Lightbulb moment! Finally clicked, super rough idea:
- Aperture (F number): Controls light amount AND how blurry the background is. Small F number = More light & Blurry background. Big F number = Less light & Sharper background.
- Shutter Speed (Fraction): Controls light amount AND how motion looks. Slow speed (1/4) = More light & Motion blur. Fast speed (1/1000) = Less light & Freezes action.
- ISO: Makes the sensor brighter artificially… but adds gross grain/noise. Lowest number possible usually best.
Goal seemed to be: Use aperture and shutter to get enough light so the ISO can stay low, reducing that nasty grain. Way simpler than the manual made it sound!
Actually Using It Now
Took the camera out properly.
- Wanted a sharp picture of my daughter riding her bike? Needed FAST shutter speed to freeze her. Picked maybe 1/500. Since that cuts light, needed big aperture (small F number, say f/4). And kept ISO at 100. Worked!
- Wanted a portrait with blurry trees behind her? Chose small aperture (big F number, like f/11) for more background sharpness, but it got dark! Slowed down the shutter to 1/60 instead. Had to hold VERY still. Kept ISO down.
- Shooting inside my dim living room? Shutter speed too slow made blurry shots unless I used flash (hate that look). Upped ISO to 800… saw some grain, but better than blur or blinding flash.
Mistakes Still Happen! Loads of dud shots still. Forgot to change settings moving indoors to outdoors. Knocked a dial accidentally. Sometimes the light is just too tricky. But now? I mostly understand why the photo looks bad! Know which dial to twist to try and fix it next time. That ‘M’ mode feels less scary. Photos look way better most days. Camera comes off the shelf more often. Feels good figuring it out finally, by just doing it wrong until it kinda felt right.
