
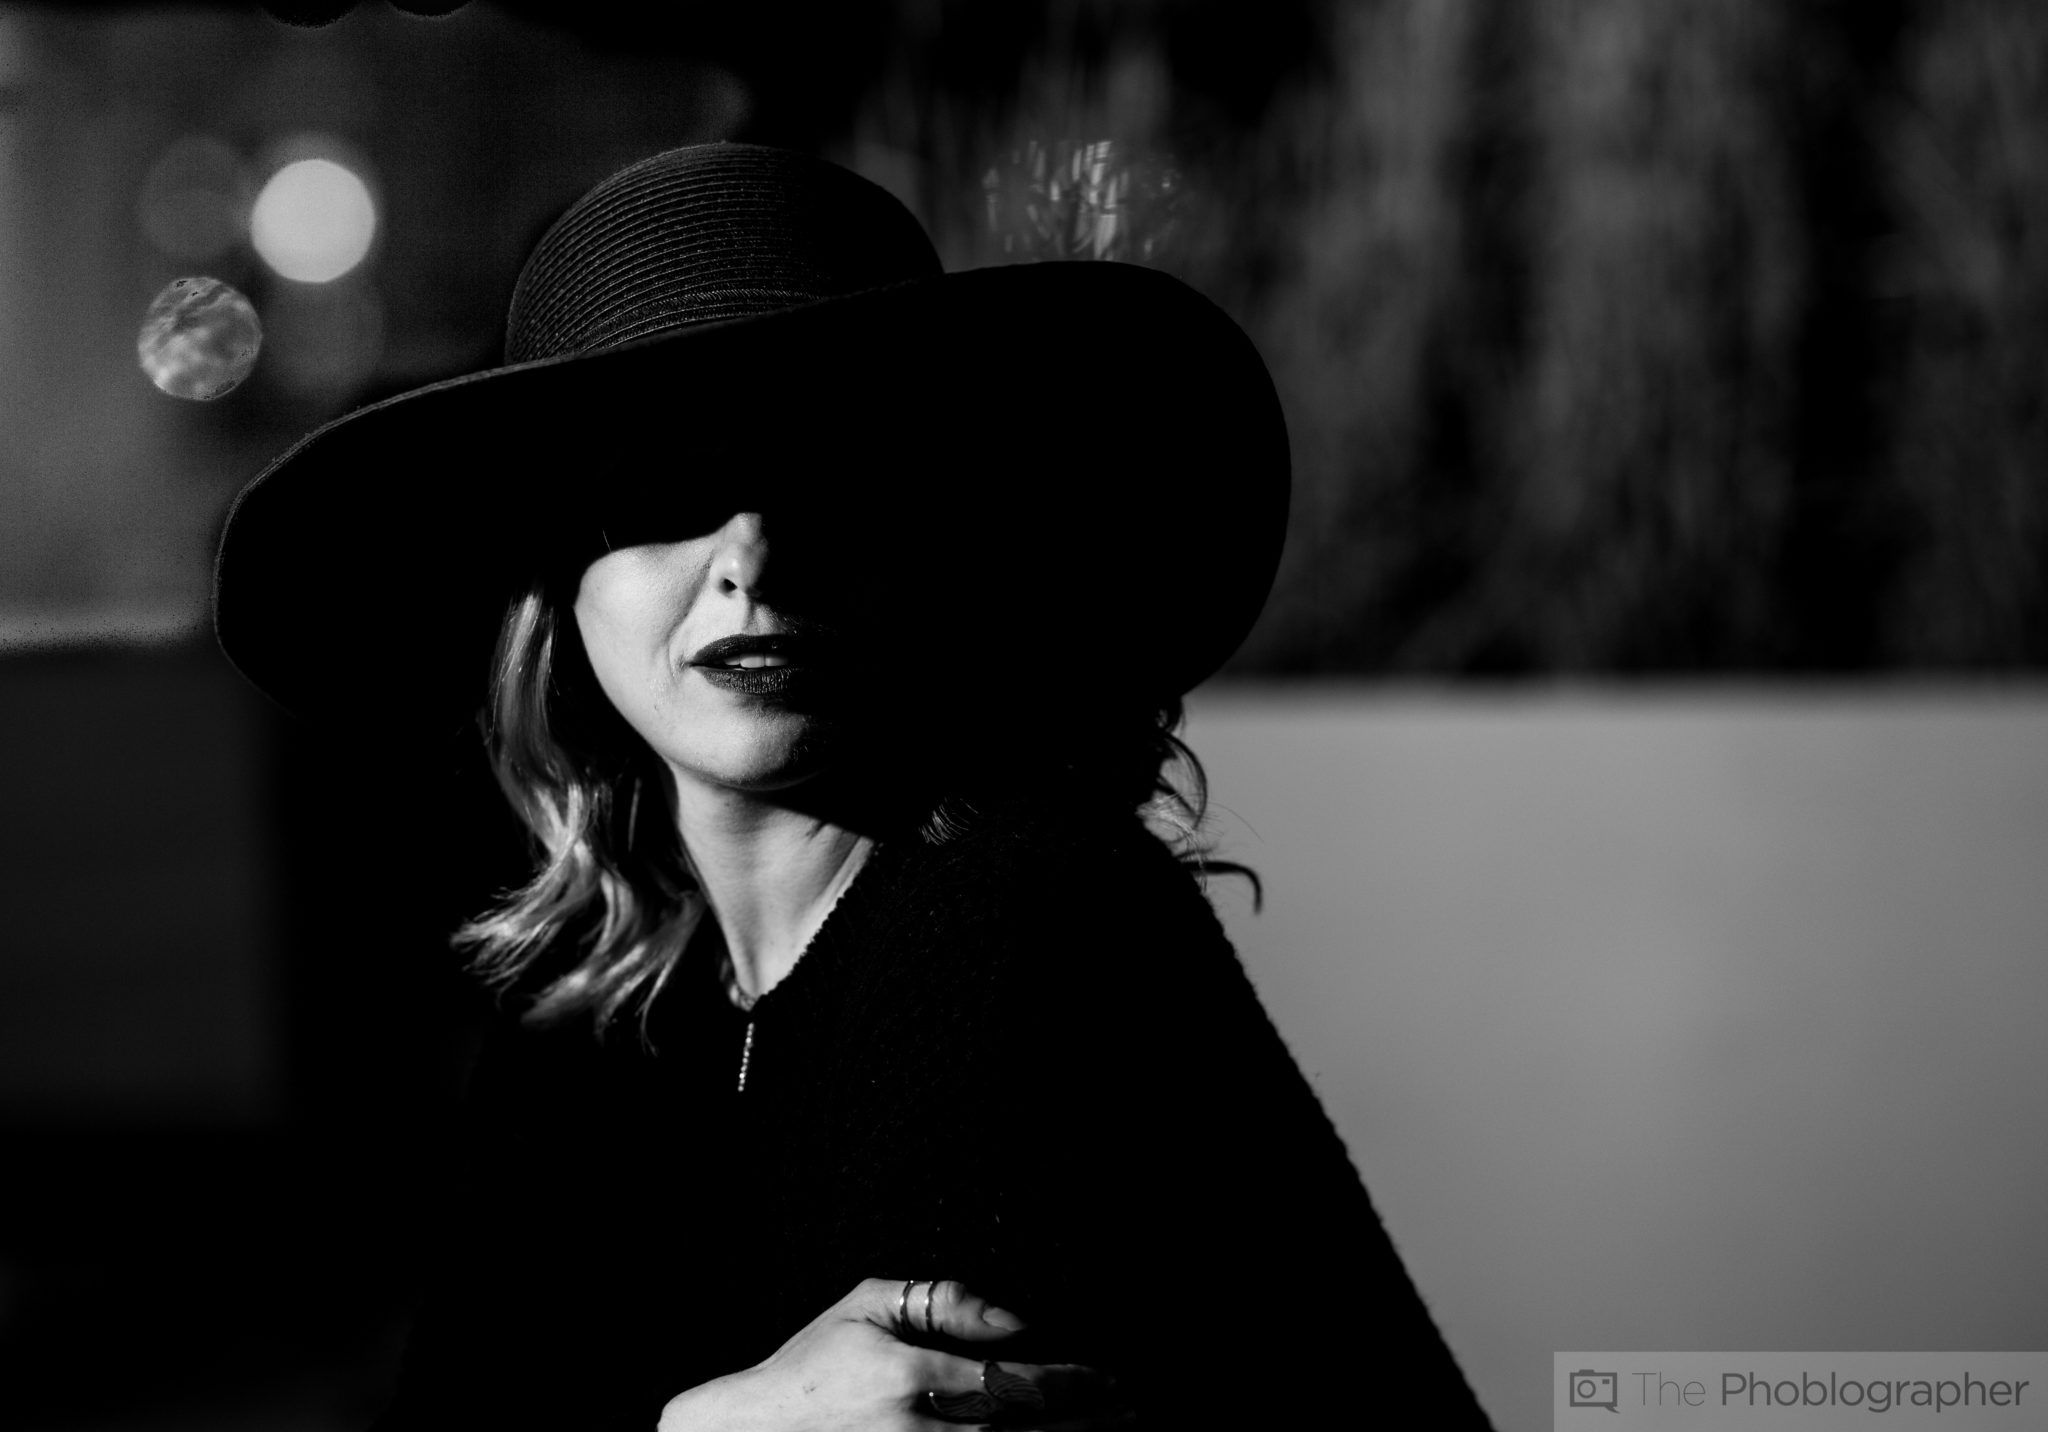
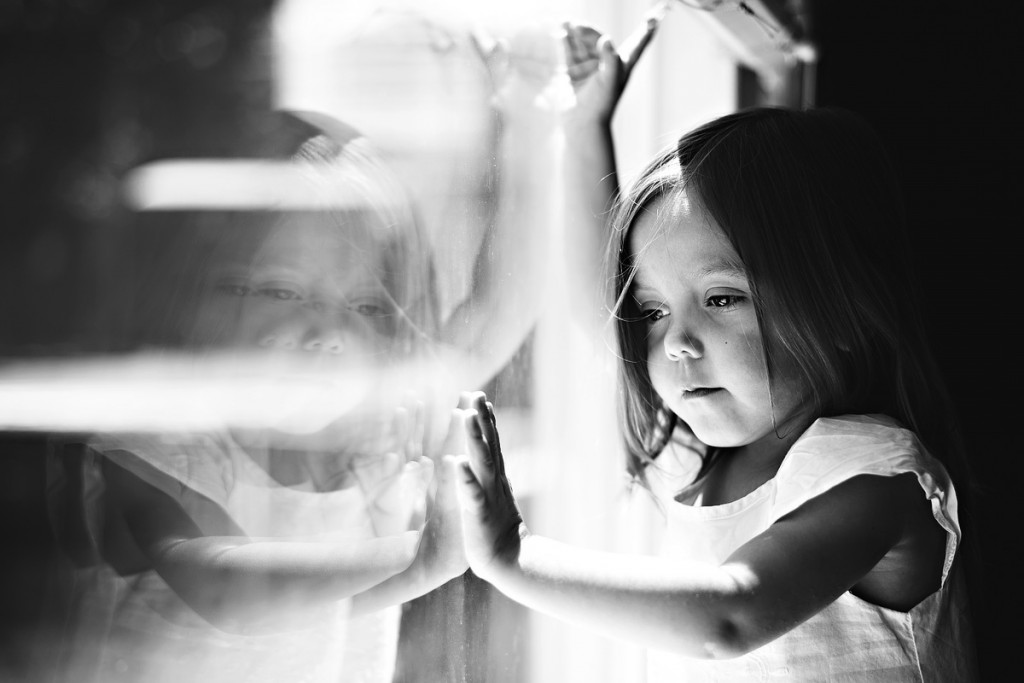
Okay, so I’ve been messing around with black and white portraits lately, and I gotta say, natural light is where it’s at. I wanted to see what all the fuss was about, and let me tell you, it’s pretty cool. Here’s how my little experiment went down.
Finding the Light
First things first, I needed some decent light. I’m no pro, so I didn’t want to deal with flashes or anything complicated. I waited for a cloudy day – perfect for soft, even light. I found a spot near a big window in my house. The light was coming in sideways, which is great for creating some shadows and dimension on the face, but it wasn’t harsh sunlight. Direct sunlight can be tricky, especially for black and white, making things look too contrasty.
Setting Up
I Grabbed a friend (thanks, Sarah!) to be my model. I had her sit facing the window, but not directly. I wanted that nice side light to sculpt her features. I also used a white reflector that came in a cheap phootgraphy kit I Bought from Amazon, but you could use a plain white foam board and positioned it on the opposite side of the window. Nothing fancy, just something to bounce a little light back onto the darker side of her face, to soften the shadows a bit. It’s all about experimenting, really.
The Camera Stuff
I’m not gonna lie, I’m still figuring out the technical stuff. I used my trusty old DSLR, the one I’ve had for years. I switched it to manual mode – gotta have control, right? I set the ISO pretty low, around 100 or 200, because I didn’t want any grainy noise. I Chose a wide aperture (around f/2.8) because it gives a nice, blurred background.
The important thing, and a tip I Picked up online, was to shoot in RAW format. Shooting in RAW gives you way more flexibility when you’re editing later on. Don’t skimp on this!
Taking the Shots
I took a bunch of shots. I Moved around, Tried different angles, and had Sarah change her expression a little. The key is to take loads of pictures, because you can always delete the bad ones later. I was mostly looking for good light on her face and a natural, relaxed pose. Nothing too stiff or formal.
Editing Magic
This is where the black and white conversion happens. I use an old free program called RawTherapee. Once the pictures, I Open the RAW files in. There’s a simple button to make the image black and white, and then I start playing around.
- I Adjusted the contrast. Usually, I boost it a little for black and white, to make the image pop.
- I Played with the brightness, making sure the highlights weren’t blown out (too bright) and the shadows weren’t too dark.
- I sometimes Added a bit of sharpening, but not too much.
It is about making small adjustments until it looks good to your eye. There’s no right or wrong here, it’s all about what you like.
The Result
Honestly, I was pretty stoked with how the photos turned out. The natural light gave them a really soft, classic feel. The black and white conversion added a timeless quality. It’s definitely something I’ll be experimenting with more. If you’ve been on the fence about trying it, I totally suggest giving it a go. It might seem intimidating at first, but grab a friend, find a window, and just start clicking away. The biggest thing I learned? Don’t be afraid to mess up. That’s how you learn!
")


")


