")
Okay, so I’ve been messing around with this “art smoke” idea for a while, and I finally got something I’m kinda proud of. It’s not perfect, but it’s a start, right?
Getting Started
>
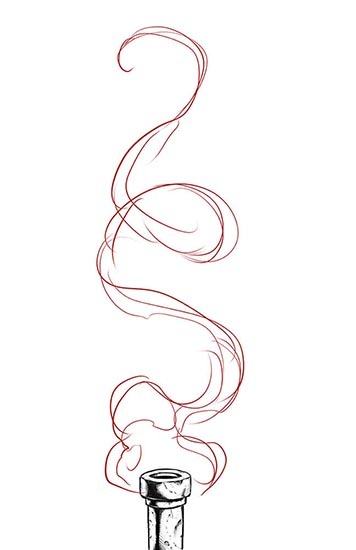
First, I grabbed a bunch of reference images. You know, just Googled “art smoke” and scrolled through Pinterest for, like, an hour. I wanted to see how other people were doing it, what shapes and colors they were using, that kind of stuff.
The First (Failed) Attempts
My initial attempts were…rough. I tried using some brushes in Photoshop that were supposed to look like smoke, but they just ended up looking like blobs. Super frustrating! I fiddled with the settings, changed the opacity, messed with the flow – nothing seemed to work. It just looked like a kid’s drawing, honestly.
Finding the Right Tools
>
Then, I stumbled upon a different set of brushes. These were more…wispy, I guess? Less defined. I started playing around with those, and things started to click a little better. I also realized I needed to use way more layers than I thought. Like, a LOT more.
Layering and Blending
>
- I started with a dark background, usually black or dark gray.
- Then, I added a new layer for each “puff” of smoke.
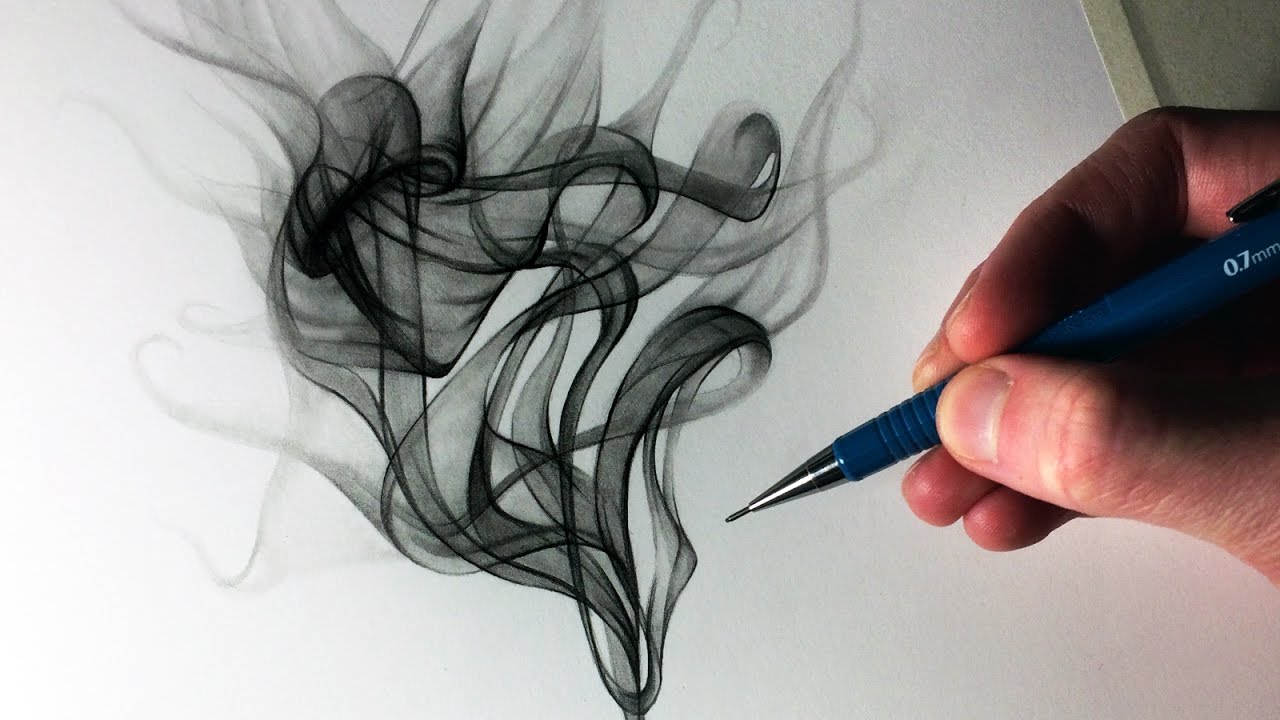
- I used the brush at a low opacity and slowly built up the shape.
- I kept switching between different shades of gray and white to get some depth.
- The key was to blend, blend, blend! I used the smudge tool a ton to soften the edges and make it look more…smokey.
Adding Color
>
Once I had the basic smoke shape down, I started experimenting with color. This was the fun part! I created new layers on top of the smoke and set them to different blend modes, like “Overlay” or “Color Dodge.” Then I just painted over the smoke with different colors. It’s amazing how much difference a little bit of color can make.
The Final Touches
>
Finally, I added some little details. I used a small, hard brush to add some highlights and make it look like the smoke was catching the light. I also added some darker areas to give it more contrast. And that was pretty much it!
It’s still a work in progress, but I’m definitely getting better. It’s all about practice, practice, practice, and finding the right tools that work for you. Don’t be afraid to experiment and mess up – that’s how you learn!
")


")


