")
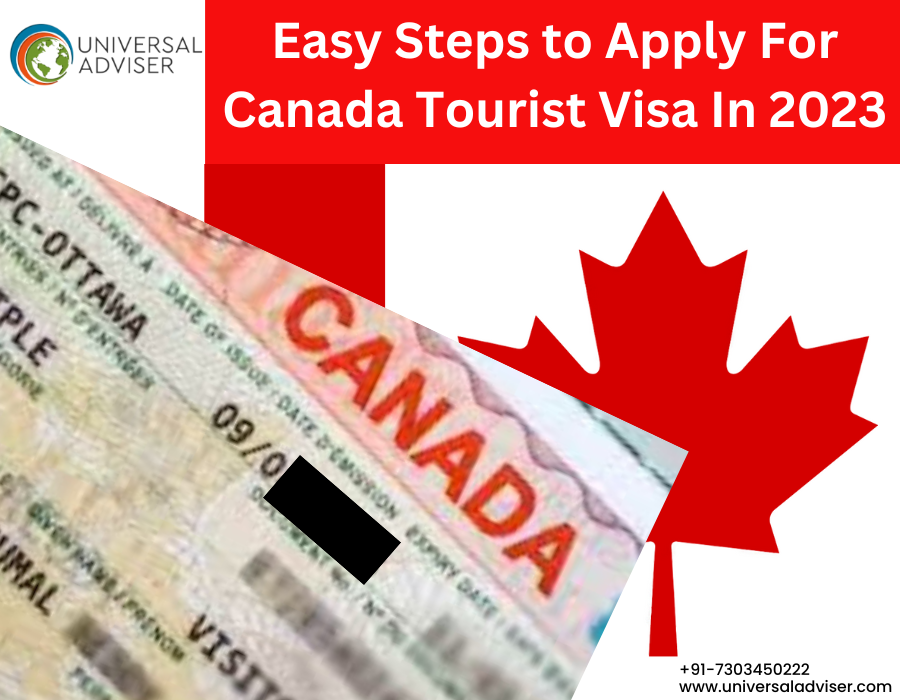
So, I finally got around to figuring out how to get a tourist visa to visit Canada. It was a bit of a headache, but I made it through, and I figured I’d share my experience to maybe make it easier for anyone else trying.
Figuring Out What I Needed
First thing I did was hit up the official Canadian government website. Honestly, it was a bit overwhelming at first. Lots of info, and I wasn’t sure where to start. But I dug in and found the section about visitor visas. Important: You need to figure out what kind of visa you need. For me, it was just a regular tourist visa since I wanted to go see some sights and visit friends.
Gathering All My Docs
Man, they want a lot of paperwork! I had to gather a bunch of stuff. This included:
- My passport: Obviously. Had to make sure it was valid for at least six months after my planned trip.
- Photos: There were specific size requirements, so I went to a professional photographer to get them done.
- Proof of funds: This was a big one. I had to show I had enough money to support myself during the trip. Bank statements, pay stubs, that sort of thing. I printed out like three months’ worth of statements, just to be safe.
- Travel itinerary: I had to write down where I planned to go, where I was staying, and for how long. I just made a simple table with dates, locations, and hotel names.
- Letter of invitation: Since I was visiting friends, I got them to write a letter saying they were inviting me and would provide a place for me to stay.
- Ties to my home country: This one was a little weird, but I get it. They want to make sure you’re actually going back home after your visit. I included a letter from my job saying I was employed and a copy of my apartment lease.
Filling Out the Application
Okay, the online application. It wasn’t terrible, but it was long. Lots of questions about my personal info, travel history, and the purpose of my visit. I took my time and double-checked everything before submitting. Tip: Save your progress often! You don’t want to lose all that work.
Paying the Fees
Gotta pay to play, right? There were a couple of fees: the application fee and the biometrics fee. Paid them online with my credit card. Easy peasy.
Biometrics Appointment
So, after submitting the application, I had to schedule an appointment to give my biometrics (fingerprints and photo). This was done at a Visa Application Centre (VAC). I went online, found the nearest one, and booked an appointment. The appointment itself was quick. In and out in like 20 minutes.
The Waiting Game
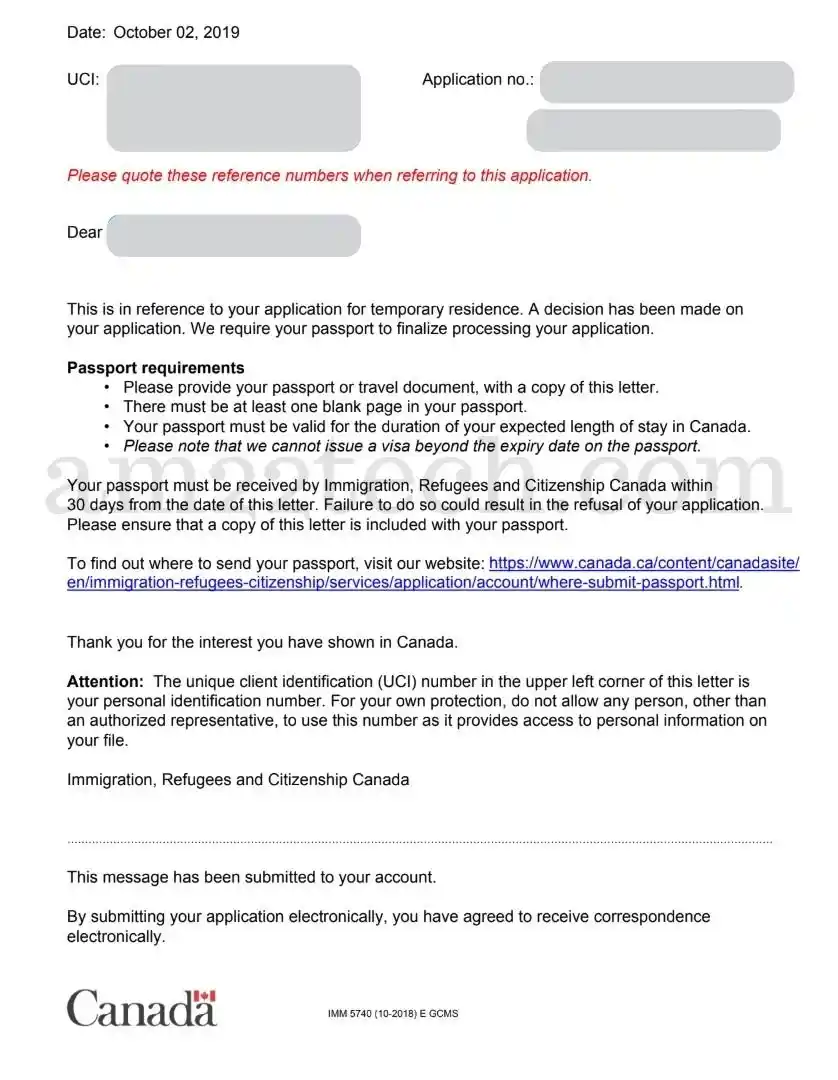
This was the hardest part! Just waiting to hear back. It took a few weeks, but I finally got an email saying my application was approved! I had to send my passport to the VAC, and they put the visa sticker in it.
Getting My Passport Back
A week or so later, I got my passport back with the shiny new Canadian visa inside. Success! Now I can finally book my flight and start planning my trip properly. It was a lot of work, but totally worth it. I can’t wait to see Canada!


")


