
Okay, here’s my blog post about creating “nature spotlight” photos:
So, I’ve been seeing these really cool photos all over the internet lately, the ones where it looks like a single beam of sunlight is hitting a flower or a leaf in a forest. You know, super dramatic and moody? I decided I had to try and recreate that “nature spotlight” effect myself. It seemed easy enough, right? Famous last words…
My First Attempts (Failures!)
First, I grabbed my camera and headed out to the local park. I figured, “Okay, I just need a sunny day and some trees.” I found a pretty nice-looking patch of ferns and waited. And waited. I quickly realized that just finding the right natural light conditions was going to be way harder than I thought. The sun was either too high, too diffused, or just not hitting the right spot. I spent like two hours wandering around, getting increasingly frustrated, and ended up with a bunch of photos that were just…blah. Totally flat and uninspired.
I did, get bitten by a lot of bugs, though!
Figuring Out the Trick
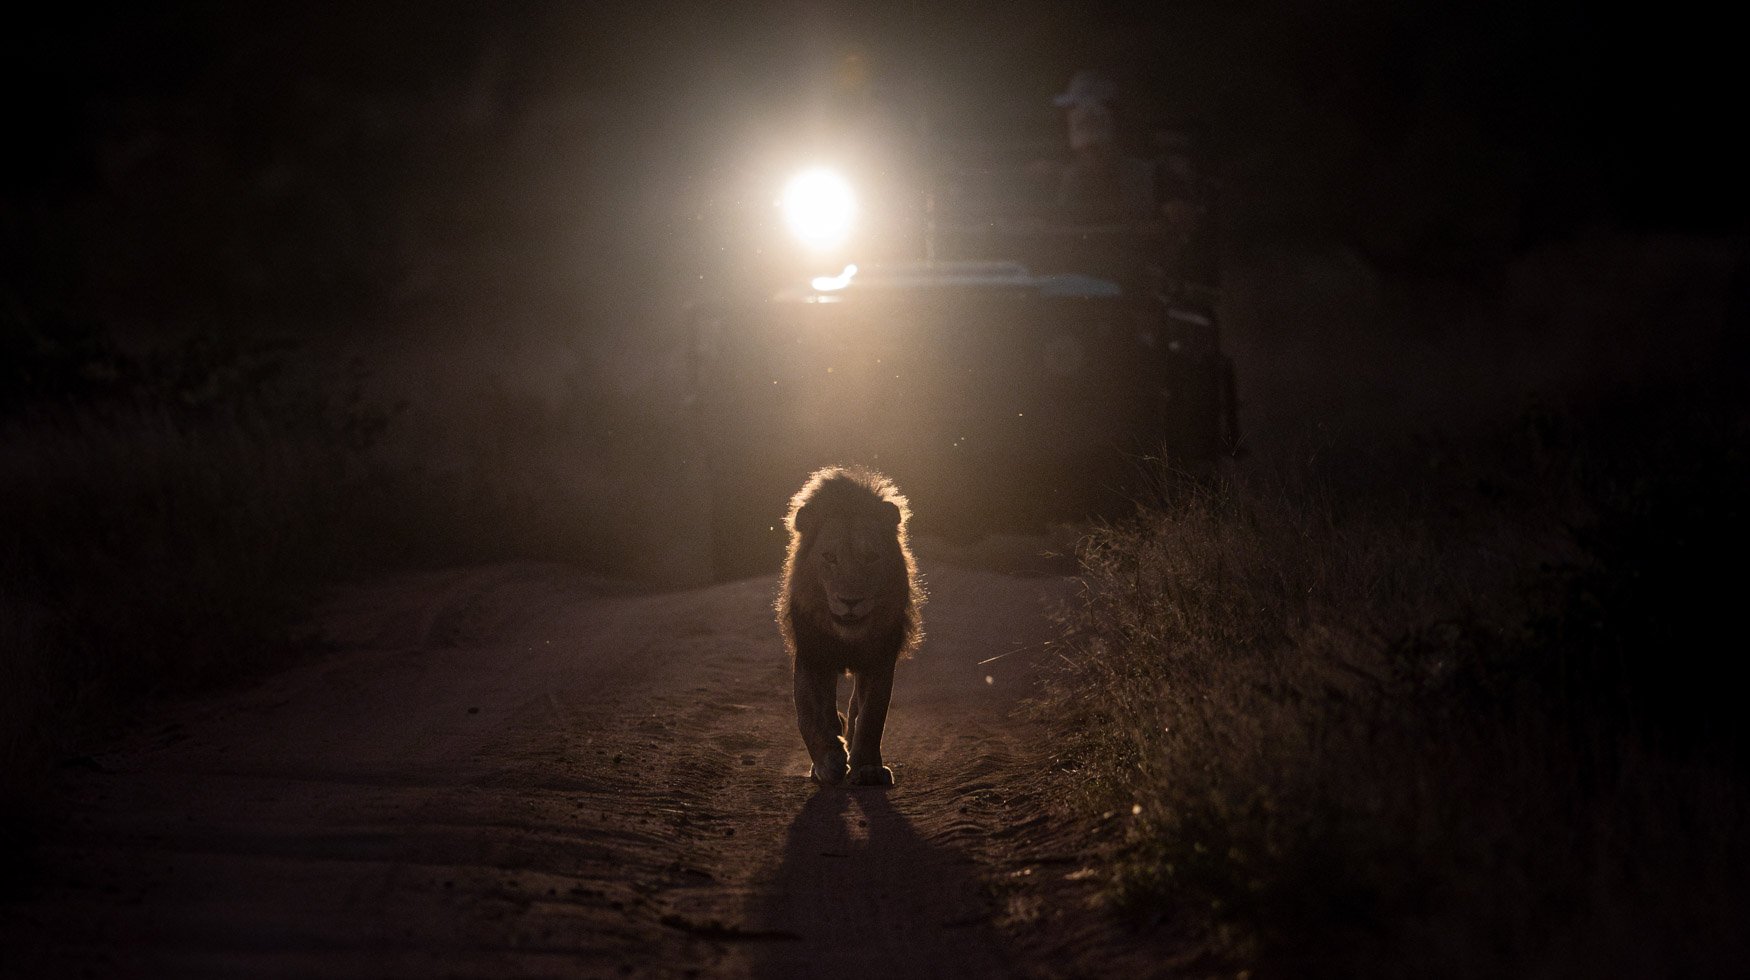
Back home, I did some more digging online. It turns out, a lot of these “spotlight” photos aren’t entirely natural. Surprise, surprise! Many photographers are using a simple trick: a flash with a snoot.
A snoot? What’s a snoot? It sounds funny, but it is basically a tube or cone that you attach to your flash to narrow and direct the light, creating that concentrated beam effect. You can buy fancy ones, but a lot of people just make their own out of cardboard or black foil. That’s me, making my own.
DIY Snoot Time
I am all about DIY, so I opted for the cardboard route. I found an old cereal box, cut it up, and rolled it into a cone shape. I secured it with some tape and made sure it fit snugly over my external flash. It wasn’t pretty, but it seemed like it would do the job.
Back to the Park (with my Snoot!)
Armed with my makeshift snoot and a renewed sense of determination, I went back to the park. This time, I went in the late afternoon, when the sun was lower in the sky, providing some nice ambient light, but not harsh, direct sunlight.
Here’s how I set things up:
- Find a Subject: I looked for a single flower or leaf that was somewhat isolated and had a dark background. This helps create that contrast and makes the spotlight effect more pronounced.
- Position the Flash: I placed my camera on a tripod and positioned the flash (with the snoot attached) off to the side and slightly behind the subject. This created a nice rim light effect and separated the subject from the background.
- Adjust Flash Power: This took some trial and error. I started with a low flash power and gradually increased it until I got the desired level of brightness on the subject. I didn’t want it to be too overpowering, just a subtle, focused beam.
- Take the Shot (and adjust): I took a test shot and then made adjustments to the flash position, power, and my camera settings (aperture, ISO, shutter speed) until I was happy with the result.
The Results!
Finally! I was getting somewhere. The snoot made a huge difference. It really focused the light and created that dramatic spotlight effect I was after. I still had to play around with the flash power and positioning, but I was definitely on the right track.
It’s not perfect, and I’m still learning, but I’m pretty happy with how my first attempts with the DIY snoot turned out. It’s amazing what a little bit of cardboard and some creative lighting can do! It makes the photos so much more than just a flower.
")


")


