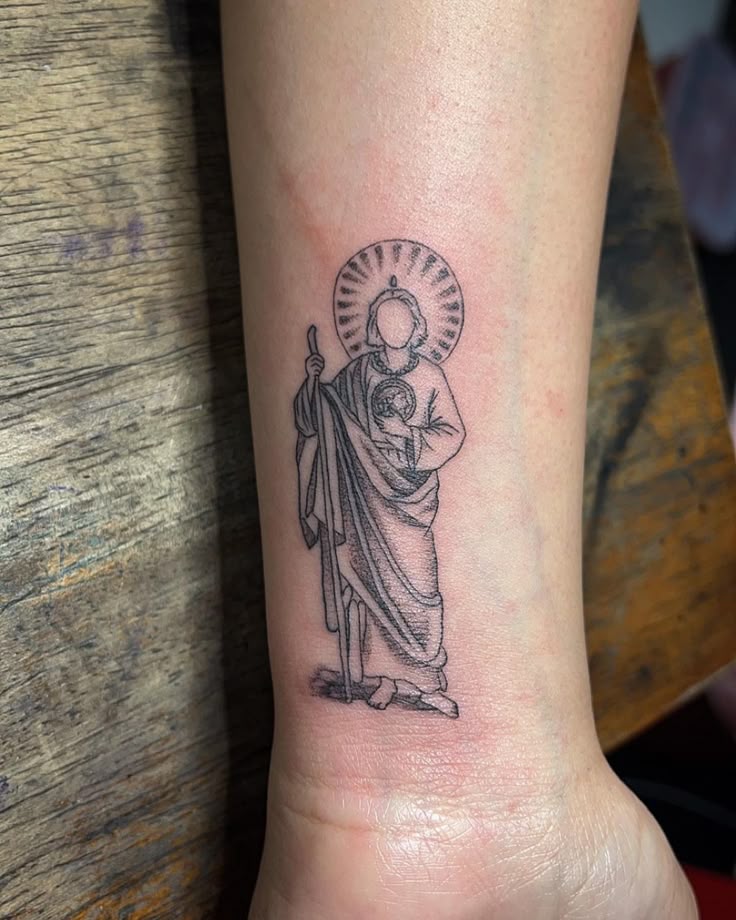
Alright, so I finally got around to tackling this “San Judas Tadeo Tattoo” thing. Been wanting to do it for ages, and figured, why not document the whole process? It’s gonna be a long one, but hopefully, it’ll be helpful for anyone else thinking about getting some ink.
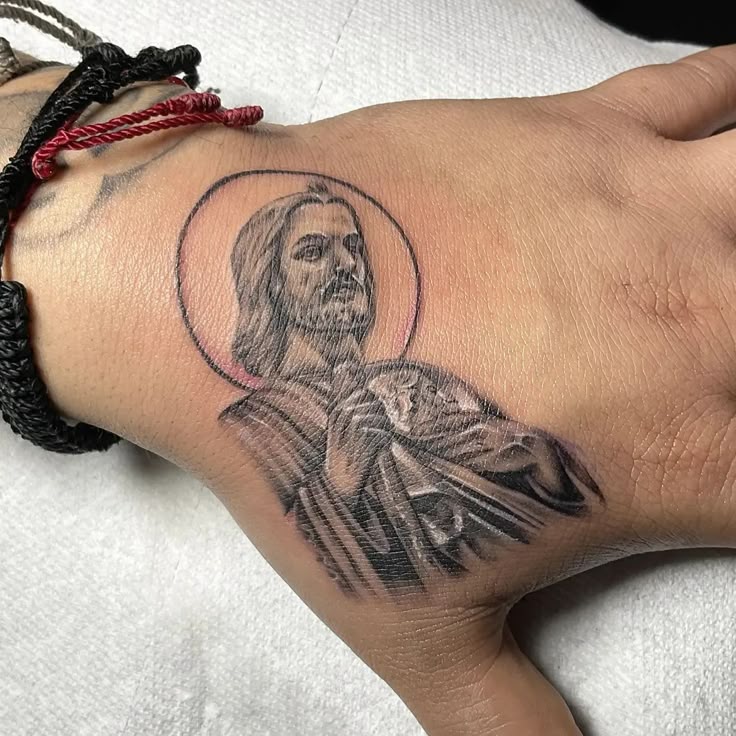
Step 1: The Idea & Research. First off, I knew I wanted San Judas. He’s kinda been my go-to saint for a while now, so it felt right. But I didn’t just wanna slap any old picture on my skin. I spent a solid week just scouring the internet, Pinterest, tattoo artist portfolios – the whole shebang. Looking for inspiration, different styles, and how other people have interpreted the image.
Step 2: Choosing an Artist. This is HUGE. You can’t just walk into any shop and hope for the best. I wanted someone who specialized in either fine line work or religious iconography. After digging around, I found this artist on Instagram – their handle was something like @HolyInkCreations. Their portfolio was packed with incredible religious pieces, super detailed and clean. Sent them a DM, explained what I was thinking, and we set up a consultation.
Step 3: The Consultation. Met with the artist, showed them my reference images, and talked through the design. They were super helpful, offered suggestions on placement, size, and even tweaked the design a bit to make it more unique. We settled on a spot on my upper arm, figured it was a good balance of visible but easy to cover up if needed. Booked the appointment right then and there.
Step 4: Pre-Tattoo Prep. Okay, so a few days before the appointment, I started prepping my skin. Lots of moisturizing – you want your skin to be hydrated. Also, made sure to avoid sun exposure on that area. The night before, I got a good night’s sleep and didn’t drink any alcohol. Sounds boring, but trust me, it makes a difference.
Step 5: The Tattoo Session. The day arrived, and I was actually pretty chill. Got to the shop, the artist had the stencil ready to go. They cleaned and shaved the area, applied the stencil, and let me take a look in the mirror to make sure I liked the placement. Once I gave the thumbs up, the real fun began.
Step 6: The Pain (and the Process). Yeah, it’s gonna hurt. Let’s be real. But it’s a manageable pain. This tattoo took about 4 hours, with a couple of short breaks. The artist was really good about checking in, making sure I was comfortable, and keeping the conversation going to distract me. The shading was probably the most intense part, but honestly, the outline wasn’t a walk in the park either.
Step 7: Aftercare, Aftercare, Aftercare! This is where a lot of people screw up. Aftercare is crucial. The artist wrapped the tattoo in Saniderm, which is basically a breathable, waterproof bandage. I left that on for about 3 days. After that, I gently washed the tattoo with antibacterial soap and applied a thin layer of Aquaphor. Kept doing that 2-3 times a day for the next two weeks.
Step 8: The Result. It’s been about a month now, and the tattoo is fully healed. It looks amazing! The lines are crisp, the shading is perfect, and it’s exactly what I wanted. Honestly, couldn’t be happier with how it turned out.
Final Thoughts. Getting a tattoo is a big decision, especially something like this. Do your research, find a good artist, and take care of your skin. It’s an investment, and if you do it right, you’ll have a piece of art that you’ll love for years to come.


")


")


