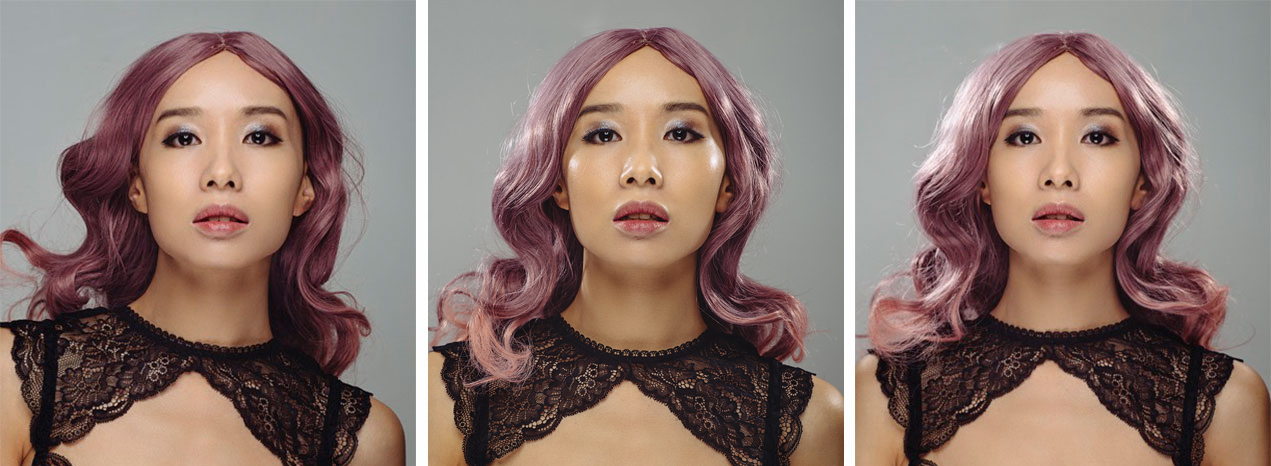
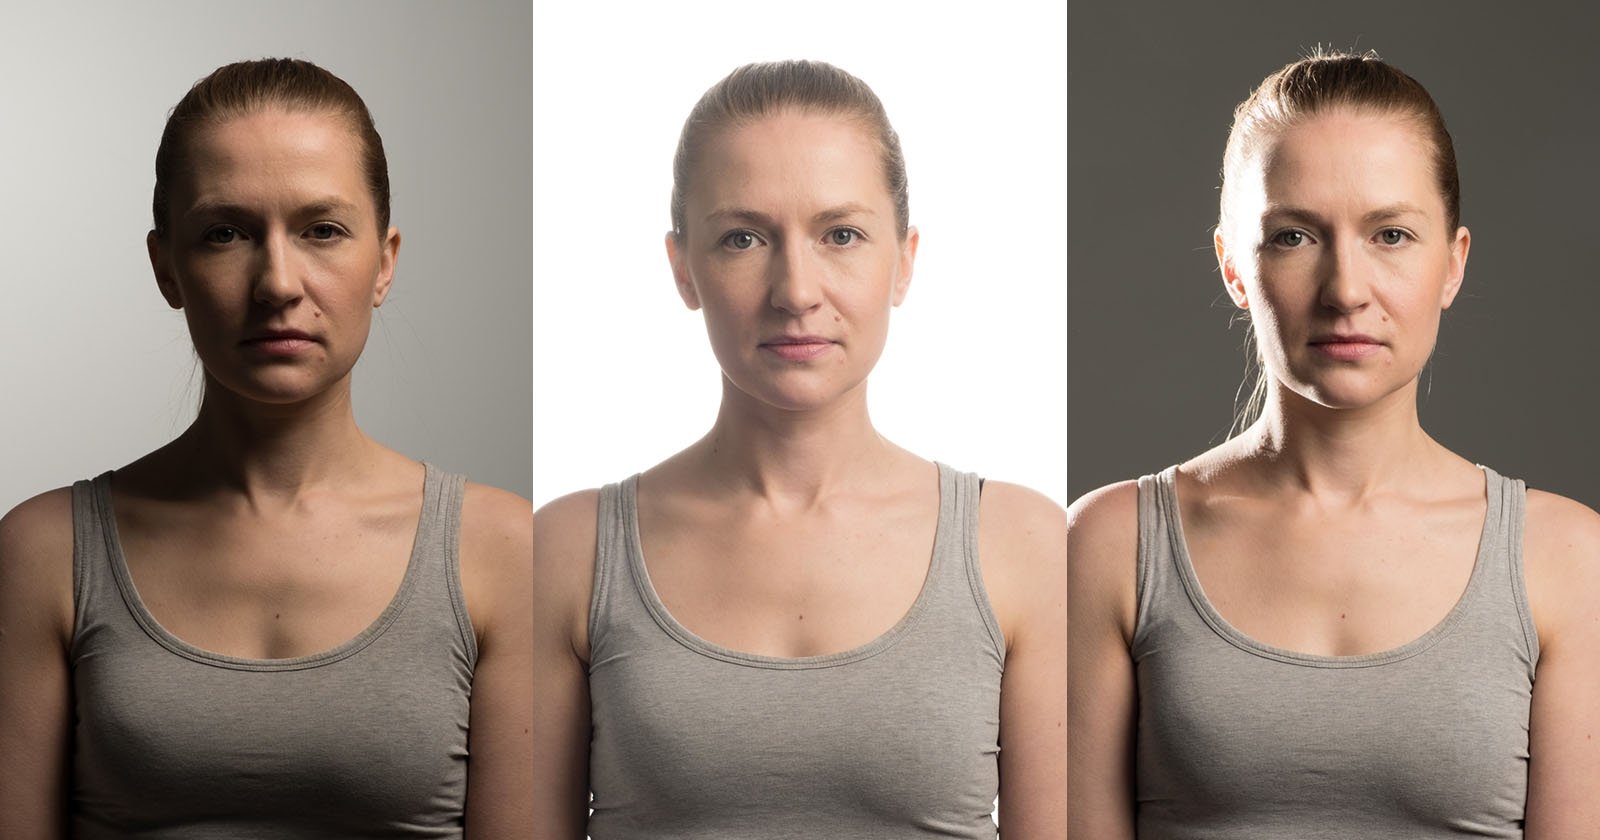
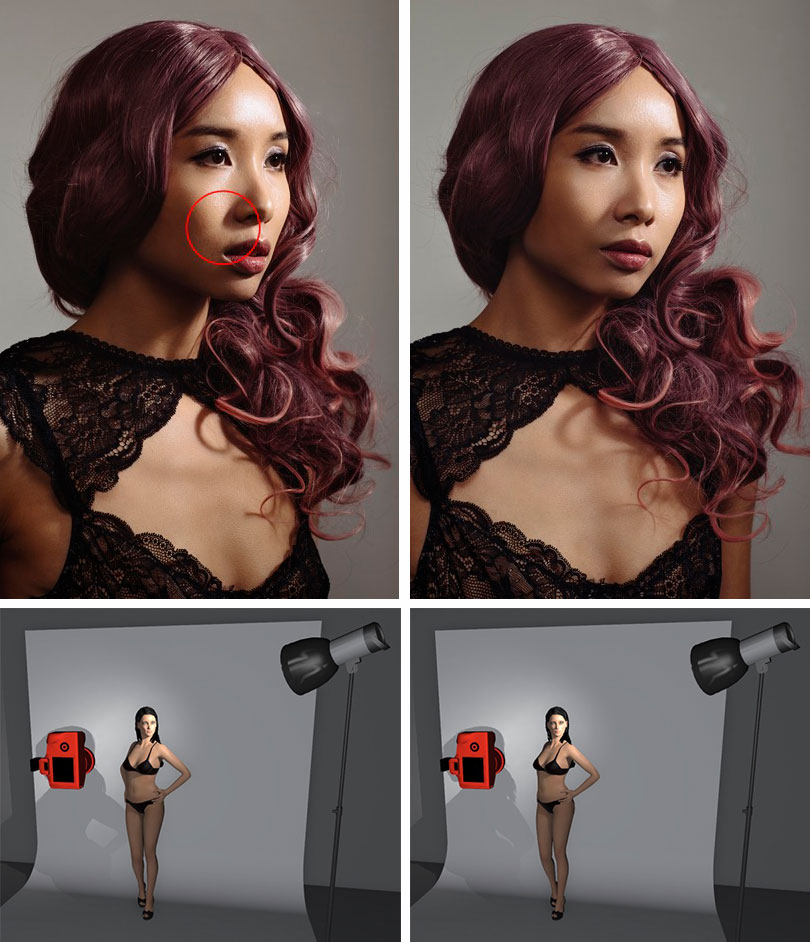
Okay, so today I decided to spend some time practicing with side lighting. It’s something I know about, but you always gotta keep practicing, right?

Setting Things Up
First, I grabbed a simple subject. Found an old wooden bowl in the kitchen, nothing fancy. I figured its texture might show the light well. I cleared off a small table near a wall, giving me a plain background.
For the light, I just used a basic desk lamp I have. One of those bendy ones. No fancy strobes or anything today, just keeping it simple. I placed the lamp directly to the side of the bowl, maybe about 90 degrees from where I planned to shoot.
First Tries and Tweaks
I turned off the room lights so only the lamp was lighting the bowl. Looked through my camera. Took a few shots.
Honestly, the first results were pretty harsh.
The side facing the lamp was super bright, and the other side was just deep shadow. Lost a lot of detail. It created drama, sure, but maybe too much for what I wanted.

So, what did I do? I started moving the lamp. First, I pulled it back, further away from the bowl. That softened the light a bit, made the transition from light to shadow less like a cliff edge. Better, but still strong.
Playing Around More
Then I thought, maybe diffusion? I didn’t have proper diffusion material handy, so I just taped a piece of thin printer paper over the lamp head. Yeah, crude, I know. But hey, it’s practice.
- Took another shot. Much softer! The paper scattered the light. Shadows were still there, defining the shape, but they weren’t pitch black anymore. You could see some texture in the darker side of the bowl.
- I also played with the lamp height. Lowering it made the shadows stretch upwards, kinda spooky. Raising it made the shadows fall downwards, felt a bit more natural for this bowl. I stuck with a slightly higher position.
- I moved around the table too, changing my shooting angle slightly. Shooting from a bit lower made the bowl seem more… grand? Shooting from slightly higher felt more standard.
Getting Somewhere
After messing around for maybe half an hour, moving the light, adjusting the height, using that makeshift diffuser, and shifting my camera position, I started getting shots I liked.
The key seemed to be finding that balance. Enough side light to show shape and texture, but softened or distanced enough so the shadows weren’t just black holes. That piece of paper actually did a decent job for a quick fix.
It’s funny how just moving a light a few inches, or sticking paper on it, totally changes the feel. Good practice session today. Just basic stuff, hands-on, figuring it out as I went.


