
Alright, buckle up folks, because today I’m spilling the beans on my… ahem…”baking” adventure. Let’s just say it involved a certain “special” ingredient and resulted in a cake that was, well, memorable. I’m calling it the “Weed Cake” chronicle.
Phase 1: The “Research” (a.k.a. Google-Fu)
So, it all started with a “friend” having a birthday. And this “friend” is a connoisseur, if you catch my drift. I figured, why not try something different? My first step was hitting the internet. I typed in “weed cake recipe” and braced myself. The results were… extensive. I spent a good hour sifting through various recipes, looking for something that seemed straightforward and wouldn’t turn my kitchen into a biohazard zone.
Phase 2: Gathering the “Supplies”
This was probably the trickiest part. I needed the “special” ingredient, obviously. Let’s just say I had a reliable source. Then came the usual baking stuff: flour, sugar, eggs, butter, you know, the basics. I decided to go with a classic chocolate cake recipe because chocolate hides EVERYTHING. Smart, right?
Phase 3: The Infusion (a.k.a. “Butter Me Up”)
Okay, this is where things got interesting. Most recipes suggested infusing the butter with the, uh, “herb.” There are a few ways to do this, but I went with the slow simmer method. I melted the butter in a saucepan, added the finely ground “special ingredient,” and let it simmer on low heat for about 2-3 hours, stirring occasionally. The whole house smelled… interesting. Let’s just leave it at that.
- Pro Tip: Make sure you strain the butter REALLY well afterward to get rid of any plant matter. Nobody wants a gritty cake!
Phase 4: Baking Time!
Once the butter was infused (and strained!), I followed the chocolate cake recipe as usual, substituting the infused butter for regular butter. I mixed the dry ingredients, whisked the wet ingredients, and combined them all together. The batter looked and smelled like regular chocolate cake batter, which was both reassuring and slightly terrifying.
- Another Pro Tip: Don’t overmix the batter! It’ll make the cake tough.
I poured the batter into a greased and floured cake pan and popped it into the oven. The recipe said to bake for 30-35 minutes, but I kept a close eye on it. After about 32 minutes, a toothpick inserted into the center came out clean. Victory!
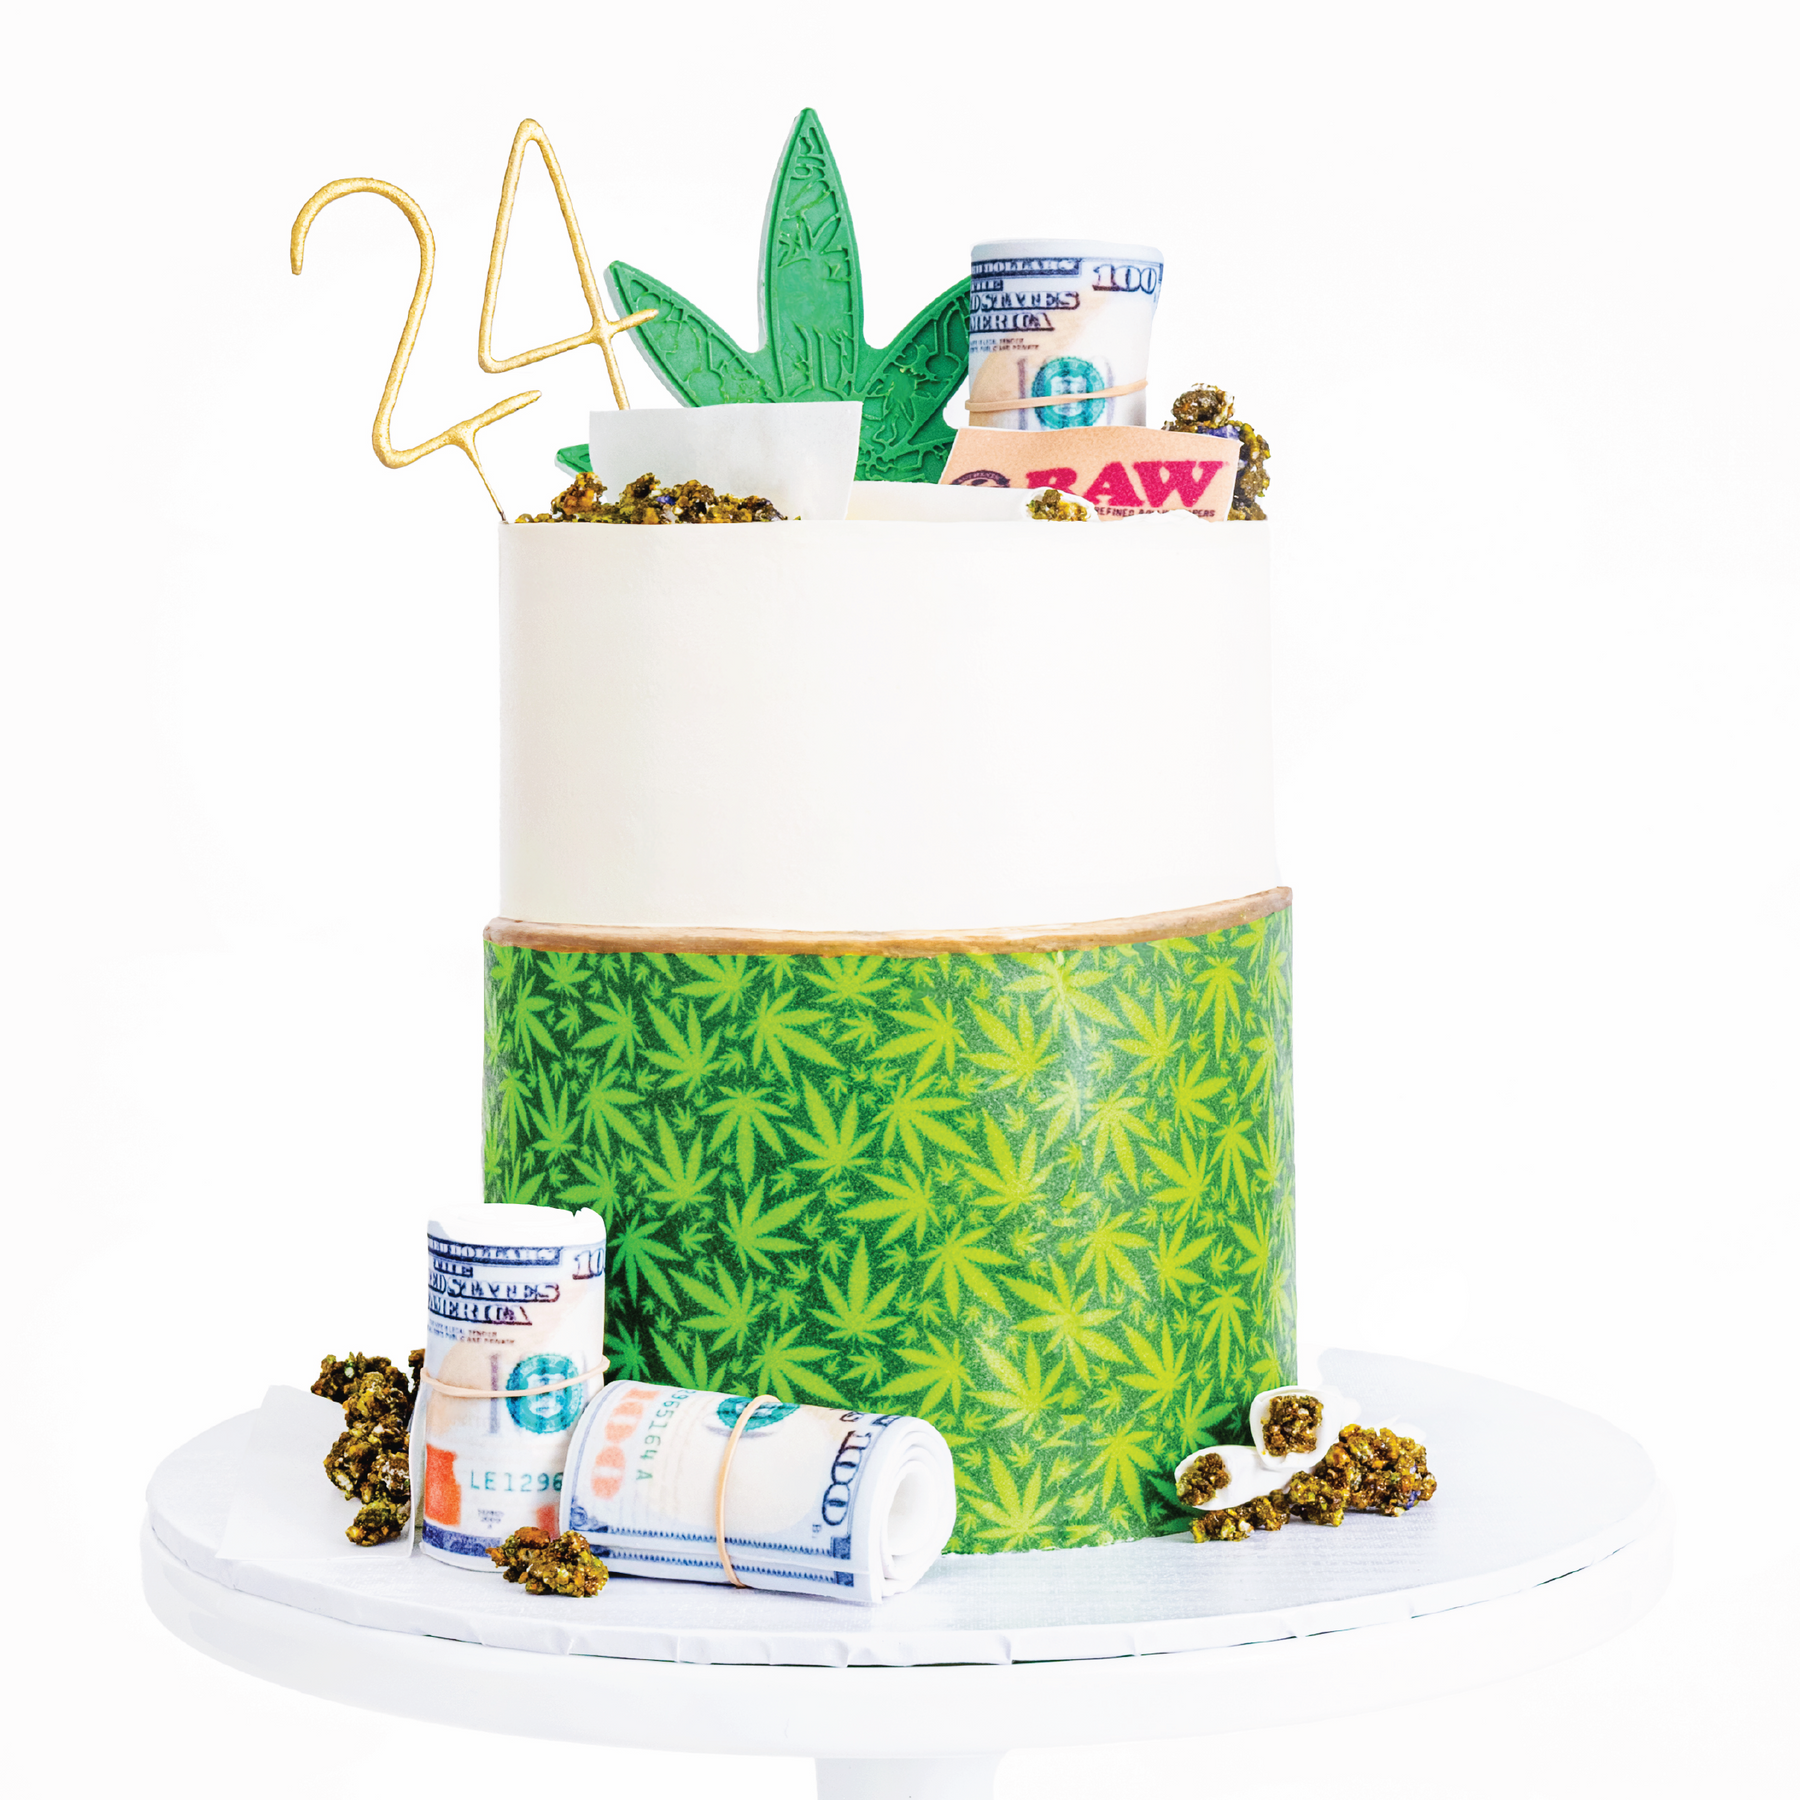
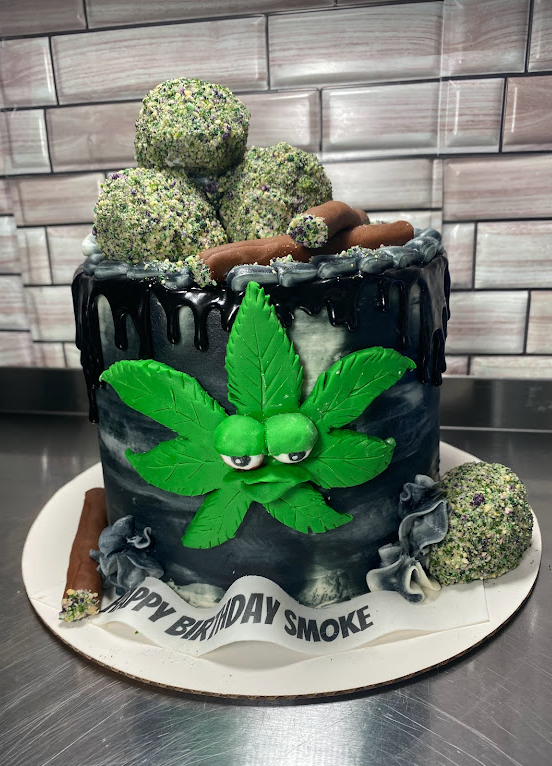
Phase 5: Frosting and Decoration (a.k.a. “Cover Your Tracks”)

While the cake was cooling, I whipped up a batch of chocolate frosting. Nothing fancy, just a basic buttercream. Once the cake was completely cool, I frosted it generously. I even added some sprinkles, because why not? The cake looked innocent enough, a regular chocolate cake ready for a birthday party.
Phase 6: The Moment of Truth (a.k.a. “Operation Birthday”)
The birthday party was… eventful. My “friend” and a few other close companions sampled the cake. Let’s just say the effects were… noticeable. There were lots of giggles, philosophical discussions, and a general sense of well-being. Mission accomplished?
The Verdict
Would I do it again? Maybe. It was definitely an experience. The cake tasted pretty good (if I do say so myself), and the effects were, well, exactly what we were going for. Just remember to be responsible, know your limits, and make sure everyone involved is aware of what they’re eating. And maybe have some snacks on hand, because, you know… munchies.
Disclaimer: I’m not advocating for illegal activities. This is just a recounting of a personal experience for entertainment purposes only. Don’t do anything that would get you in trouble with the law. You’ve been warned!


