")
Getting Started with Dice Pics
So, I decided to try and take some decent photos of dice today. Had a few sets kicking around, figured it’d be a fun little project to document. Nothing too serious, just wanted to see what I could get with the gear I have.
Gathering the Stuff
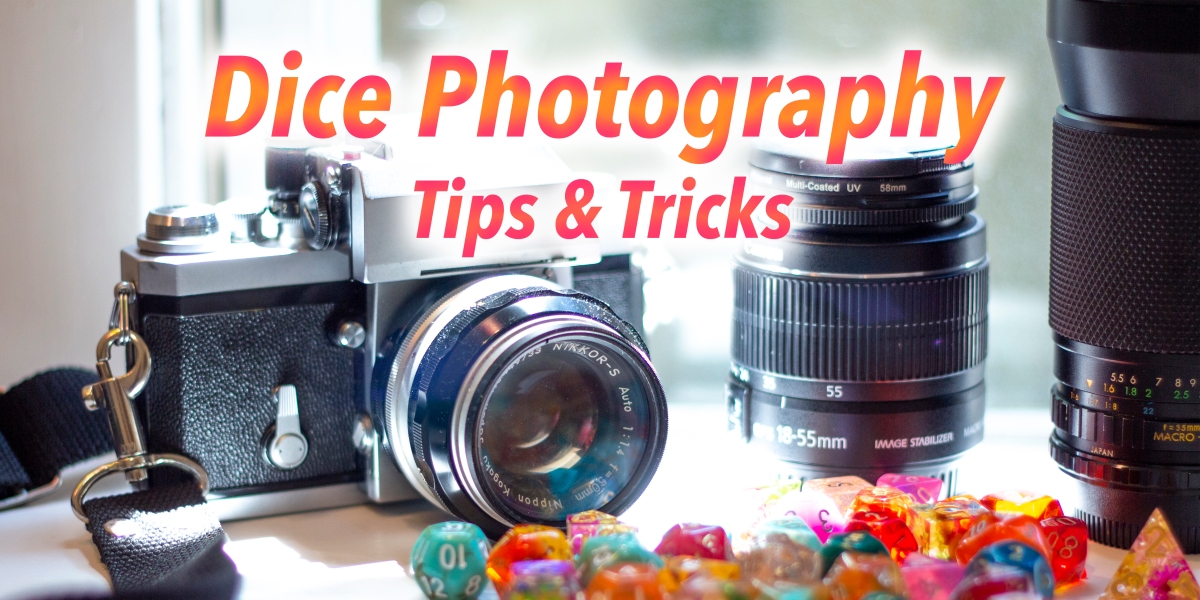
First things first, I grabbed my camera. It’s not top-of-the-line, just my regular shooter. Then I hunted down some lights. Found two small LED panels I barely use. For a background, I kept it simple: a large sheet of white cardstock. And obviously, I needed the dice themselves. Picked out a few sets with nice colours.
Setting Up the Scene
I cleared a space on my table. Taped the white cardstock to a box behind the table, letting it curve down onto the surface to create that smooth background look. Didn’t want any harsh lines back there. Placed the two LED lights, one on the left, one on the right, pointing roughly towards where the dice would be. Plugged them in and turned them on.
Positioning and First Shots
Okay, time for the dice. I started by just dumping a handful onto the white surface. Took a test shot. Looked kinda flat, and the lighting was way too harsh. Direct light created nasty glare on the shiny dice surfaces.
- Moved the lights further back.
- Tried angling them differently.
- Still getting hotspots.
Remembered I had some thin white cloth, like diffuser material. I clipped a piece over each LED light. That softened the light right up, much better. The shadows weren’t as dark, and the glare was reduced a lot.
Arranging the Dice and Dialing In
Now the light was better, I focused on arranging the dice. Scattering them felt a bit random. So, I tried grouping them:
- Lined up a set in order.
- Made a small cluster with different types.
- Tried stacking a couple, carefully.
- Rolled a few into the scene to make it look like they’d just been thrown.
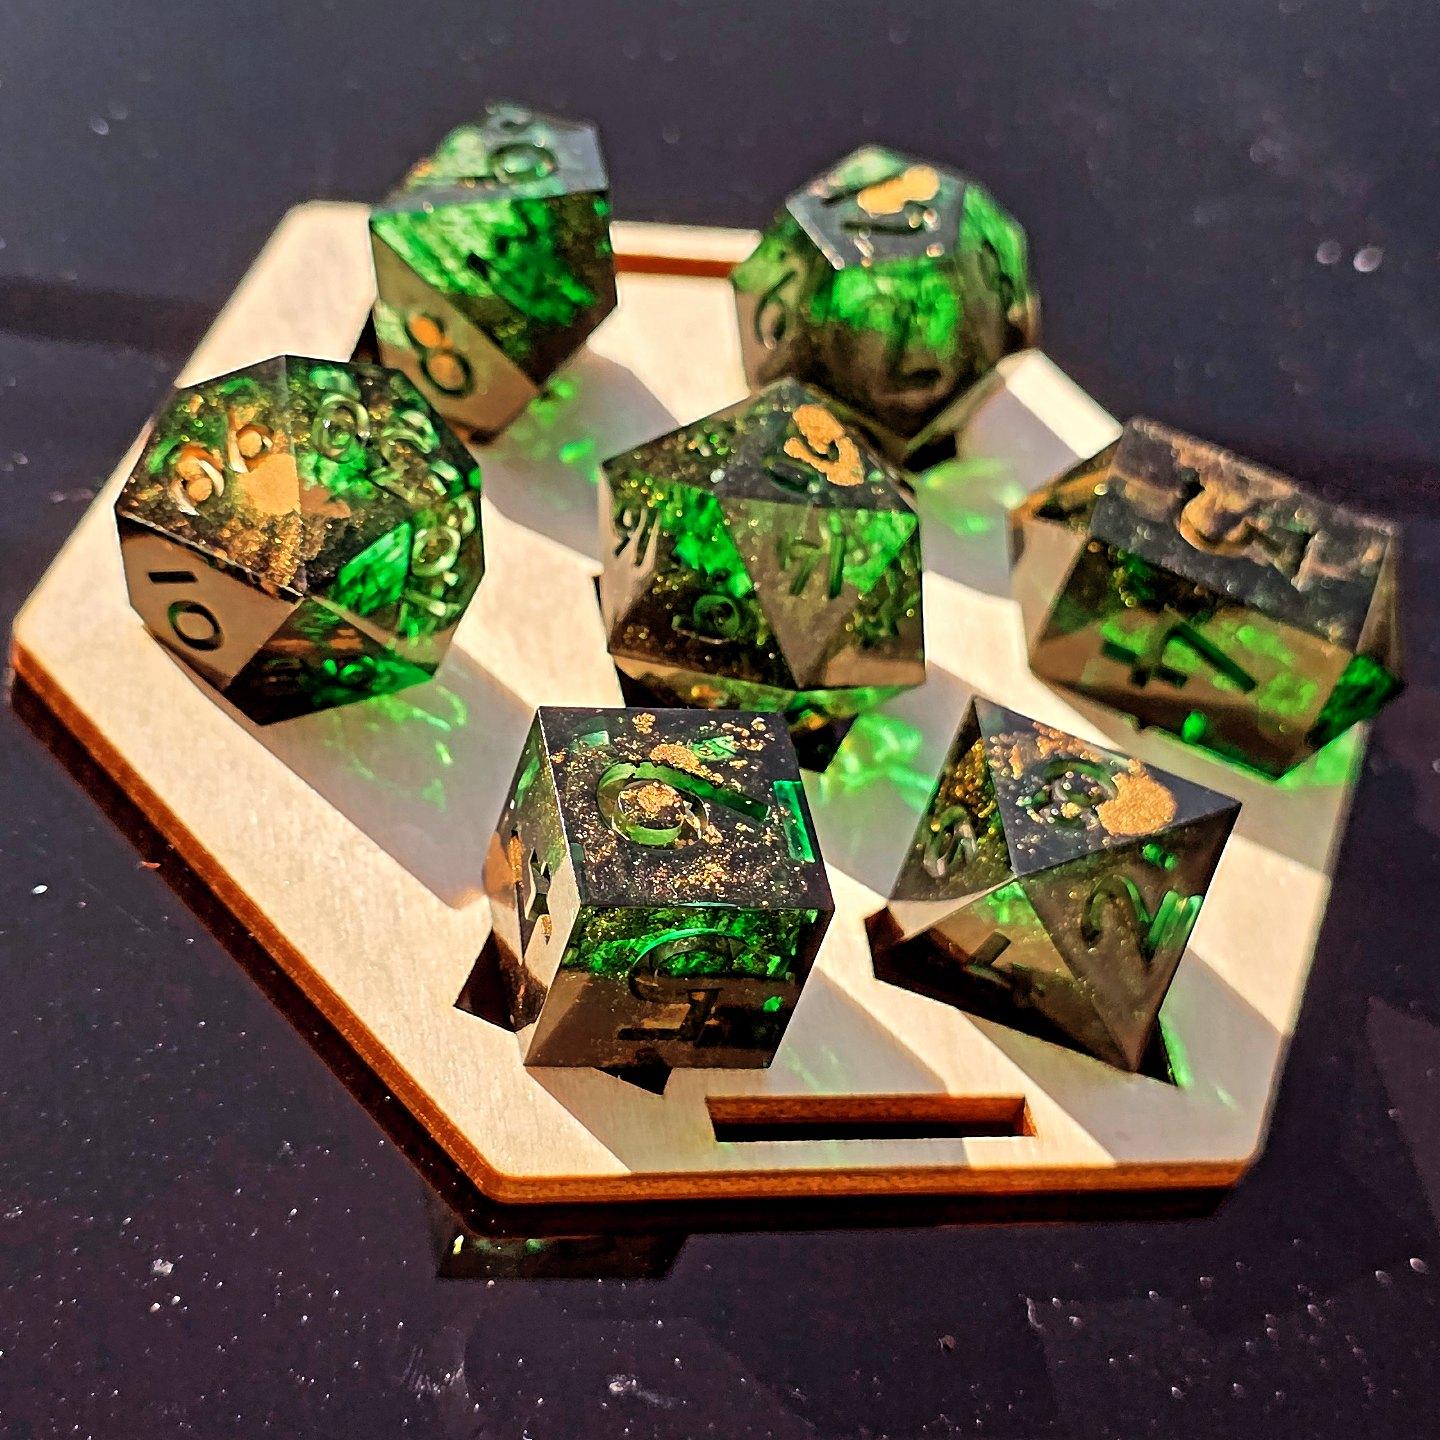
This took some fiddling. Getting them to sit right without falling over, especially stacking, needed patience. I took lots of shots during this phase. Checked the focus constantly – wanted those numbers sharp. I mostly shot from a low angle, getting close to the dice level. Felt it made them look cooler, more substantial.
Tweaking and Finishing Up
I kept adjusting things. Moved a light slightly to change a shadow. Rotated a die so a specific face number was showing better. Played with the camera settings a bit – aperture, shutter speed – just experimenting to see what looked best. Sometimes I zoomed in tight on one or two dice, other times I pulled back to show a group. Mostly trial and error, really. Took a photo, looked at it, changed something, took another.
Final Results
After maybe an hour or so of messing around, I ended up with a bunch of shots I was pretty happy with. The soft lighting worked well, the arrangements looked okay, and the focus was mostly good. Didn’t do much editing afterwards, maybe just a little crop here and there, adjusted the brightness slightly on a few. Overall, a successful little photo session. It’s amazing what you can do with simple gear if you just play with the light and angles.
")


")


