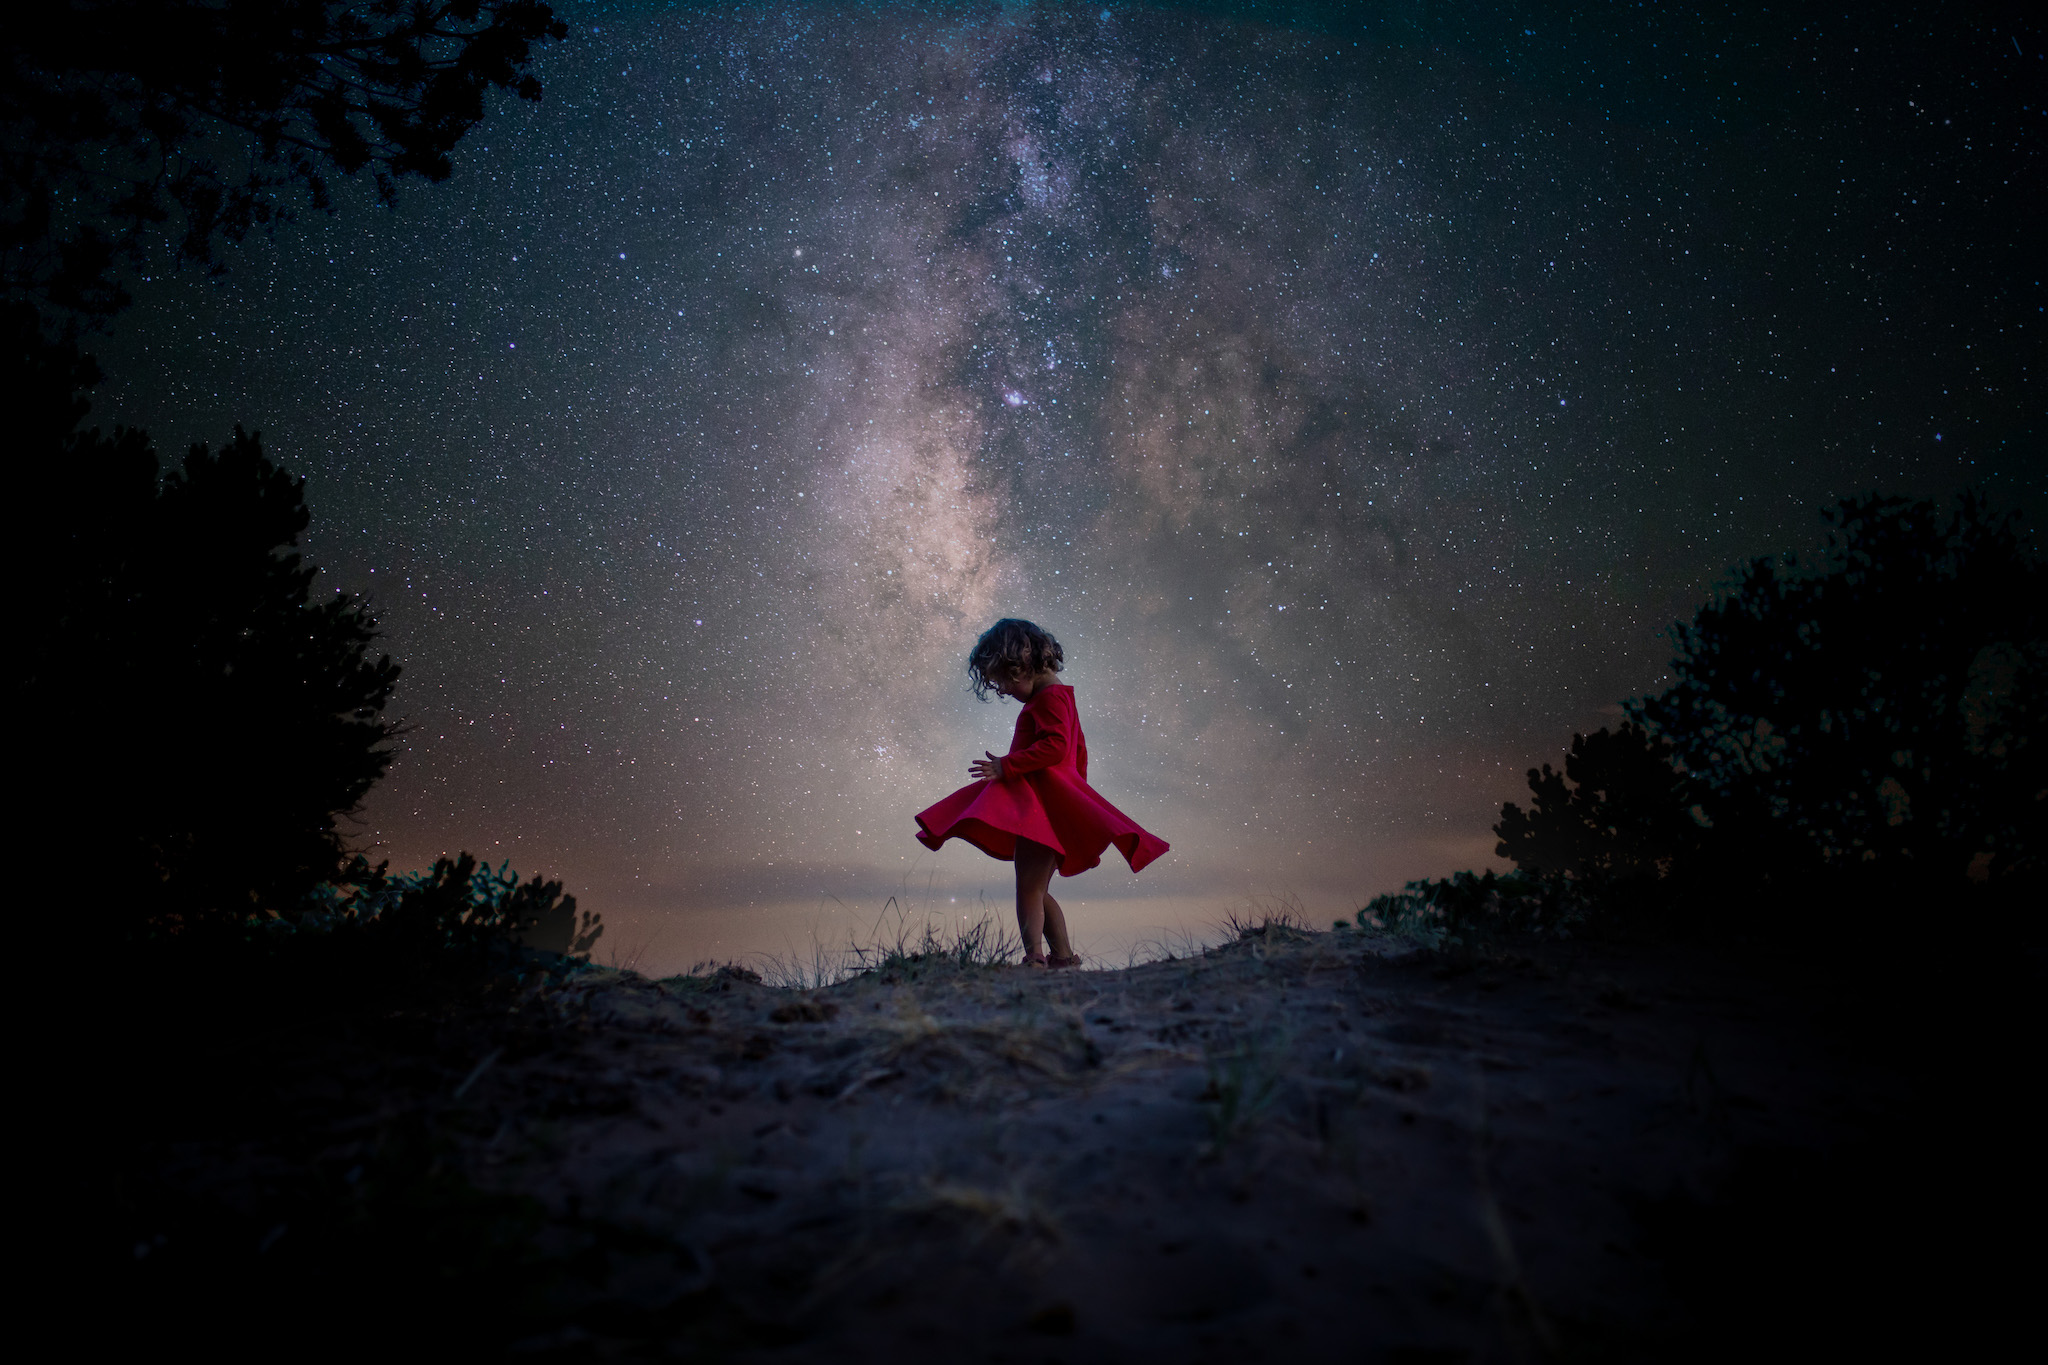
Alright, let me tell you how I figured out shooting the stars. It wasn’t some magic trick, just a bit of trial and error out in the dark.
Figuring Out Where and When
First thing, I knew I couldn’t just step outside my house. Too many streetlights, you know? So, I looked up dark sky spots online, places far from the city glow. Had to drive a bit, but worth it. Then, I checked the weather forecast like crazy. Needed clear skies, obviously. No clouds blocking my view. Also looked at the moon calendar. A new moon phase, or when the moon isn’t up, is best. Makes the stars pop more.
Getting the Gear Ready
I gathered my stuff. Didn’t need anything too fancy, but some things were essential:
- My regular DSLR camera.
- A wide-angle lens. Mine’s not super expensive, just the widest I had. Faster is better (like f/2.8), but I worked with what I got.
- A solid tripod. This is super important. Can’t handhold these shots.
- A remote shutter release. Could also use the camera’s 2-second timer, just to avoid shaking the camera when pressing the button.
- An extra battery. Long exposures drain power, especially when it’s cold.
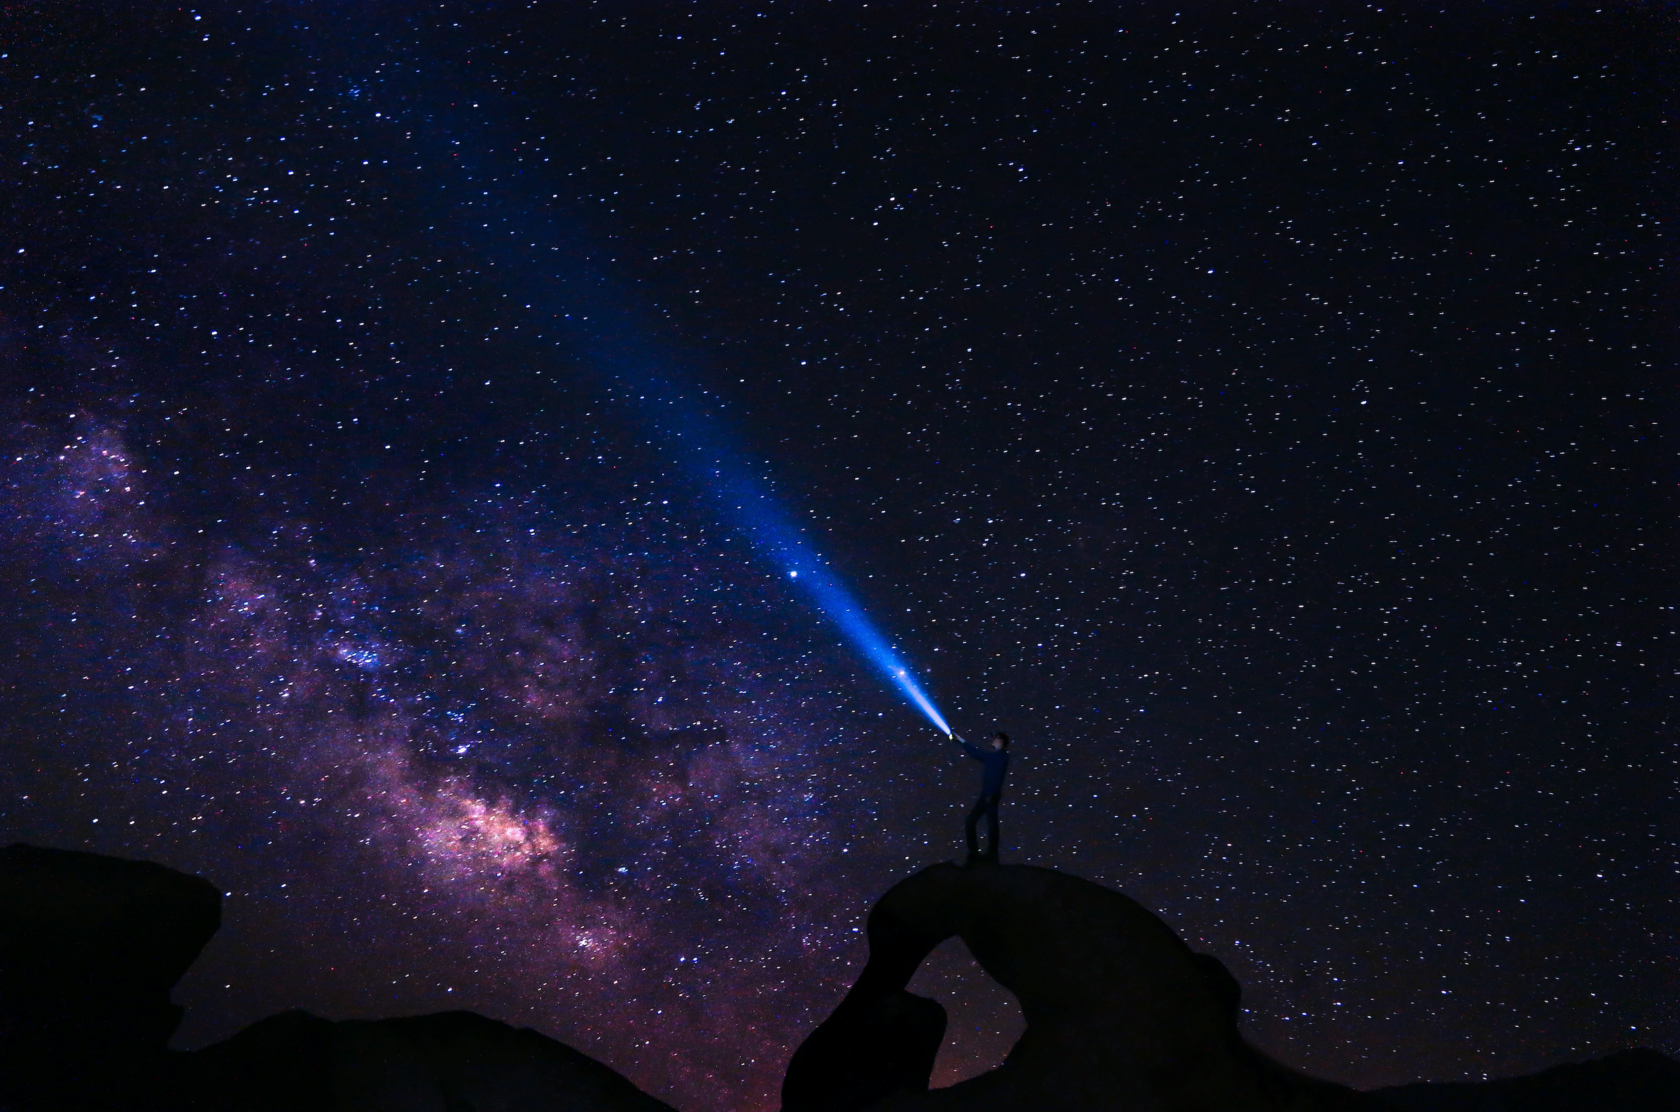
- A flashlight. I put some red tape over mine; helps keep your night vision intact.
Packed it all up and headed out to the spot I picked.
Setting Up in the Dark
Once I got there, I found a good, stable patch of ground. Set up the tripod, made sure it was sturdy. Mounted the camera onto it. Screwed the lens on. It felt a bit clumsy in the dark, but I took my time.
Messing with Camera Settings
This part took the most fiddling. I switched the camera to Manual mode (M). Gotta control everything yourself.
Focusing was tricky. Autofocus is useless in the dark. So, I switched the lens to Manual Focus (MF). Then I pointed the camera at the brightest star I could find, turned on Live View, and zoomed in digitally as much as possible. I carefully turned the focus ring until that star looked like a sharp pinprick of light. Some people tape the focus ring down after this, not a bad idea.
Then came the exposure settings:
- Aperture: I opened it up as wide as possible. On my lens, that was around f/3.5. Let the most light in.
- Shutter Speed: I started around 20 seconds. You can’t leave it open too long, or the stars start making trails because the Earth is rotating. There’s a rule people mention, but honestly, I just took test shots. 20 seconds seemed okay for my lens.
- ISO: This controls sensitivity. I started it high, maybe ISO 1600 or 3200. It makes the image brighter but can also add noise (graininess). Again, it was about testing.
- Other stuff: I set it to shoot in RAW format – gives more flexibility for editing later. Turned OFF image stabilization (or Vibration Reduction) because the camera was on a tripod. Used my remote shutter (or the 2-sec timer) for every shot.
Taking the Actual Photos
Okay, settings roughly dialled in. I pointed the camera towards a patch of sky I liked, maybe with some trees or hills at the bottom for interest. Took the first shot. Waited the 20 seconds. Looked at the picture on the camera screen.
Was it too dark? I bumped up the ISO a bit more, or maybe tried 25 seconds shutter speed. Too bright? Lowered the ISO. Were the stars blurry? Rechecked my manual focus. I kept taking shots, adjusting one setting at a time, checking the results. It takes patience. Standing out there in the quiet dark, just waiting for the shutter.
I took a bunch of photos, trying slightly different angles. Some worked, some didn’t.
Bringing Them Home
After I felt I had some decent shots (and started getting cold), I carefully packed everything up. Back home, I loaded the RAW files onto my computer. Used some basic photo software (like Lightroom) to tweak them. Adjusted things like exposure, contrast, maybe lifted the shadows a bit to see foreground details, and sharpened things slightly. Nothing too complicated, just enough to make the stars stand out nicely against the dark sky.
And that was pretty much it. Just took going out, trying things, and seeing what worked. The first time seeing those tiny specks of light show up properly on my camera screen was pretty cool, I gotta say.
")


")


