
Alright, let me tell you how I get those contact sheets done in Lightroom. It’s something I do pretty often, actually, especially after a big shoot when I just need a quick overview or need to send options to someone without dumping hundreds of full-size files on them.
So, first things first, I fire up Lightroom. Obvious, right? Then I gotta pick the photos I want on the sheet. Usually, I’m in the Library module for this. Sometimes I’ve already got a collection made, which makes it easy. Other times, I just select a whole folder, or I go through and flag the ones I want using the ‘P’ key or something. For this run-through, let’s say I just selected about 30 photos I liked from a recent trip.
Getting to the Print Part
Okay, photos selected. Now, this is where people sometimes get lost. You don’t export them, you gotta go over to the Print module. It’s one of the main tabs up top, usually on the far right. Clicked on that.
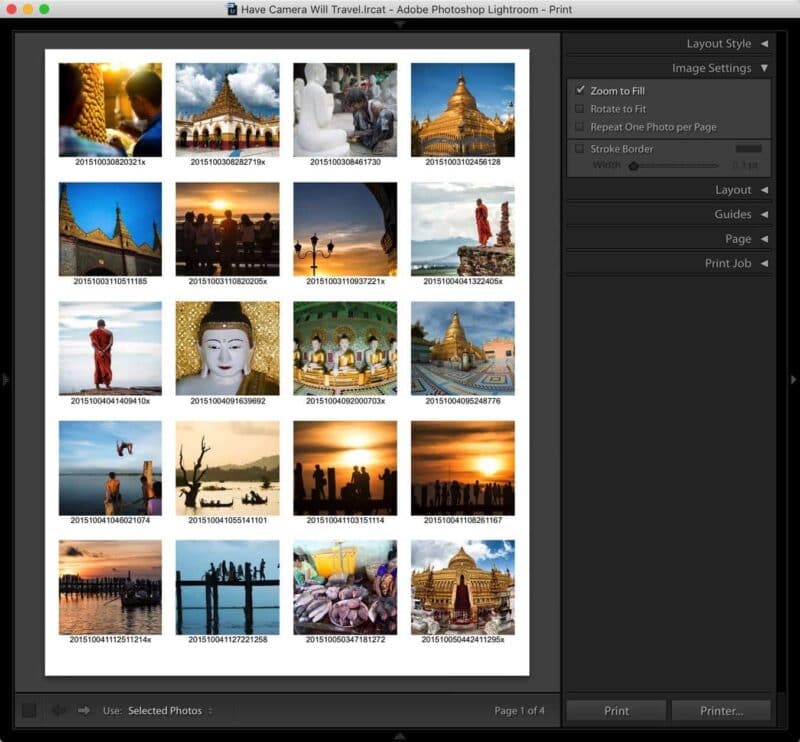
Now my screen changes completely. On the left, you see a bunch of templates. Lightroom comes with some ready to go. I scrolled down through the ‘Lightroom Templates’ section. There are options for single photos, picture packages, stuff like that. What I needed was the Contact Sheet. Usually, there are a few variations, like ‘Contact Sheet II’ or ones with different grid sizes already set up. I just picked the basic ‘Contact Sheet’ one to start.
Making It Look Right
So, I clicked that template, and boom, my selected photos popped into a grid layout in the main window. But it rarely looks exactly how I want it straight away.
Over on the right-hand side, there’s a bunch of panels to tweak things. This is where I spent a minute or two.
- Layout Style: Made sure it was still on ‘Contact Sheet’.
- Image Settings: Didn’t usually touch this much, maybe toggled ‘Rotate to Fit’ if some verticals were acting weird.
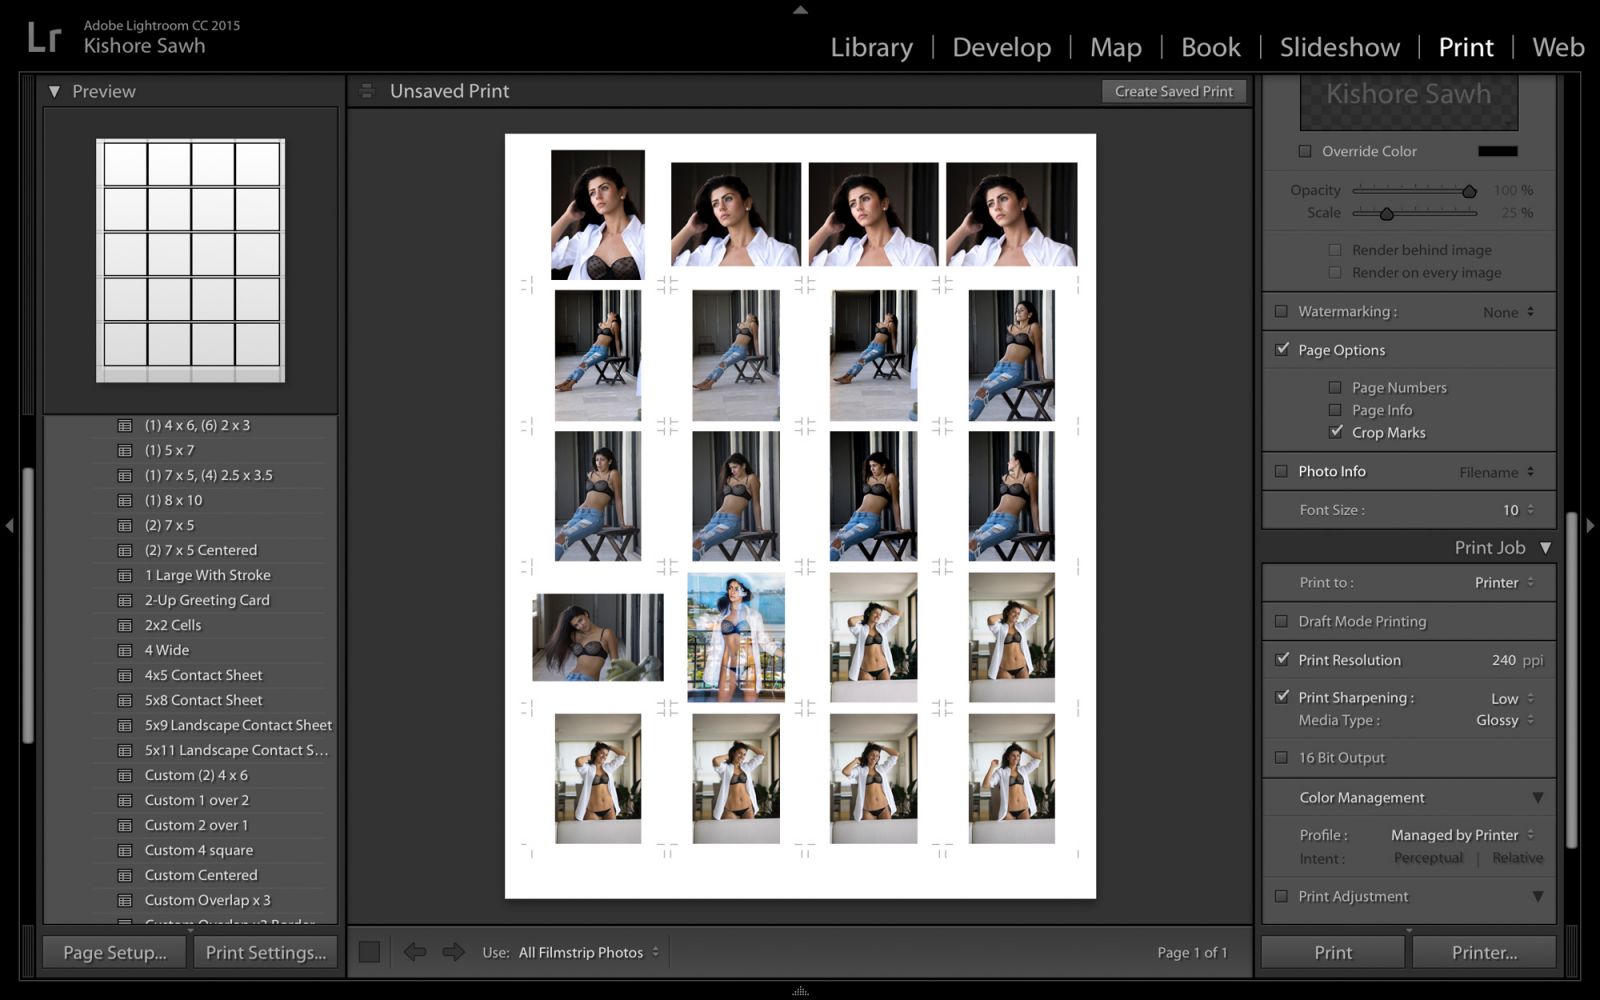
- Layout Panel: This is the important one. I adjusted the Rows and Columns sliders. I wanted more photos per page, so I cranked up the columns to maybe 5 and rows to 6. Watched the preview update. Adjusted the spacing sliders (‘Cell Spacing’ and ‘Cell Size’) until the photos weren’t too cramped but also not too tiny.
- Page Panel: Here’s where I added the filenames. There’s a checkbox for ‘Page Info’ or ‘Photo Info’, something like that. I checked it, and then below that, I could choose what info to show. Clicked the little dropdown and selected ‘Filename’. Suddenly, all the file names appeared under each little thumbnail. Super useful. Sometimes I add other stuff, but filenames are usually enough. I also usually uncheck ‘Identity Plate’ unless I specifically need my logo on it, which I usually don’t for a simple contact sheet.
Printing… But Not Really
Okay, it looked decent in the preview. Now, I didn’t want to actually print it on paper. I needed a digital file. So, down at the bottom left, there’s the ‘Print Job’ panel (might need to scroll down on the right side panels).
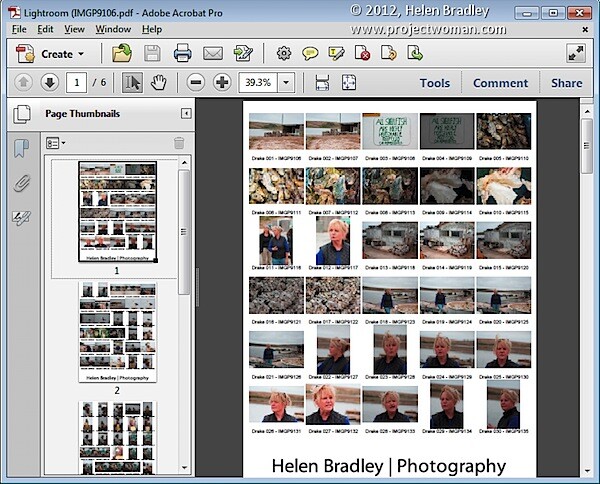
Instead of sending it to my actual ‘Printer’, I clicked the dropdown menu next to ‘Print to:’ and changed it to JPEG File. You could also do PDF if you prefer, but JPEG works fine for me most times.
After selecting JPEG File, some options appeared below it. Set the quality (usually left it around 80-90), the resolution (like 240 or 300 ppi is fine), and importantly, where to save it. There was a button, maybe called ‘Print to File…’ or something similar. Clicked that.
A standard ‘Save As’ box popped up. I gave it a name like ‘Client_Options_Contact_Sheet_*’ and saved it to my desktop or project folder. Lightroom chugged for a few seconds, putting the sheet together.
And that was pretty much it. I went to my desktop, found the JPEG file, opened it up, and had a nice grid of all my selected photos with their filenames underneath. Ready to email or just review myself. It’s not fancy, but it gets the job done when you need to see a bunch of shots at once.
")


")


