
Okay, so today I was messing around in Affinity Photo, trying to swap out a background I’d set up as a smart object earlier. I figured this would be easy, but like always, took me a minute to actually get it done.
Finding the Smart Object Layer
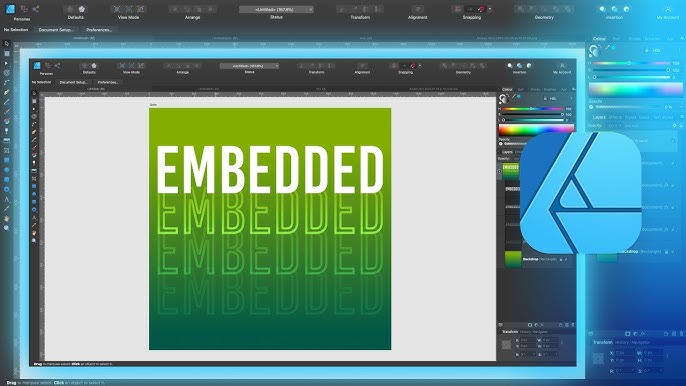
First up, I had to find the right layer. My layers panel was a bit messy, you know how it gets. I looked for the layer that had that little page icon on the thumbnail, the one Affinity uses for embedded documents or smart objects. Found it, it was labelled something like “Background Smart Layer” – lucky I named it properly for once!
Opening the Smart Object
So, I thought, how do I actually edit this thing? I tried poking around the menus, but nothing jumped out. Then I remembered, usually with these kinds of things, you just double-click them. So, I double-clicked right on the layer’s thumbnail in the layers panel.
And bam! It worked. The smart object background opened up in a completely new tab right inside Affinity Photo. It was like opening a separate project file, which I guess it kinda is.
Making the Changes
Alright, now I was in the smart object’s own space. This was the easy part. I just did what I needed to do to change the background. In my case, I wanted a different image entirely.
Here’s basically what I did:
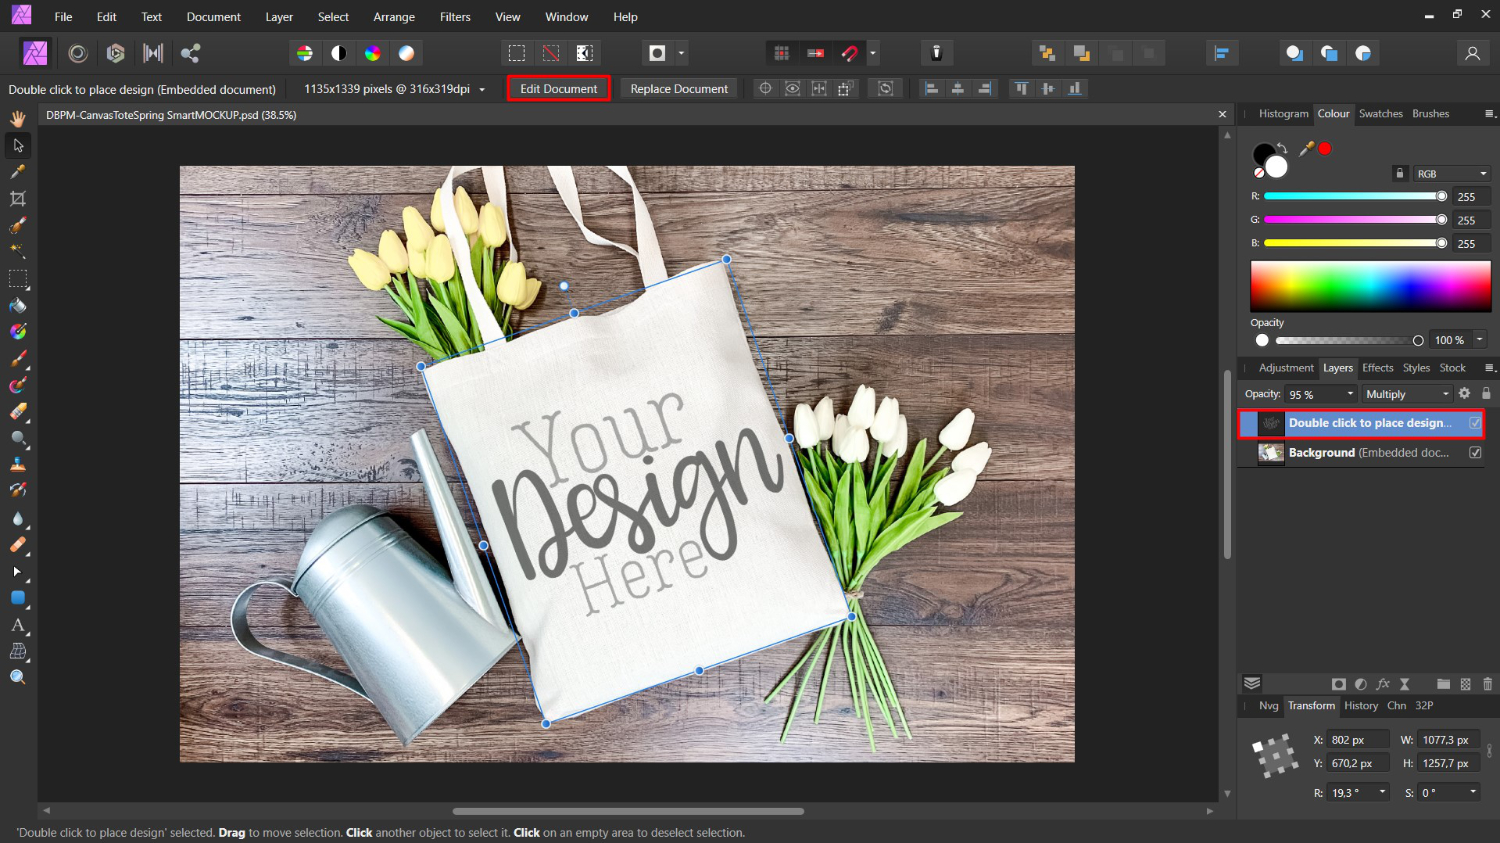
- Deleted the old image layer inside this smart object tab.
- Dragged in a new picture from my computer.
- Resized it a bit so it fit the canvas nicely.
Pretty simple changes, nothing fancy.
Saving and Updating
This is the important bit. After I finished editing the background in its own tab, I just needed to save those changes. I went up to File > Save, or just used the keyboard shortcut (Ctrl+S or Cmd+S). You gotta save the changes in the smart object’s tab.
Then, I just clicked back over to the tab for my main project, the one I was originally working on. And like magic, the background layer instantly updated to show the new picture I had just put in and saved! No extra steps needed in the main file, it just reflected the changes from the saved smart object.
All Done
So yeah, that was it. Felt a bit silly it took me a minute to remember the double-click thing, but it’s actually super straightforward once you do it. Double-click the smart object layer, make your edits in the new tab that opens, save that tab, and boom, your main project updates. Pretty neat way to keep things flexible without messing up your main design directly.
")


")


