")
So, I was digging through some old digital photos the other day, you know, folders deep on a backup drive I haven’t touched in ages. Found this one shot, really liked the memory behind it, but man, it was totally blown out. Like, super bright, almost white in some places. Overexposed, that’s the word.
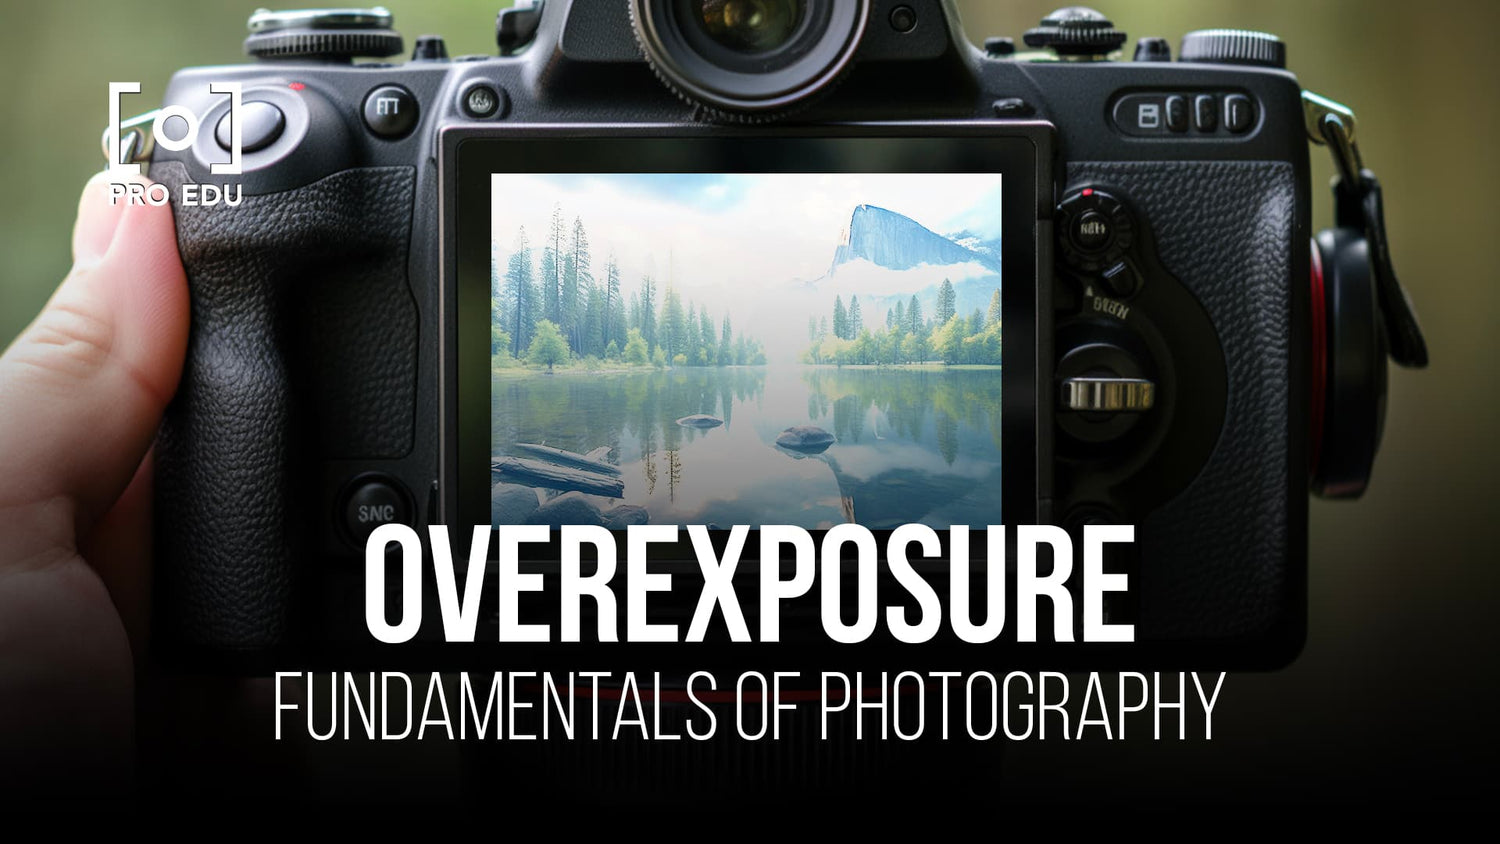
It was pretty bad. The sky was just a white blob, faces looked shiny and flat, couldn’t see any detail in the brighter parts. Just a mess. My first thought was, ugh, this is probably garbage. But I really wanted to see if I could salvage it, you know? It was a good moment.
So, I opened it up in the photo editor I have on my computer. Nothing fancy, just the usual stuff. First thing I did was hit that ‘auto enhance’ button, just to see. Sometimes it works miracles, right? Well, not this time. It kinda dulled everything down but didn’t really fix the blown-out areas. Still looked weird.
Okay, manual mode it is…
Alright, I thought, gotta do this myself. I started messing with the sliders.
- First, I grabbed the exposure slider and pulled it down. Way down. That helped bring the overall brightness back into a normal range.
- But the really bright spots, the highlights, were still pretty bad. So, I found the highlights slider. This was key. I dragged that sucker down a lot. It started pulling back some detail in the sky and on shiny surfaces. Not perfect, but way better.
- Then, things looked a bit flat and greyish. So I nudged the contrast up a bit. Had to be careful though, didn’t want to make it look unnatural or lose detail in the dark spots.
- Speaking of dark spots, I checked the shadows slider. Sometimes pulling down exposure and highlights makes the dark parts too dark. So I lifted the shadows just a tiny bit, brought back some detail there.
- I also played with the whites and blacks sliders a little. Dragged the whites down, blacks down slightly too. It’s kinda like fine-tuning the highlights and shadows, just gives you a bit more control over the absolute brightest and darkest points.
It was a lot of back and forth, honestly. Adjust one thing, see how it affects another. Lower highlights, maybe boost contrast a little more. Check the shadows again. It wasn’t like a magic formula. I just kept tweaking sliders until it looked less like a washed-out mess and more like an actual photo.
Some parts were just gone, you know? If it’s pure white, there’s no data there to recover. So, the sky isn’t perfect, still has some blown-out patches. But compared to the original? Night and day.
The final result? Much, much better. You can actually see people’s faces, the background isn’t just a white haze. It looks like a proper photo now, maybe a bit imperfect, but totally usable. Took maybe 15-20 minutes of fiddling around. Pretty happy I spent the time instead of just deleting it. Sometimes you can save these things with a bit of patience. Worth a shot if you find one like that. Just gotta get in there and move those sliders around.
")


")


