
Okay, so I had a ton of photos on my memory card from a recent trip, and I wanted to clear them off after backing them up. I usually just format the card in my camera, but I figured I’d try deleting them directly from my Mac this time. Here’s how it went down.
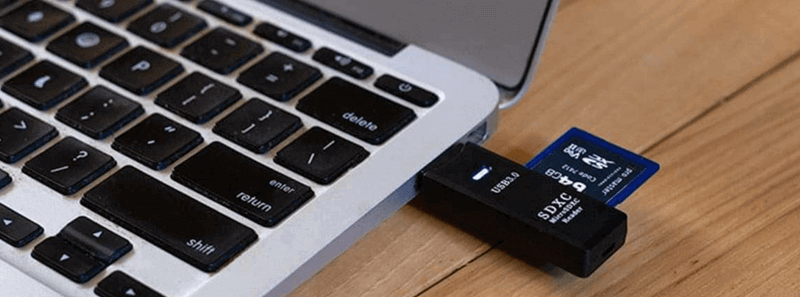
First, I grabbed my memory card and popped it into the SD card reader. Then, I connected the reader to my MacBook. You know, the usual drill.
Once it was connected, the memory card icon showed up on my desktop. I double-clicked it to open it up, and yep, there were all my photos.
Deleting the Photos
- I clicked on the first photo, then scrolled down to the last one.
- I held down the Shift key and clicked on the last photo. Boom – everything was selected.
- Next, I right-clicked (or control-clicked, if you’re a two-finger-tap kind of person) on any of the selected photos.
- A little menu popped up, and I clicked on “Move to Trash”.
All the photos vanished from the memory card window and headed straight to the Trash. Easy peasy, right?
But wait, there’s one more step! Don’t forget to empty the Trash. I right-clicked on the Trash icon in the Dock and chose “Empty Trash”. A warning popped up, asking if I was sure, and I clicked “Empty Trash” again.
And that’s it! The photos were completely gone from the memory card. I ejected the card, put it back in my camera, and it was ready for more picture-taking adventures. It was super simple, maybe even a little faster than formatting it in the camera. I’ll probably do it this way from now on!
")


")


