
Okay, so I’ve been trying to snag some cheap flights for my upcoming trip, and I figured I’d share my process. I’m no expert, but this is what worked for me.
Step 1: Fire Up the Comparison Sites
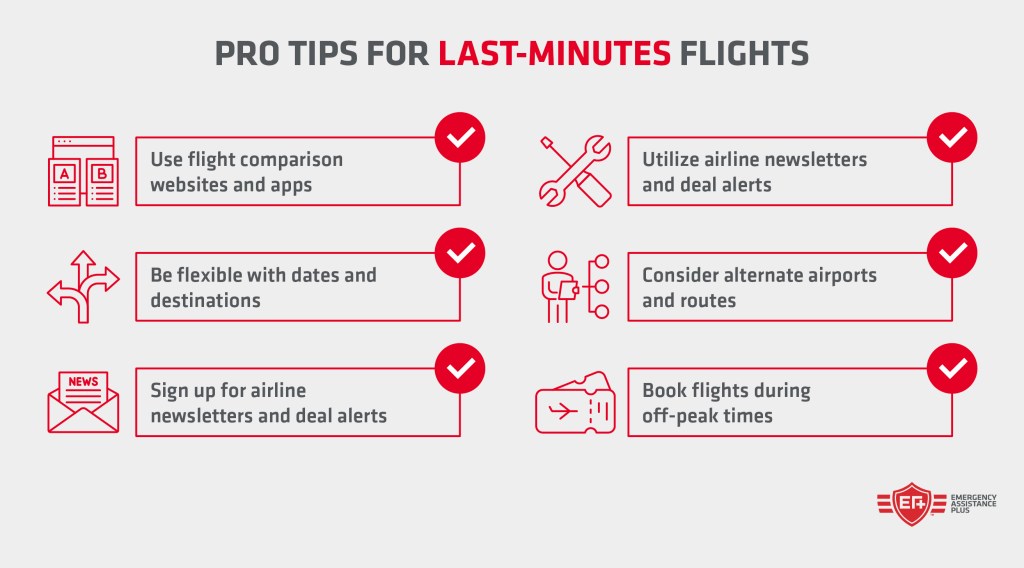
First thing I did was open up a bunch of travel comparison websites. There are many of them, so I just picked a few of the ones that I heard in daily.
Step 2: Input My Trip Details (The Fun Part!)
Next, I started plugging in my travel info. You know, the usual stuff:
- Departure City: Where I’m starting from.
- Destination: Where I want to go!
- Travel Dates: I played around with these a bit. Sometimes shifting your dates by even a day or two can make a big difference in price. I was pretty flexible, which helped.
- Number of Passengers: Just me this time, solo adventure!
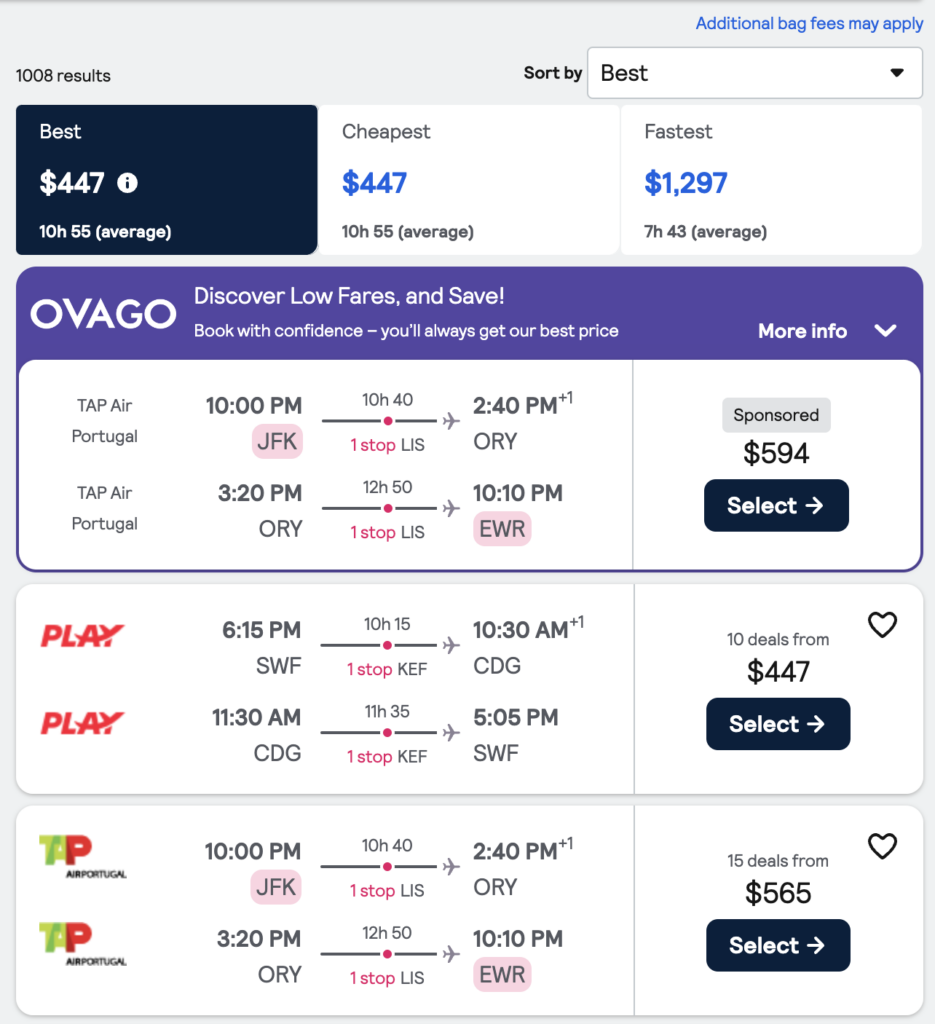
Step 3: Filtering and Sorting (Getting Down to Business)
Once I hit “search,” I got a TON of results. It was a little overwhelming, to be honest. So, I started using the filters to narrow things down:
- Stops: I don’t mind one stop, but I definitely didn’t want anything crazy with multiple layovers.
- Airlines: I’m not super picky about airlines, but I do have a few I prefer, so I sometimes filter those in.
- Price: Obviously, this is a big one! I usually sort by price, lowest to highest.
- Flight Times: I’m not a morning person, so I tend to avoid those super early flights.
I messed around with these filters until I found a few options that looked promising.
Step 4: Looking at the Details (Read the Fine Print!)
Before getting too excited, I made sure to click on each flight and check out the details. Things like baggage fees can really add up, so I wanted to make sure I knew what I was getting into. Some super cheap flights might have really restrictive rules or extra charges, so it’s good to be aware.
Step 5: Double-Checking and Booking
I found one flight by comparing with these tools, and it got the best price I wanted.
It took some time and a bit of patience, but it’s definitely worth it to save some money. Happy travels!


")


