
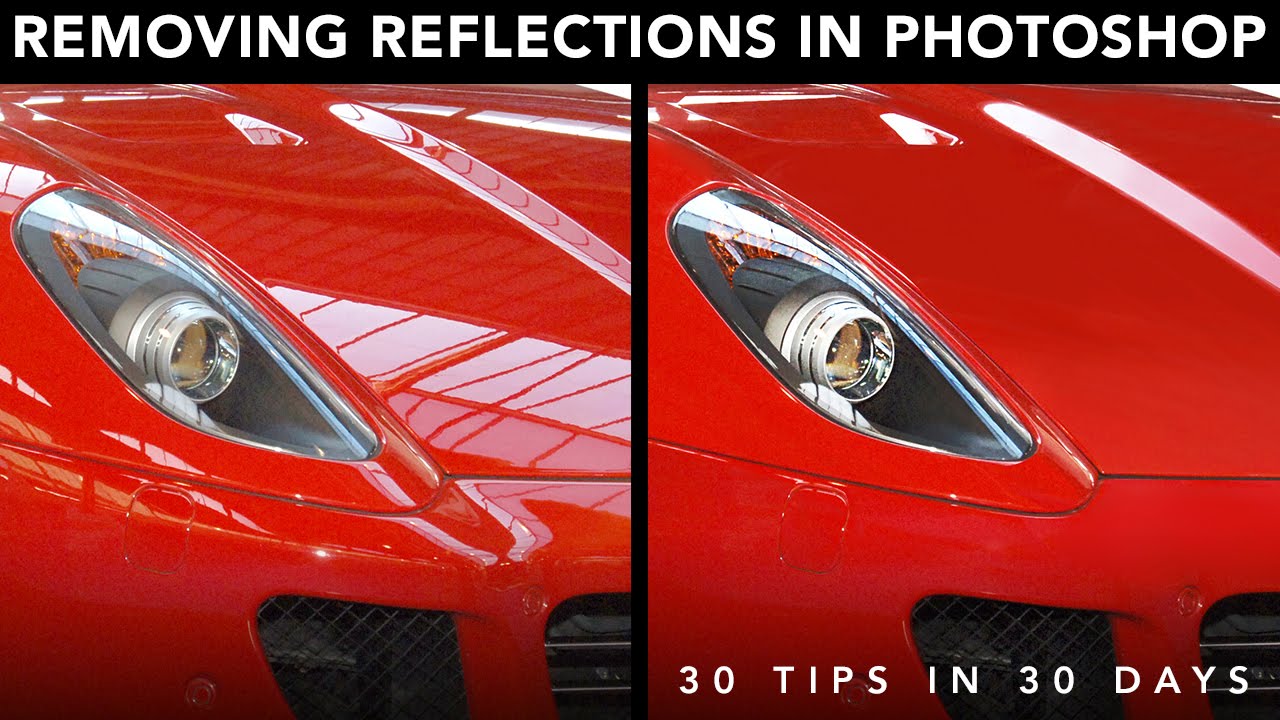
Okay, here’s my attempt at writing a blog post in the style you requested, detailing how to remove object reflections in Photoshop:
Alright, so I had this picture, you see, and it was almost perfect. Almost. There was this annoying reflection of a chrome doorknob right in the middle of what was supposed to be a smooth, wooden surface. It was driving me nuts! I needed to get rid of it, like, yesterday. So I fired up Photoshop and got to work.
My “Get Rid of That Ugly Reflection” Process
First, I opened the image in Photoshop. Duh, right? Gotta start somewhere.
Then, I spent a good few minutes just zooming in real close and looking at the reflection. I wanted to see exactly what I was dealing with. Was it a sharp, defined reflection? Or kinda blurry and soft? This part is actually important, believe it or not.
Next up, I grabbed the Clone Stamp Tool. This thing is my best friend for this kind of stuff. It basically lets you copy pixels from one part of the image and “paint” them over another part. Magic!
- I made sure to set the brush size appropriately. Not too big, not too small. Just right to cover the reflection bit by bit.
- I also played with brush hardness.I want the edges to blend,to avoid hard lines.
- I held down the Alt key (Option key on a Mac, I think?) and clicked on a part of the wood that didn’t have the reflection. This is how you tell Photoshop what pixels to copy.
- Then, I carefully started clicking and dragging over the reflection, using the “good” wood texture to cover it up. Little by little, I painted that sucker away.
It took some patience, I won’t lie. I had to keep re-sampling (Alt-clicking) different areas of the wood to make sure the texture and lighting looked natural. I did not want it to look like I just slapped a big, blurry patch on there.
Sometimes, if the Clone Stamp was being stubborn, I also used the Healing Brush * is good for blending things together even more seamlessly.
After a while, and a lot of little clicks and drags, that chrome reflection was GONE. Vanished! The wood looked smooth and natural, like the doorknob was never even there. Success!
Finally, I saved my work. Very important! You do not wanna lose all that hard work.
So yeah, that’s how I did it. It’s not rocket science, but it does take a little practice to get the hang of the Clone Stamp Tool. Just be patient, zoom in close, and keep sampling those good pixels. You’ll get there!
")


")


