")
Okay, folks, let’s dive into how I added a vignette effect to a photo in Photoshop. It’s actually way easier than you might think.
Open Up Your Image
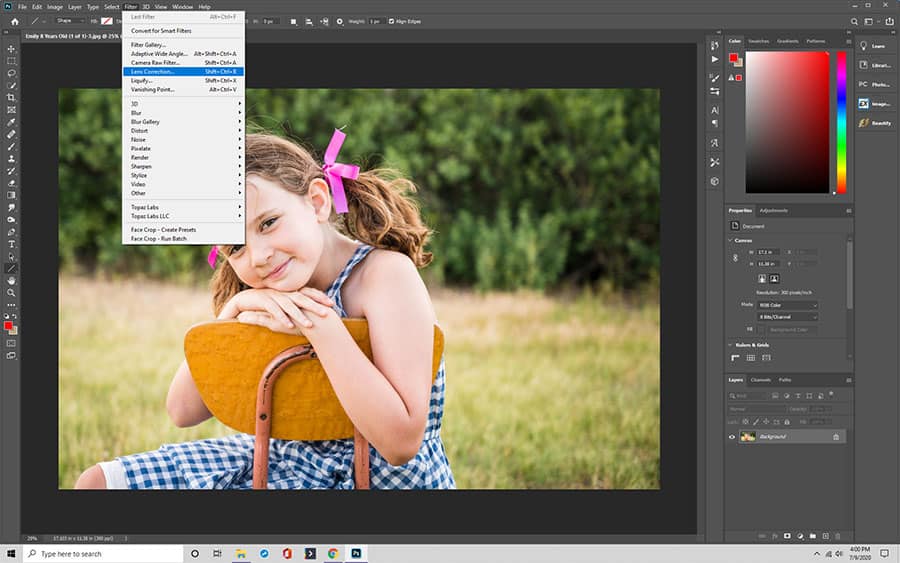
First things first, I opened the image I wanted to work with in Photoshop. I just went to “File” then “Open”, and browsed my folders until I found the right one.
Duplicate the Background Layer
Next, I like to duplicate the background layer. Why? Just in case I mess things up, I’ve always got the original to go back to. I do this by right-clicking on the background layer in the “Layers” panel and hitting “Duplicate Layer”.
Create a New Layer
Then,I create a new blank layer, click the “new layer” * looks like a little square with a plus sign at the bottom of the “Layers” panel.
Grab the Elliptical Marquee Tool
Now for the fun part. I selected the “Elliptical Marquee Tool” (it’s the one that looks like a dotted oval). I made sure the “Feather” setting was at 0px for now – we’ll adjust that later.
I just clicked and dragged on my image to draw an oval. Didn’t worry about being perfect,I just wanted it roughly the shape of the area I didn’t want the vignette to cover.
Set the Feather
With my oval selection still active, I went up to the top menu, clicked “Select,” then “Modify,” and finally “Feather.” This is where the magic happens. I played around with the “Feather Radius” until I got a nice, soft edge that looked good. What looked good? I think I must have set 70px.
Fill the Selection with Black
I made sure my foreground color was set to black. Then, with my feathered oval selection still active, I hit “Alt+Delete” (or “Option+Delete” on a Mac) to fill the outside area with black. Boom! Instant vignette, but a bit harsh.
Adjust the Opacity
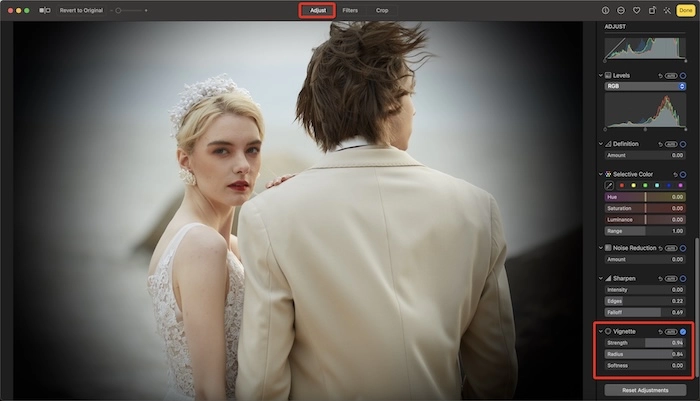
Finally, to soften the vignette, I went back to the “Layers” panel and found the “Opacity” slider for the layer I just filled. I knocked it down until the vignette looked subtle and natural. For me, setting somewhere around 50-70% usually does the trick.
Fine-Tuning (Optional)
- Reshape It: If my oval wasn’t quite right, I use the “Transform” tool (“Ctrl+T” or “Cmd+T”) to resize and reshape it.
- Move It: I grabbed the “Move Tool” (the one that looks like a cross with arrows) and nudged the vignette around until it framed my subject perfectly.
And that’s it! It took me a few tries to get the hang of it, especially the feathering part, but now it’s a piece of cake. Don’t be afraid to experiment with the feather radius and opacity to get the exact look you’re going * fun playing around with it!
")


")


