
Today, I went out to try some outdoor portrait photography. I wanted to play around with fill flash. It was a bit of a learning curve, but I got the hang of it, eventually.

Getting Started
First, I grabbed my camera and my flash. The flash I’m using is just a simple, on-camera one. Nothing too fancy. I made sure everything was charged up, then I headed outside with my friend who agreed to be my model.
Figuring Out the Settings
We found a nice spot in the park with some trees in the background. The sun was pretty bright, which was good for testing the fill flash. I started by setting my camera to aperture priority mode. I dialed in an aperture of around f/5.6 to get a decent depth of field.
Then, I took a test shot without the flash. My friend’s face was a bit too dark because of the bright sunlight behind her. This was where the fill flash would come in handy. I turned on my flash and set it to TTL mode. This mode lets the camera and flash figure out the flash power automatically.
Taking the Shots
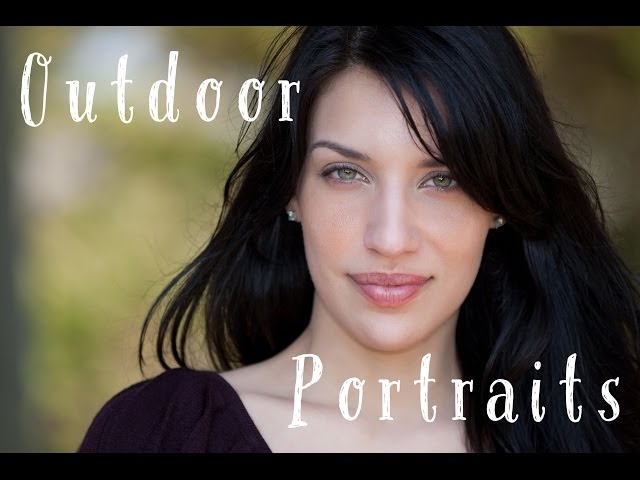
I took another shot with the flash on. The difference was immediately noticeable! Her face was much better lit, but it didn’t look unnatural. The flash just filled in the shadows and made her stand out from the background.
I played around with the flash exposure compensation a bit. I lowered it a little to make the flash effect more subtle. It took a few tries to get it right, but once I did, I was pretty happy with the results.
Experimenting with Different Angles
Next, we moved around to different spots and tried different angles. I wanted to see how the flash would work with the sun in different positions. We found that the fill flash worked best when the sun was behind my model, creating a nice rim light effect.
When the sun was directly overhead, the flash had a harder time. I had to crank up the flash power manually. It was a bit trickier, but I still managed to get some decent shots.
Final Thoughts
Overall, it was a fun and educational experience. I learned a lot about using fill flash in outdoor portraits. It’s definitely a useful technique to have in your toolkit. It can really make your subject pop and add a professional touch to your photos.
- Start with your camera in aperture priority mode.
- Use TTL mode on your flash for simplicity.
- Adjust flash exposure compensation to fine-tune the effect.
- Experiment with different angles and lighting conditions.
- Practice, practice, practice!
That’s it for my little outdoor portrait fill flash adventure. Hope you found this helpful or at least a little bit interesting. Go out there and try it yourself! Trust me, it’s a lot of fun.
")


")


