.")
Okay, folks, let’s dive into how I actually got my US student visa. It felt like a HUGE deal at the time, but looking back, it’s a pretty straightforward process if you follow the steps.
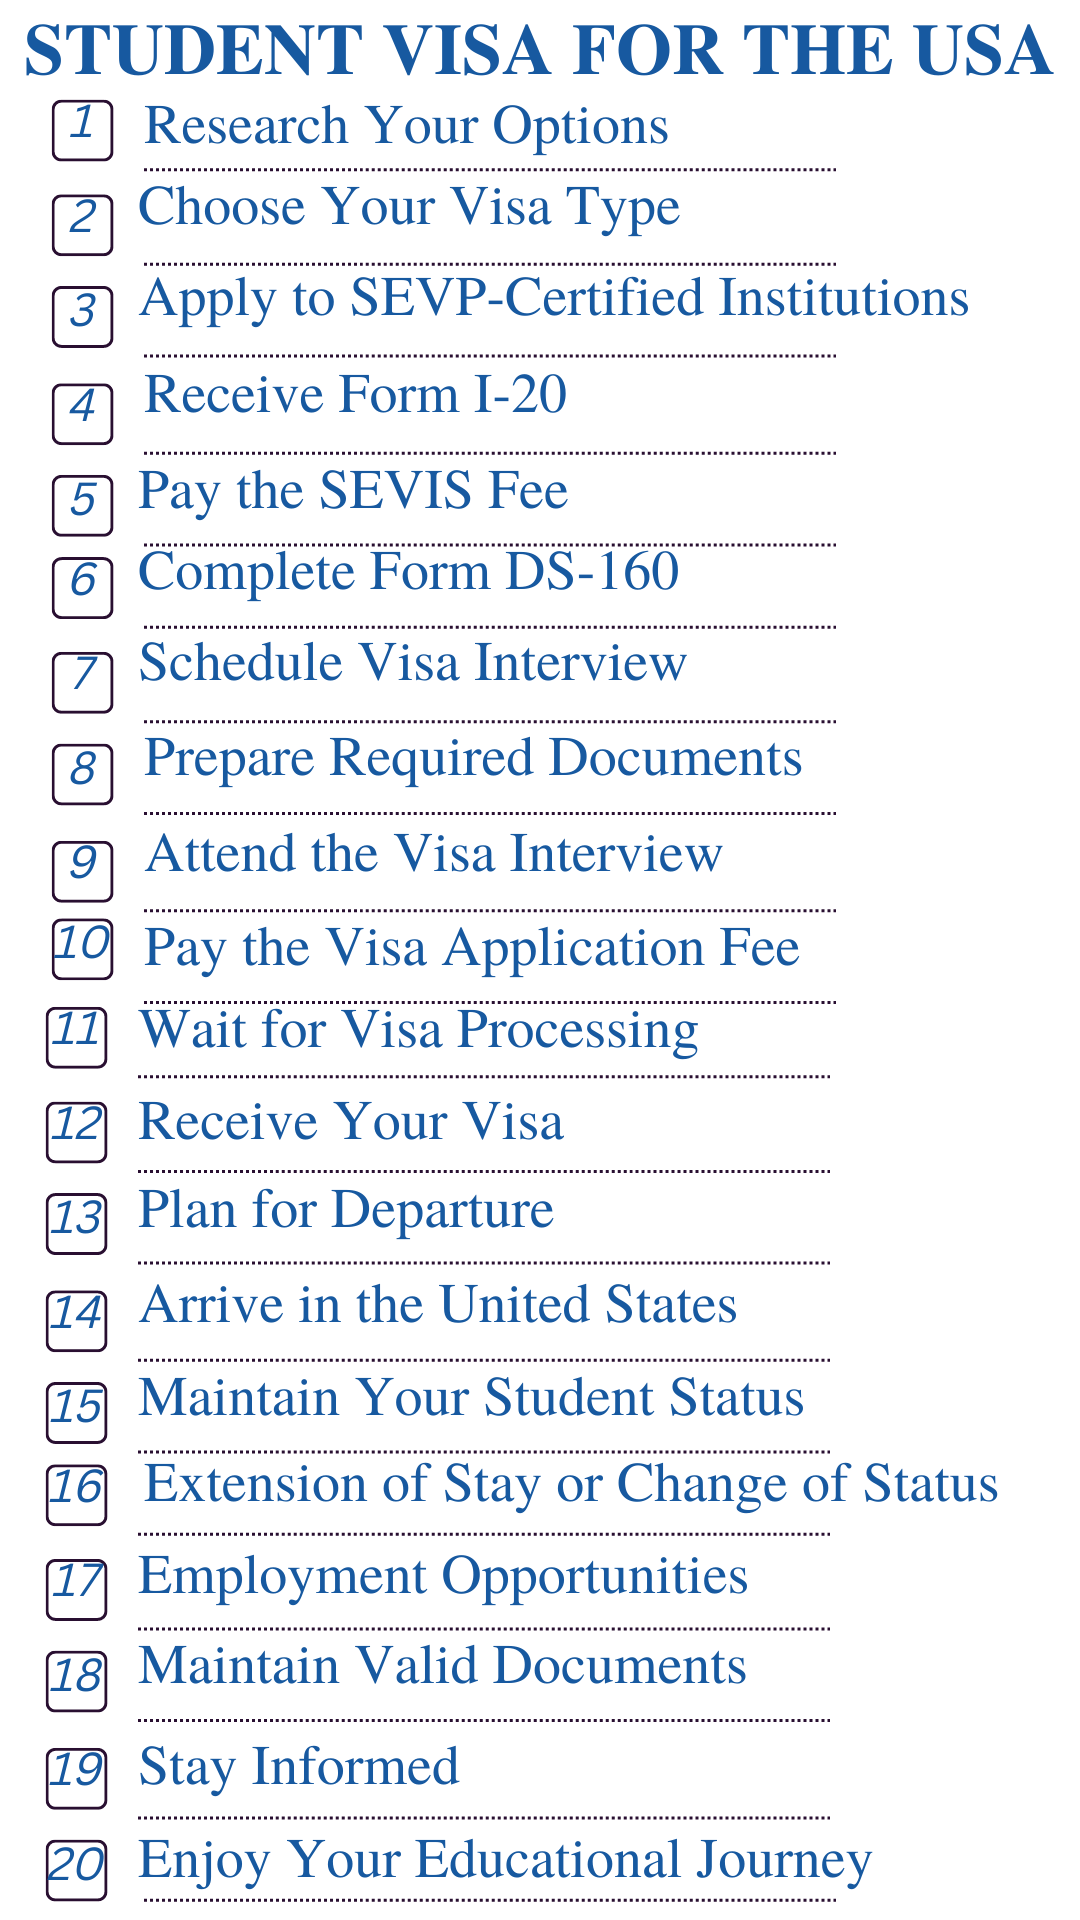
Getting Started: The I-20 Form
First things first, I needed that golden ticket – the I-20 form. This is basically your school saying, “Yep, we’ve accepted this student, and they’re good to go.” I applied to a few universities (the application process itself is a whole other story!), and once I got accepted, the university I chose sent me the I-20. Make sure your name and all the details on it are 100% correct. Double, triple-check it!
Paying the SEVIS Fee
Next up, money. I had to pay the SEVIS I-901 fee. This is basically a fee to get into the US student tracking system. I went to the website, filled in the details from my I-20, and paid the fee online with my credit card. Super easy, just make sure you keep the receipt!
Filling Out the DS-160 Form
This is where things got a little more involved. The DS-160 form is the online nonimmigrant visa application. It’s long, and it asks for EVERYTHING. I mean, everything. Past travel history, family info, education, work… you name it. My advice? Set aside a good chunk of time, gather all your documents beforehand (passport, I-20, acceptance letter, etc.), and take your time filling it out. I made sure to be as accurate and honest as possible. After you submit, you’ll get a confirmation page with a barcode – you NEED this, so print it out!
Scheduling the Visa Interview
With the DS-160 done, it was time to schedule my interview at the US embassy. I went to the embassy’s website, created an account, and followed the instructions to book an appointment. There were usually a few different time slots available, so I picked one that worked best for me. I also had to pay the visa application fee at this stage.
Preparing for the Interview
This was the part I was most nervous about. I spent days reading up on common interview questions and practicing my answers. I gathered all the required documents:

- My passport (valid for at least six months beyond my intended stay)
- The DS-160 confirmation page
- My I-20 form
- SEVIS fee payment receipt
- Visa application fee payment receipt
- Photos (make sure they meet the specific requirements!)
- Financial documents (bank statements, proof of funding)
- Any documents that show my ties to the Country.(To show I am planning to get back.)
I organized everything neatly in a folder, so I wouldn’t be fumbling around during the interview.
The Visa Interview
On the day of the interview, I arrived early, dressed neatly, and tried to stay calm. The interview itself was pretty quick. The consular officer asked me some basic questions about my study plans, my financial situation, and my intentions after graduation. I answered honestly and confidently, making sure to emphasize my plans to return home after completing my studies. I presented my documentation when need.
Getting the Visa!
A few days after the interview, I checked the status of my application online, and… it was approved! I received my passport back a short time later, with the visa stamped inside. Woohoo! It was a huge relief, and I was officially one step closer to studying in the US.
So, that’s the whole process, from start to finish. It might seem daunting at first, but if you break it down into smaller steps and stay organized, it’s totally manageable. Good luck to everyone applying!


")


