
Okay, so I’ve been messing around with infrared photography for a while, and I finally figured out a decent way to get that cool, surreal look using Photoshop. It’s not exactly like using a real infrared filter on your camera, but it’s a pretty good workaround if you don’t have one, and it’s a lot of fun to play with.
My Infrared Photo Converter Process
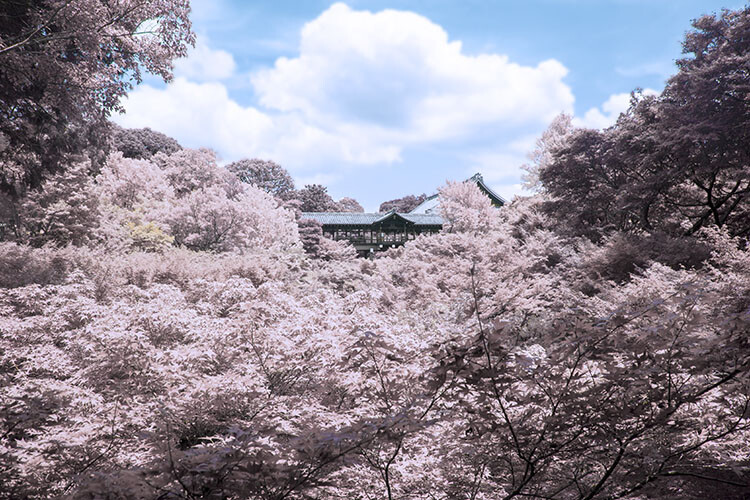
First, I grabbed a photo I took a while back – a landscape shot with lots of green trees and a bright blue sky. The key here is to have a photo with a good amount of foliage, because that’s where the infrared effect really shines.
I opened it up in Photoshop. The first thing I always do is duplicate the background layer (right-click the layer, then “Duplicate Layer”). This way, I’m not messing with the original image.
Next, I went to the Channels panel (if you don’t see it, go to Window > Channels). I clicked on the Red channel, then went to Image > Adjustments > Channel Mixer.
Here’s the fun part. In the Channel Mixer, I set the Red output channel to 0% for Red, and cranked the Blue source channel up to +200%. This is swapping the red and blue channels, which is the basic start of the infrared look.
Then, I selected the Blue channel in the Channels panel, and did the same thing – Channel Mixer. This time, I set the Blue output channel to 0% for Blue, and the Red source channel to +200%. It’s basically flipping the colors around.
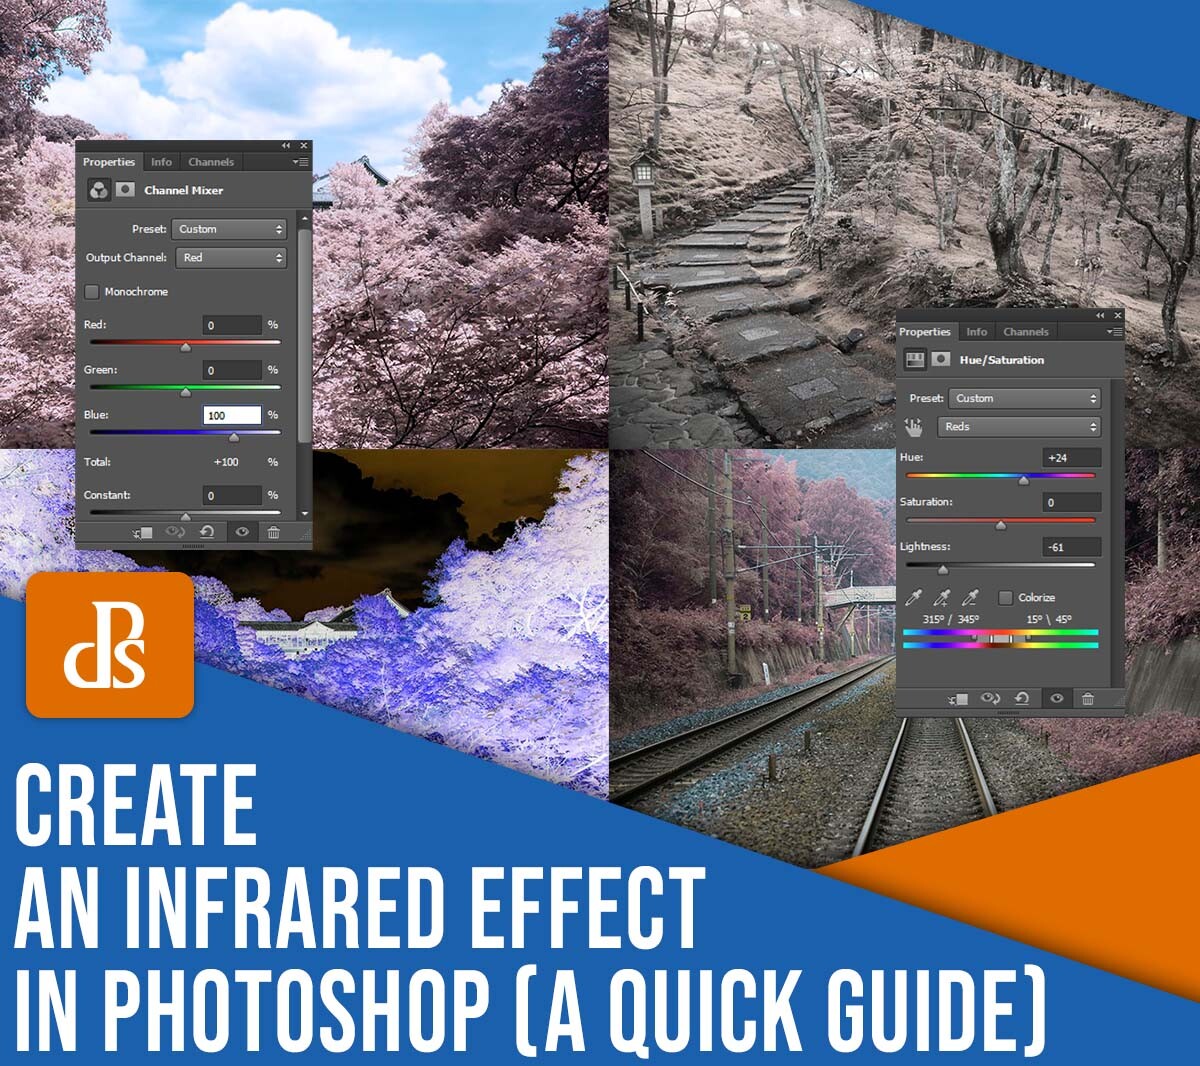
Now, the image looked pretty wild – a lot of reds and oranges where the greens used to be. To fine-tune it, I added a Hue/Saturation adjustment layer (Layer > New Adjustment Layer > Hue/Saturation).
I played around with the Hue slider, shifting the colors until I got that classic infrared look – usually somewhere in the pink/purple range for the foliage. I also adjusted the Saturation and Lightness a bit to get the contrast and brightness right. It’s really about experimenting here to see what looks best for your specific photo.
Sometimes, I also add a Black & White adjustment layer and tweak the individual color sliders to fine-tune the contrast even more. For example, I might darken the blues (which were originally the sky) to make the “infrared” foliage pop even more.
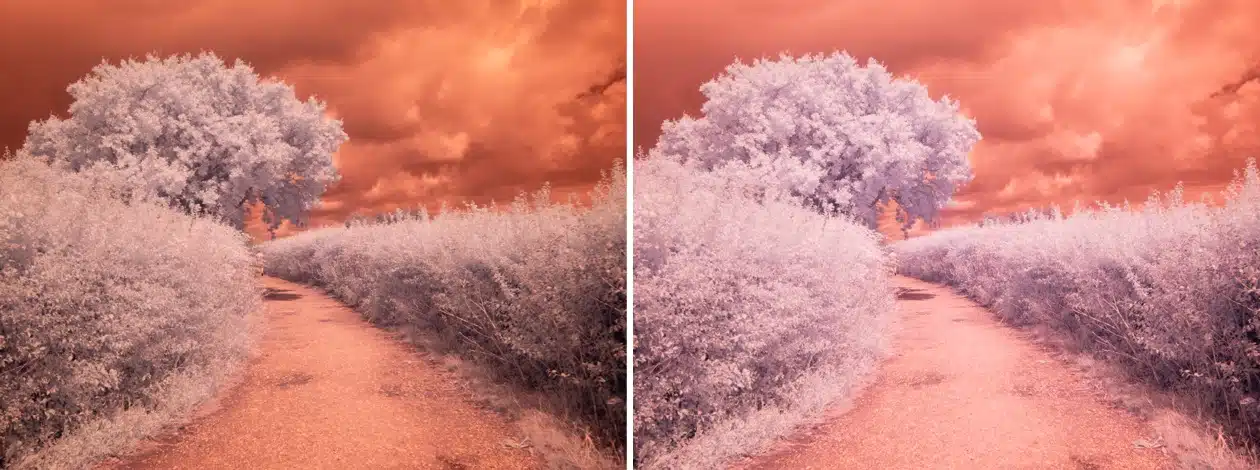
Finally, I added a bit of sharpening (Filter > Sharpen > Unsharp Mask) to make the details crisp. Don’t overdo it, though – just a subtle boost is usually enough.
And that’s it! It might sound like a lot of steps, but once you do it a few times, it becomes pretty quick. The best part is that you can save your adjustments as a preset, so you can easily apply the same effect to other photos. It’s all about experimentation and finding what looks good to your eye. I am super happy with how the photo turned out!
")


")


