
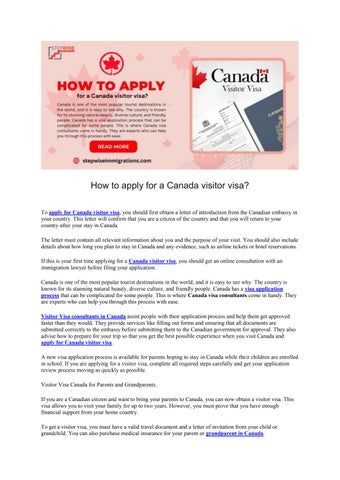
Okay, so I finally got around to applying for a family visa to Canada. It was a bit of a process, so I figured I’d share my experience in case it helps anyone else out there.
Figuring Out Which Visa We Needed
First things first, I had to figure out exactly which visa we needed. There are a bunch of different options, and it gets confusing fast. We’re talking about sponsoring my spouse and kids, so it turned out we needed the “Family Class” sponsorship. I spent a good chunk of time just reading through the government’s website to make sure I had the right one.
Gathering All the Documents
Man, the document gathering was intense. It felt like I was digging up my entire life history! Here’s a glimpse of what I had to collect:
- Birth certificates: For everyone, of course.
- Marriage certificate: The original, plus a certified translation.
- Passports: Made sure everyone’s was up-to-date with plenty of validity left.
- Police certificates: From every country each of us had lived in for more than six months since turning 18. This was a bit of a pain, honestly.
- Medical exams: We all had to get medical exams done by a panel physician approved by the Canadian government.
- Proof of relationship: This was fun – collecting photos, letters, anything that showed our relationship was genuine.
- Proof of financial support: I had to show I could financially support my family in Canada. Bank statements, employment letters, the works.
It took weeks, I tell you, weeks to collect everything. And there were a few hiccups along the way, like having to re-order a birth certificate because I couldn’t find the original.
Filling Out the Application Forms
The application forms themselves were pretty long and detailed. I took my time, double-checked everything, and made sure I didn’t miss anything. There were sections about our personal history, work history, education, travel history – you name it. I also had to write a letter explaining our situation and why we wanted to move to Canada.
Paying the Fees
The fees are not cheap. I swallowed hard and paid online. I printed out that receipt faster than you can imagine. It’s good to keep a hardcopy with your supporting documents. I also had to budget this out from our savings.
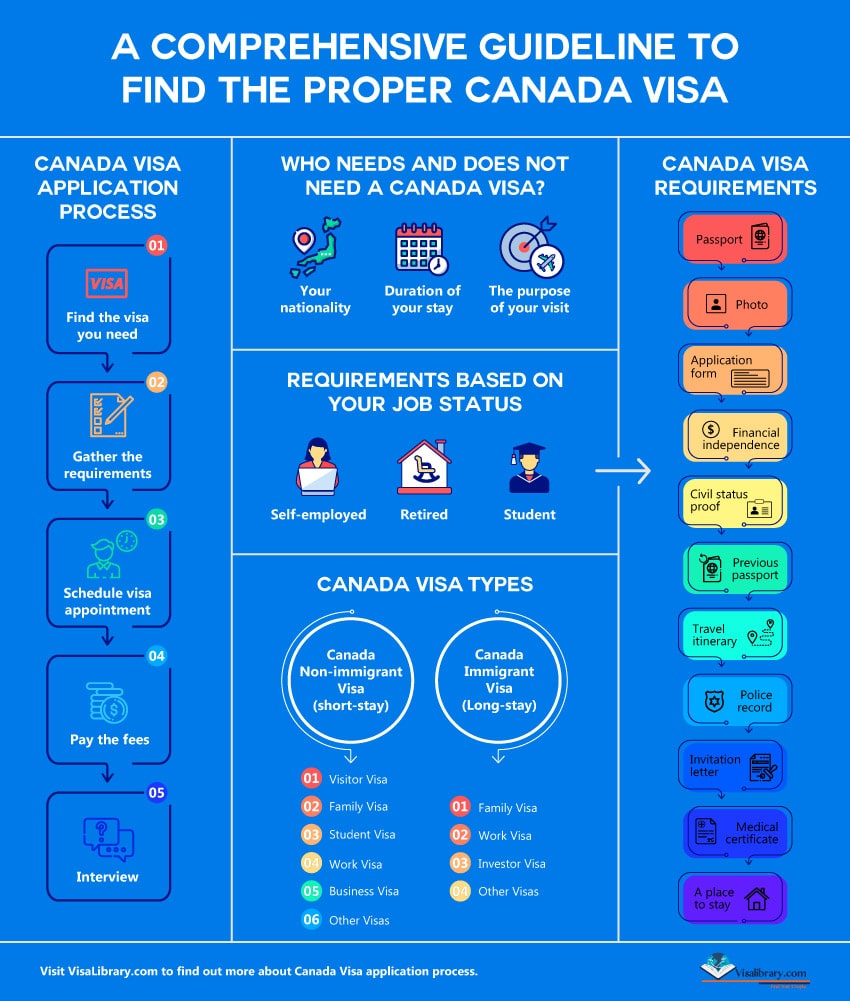
Submitting the Application
I opted to submit the application online. I scanned all the documents (and I mean ALL of them), made sure they were clear and legible, and uploaded them to the online portal. After I hit “submit,” I felt a huge wave of relief. I had a friend who missed including a document. It delayed his process by a long time!
Waiting and Following Up
Now comes the waiting game. It can take months, even over a year, to process these applications. I’ve been checking the status online regularly, just to make sure everything is moving along. I also received a confirmation email with an application number, so I’m keeping that handy.
Finally, after many anxiety-filled months, I got a response. My application was approved! It’s been a long road, but this approval is proof that it has all been worth it.
So, that’s my experience so far. It’s definitely a marathon, not a sprint. My biggest advice? Be organized, be patient, and don’t be afraid to ask for help if you get stuck. Good luck to anyone else going through this!


")


