
Okay, here’s my blog post about creating a travel schedule on a budget, written from my personal experience:

Alright, so I wanted to take a trip, but my bank account was looking a little sad. I needed a vacation, but I definitely didn’t want to come back broke. So, I started figuring out how to make a travel schedule that wouldn’t bankrupt me.
Step 1: Picking a Destination (and Time!)
First, I brainstormed. Where did I actually want to go? I made a list of places, from super-local to kinda-far-away. Then, I did some digging on travel blogs. What did you do? Search travel blogs and find out where the best place is to visit.
The biggest thing? I checked out the “off-season” for each place. Going during the peak season is a surefire way to pay top dollar. Traveling in the shoulder season (just before or after peak) or even the off-season can save you serious cash on flights and hotels.
Step 2: Flight Frenzy
Once I had a few destination/time combos in mind, I dove into flight searching.I compared prices like it was my job. Seriously, I had tabs open for days. Flexibility is key here. If you can shift your dates by even a day or two, you might find a much cheaper flight.
Step 3: Accommodation Action
Next up, finding a place to crash. I am not a very rich person, so I ditched to find a place that much cheaper. After this, I compared the prices, features, and locations. It’s like a puzzle, trying to find the best value!
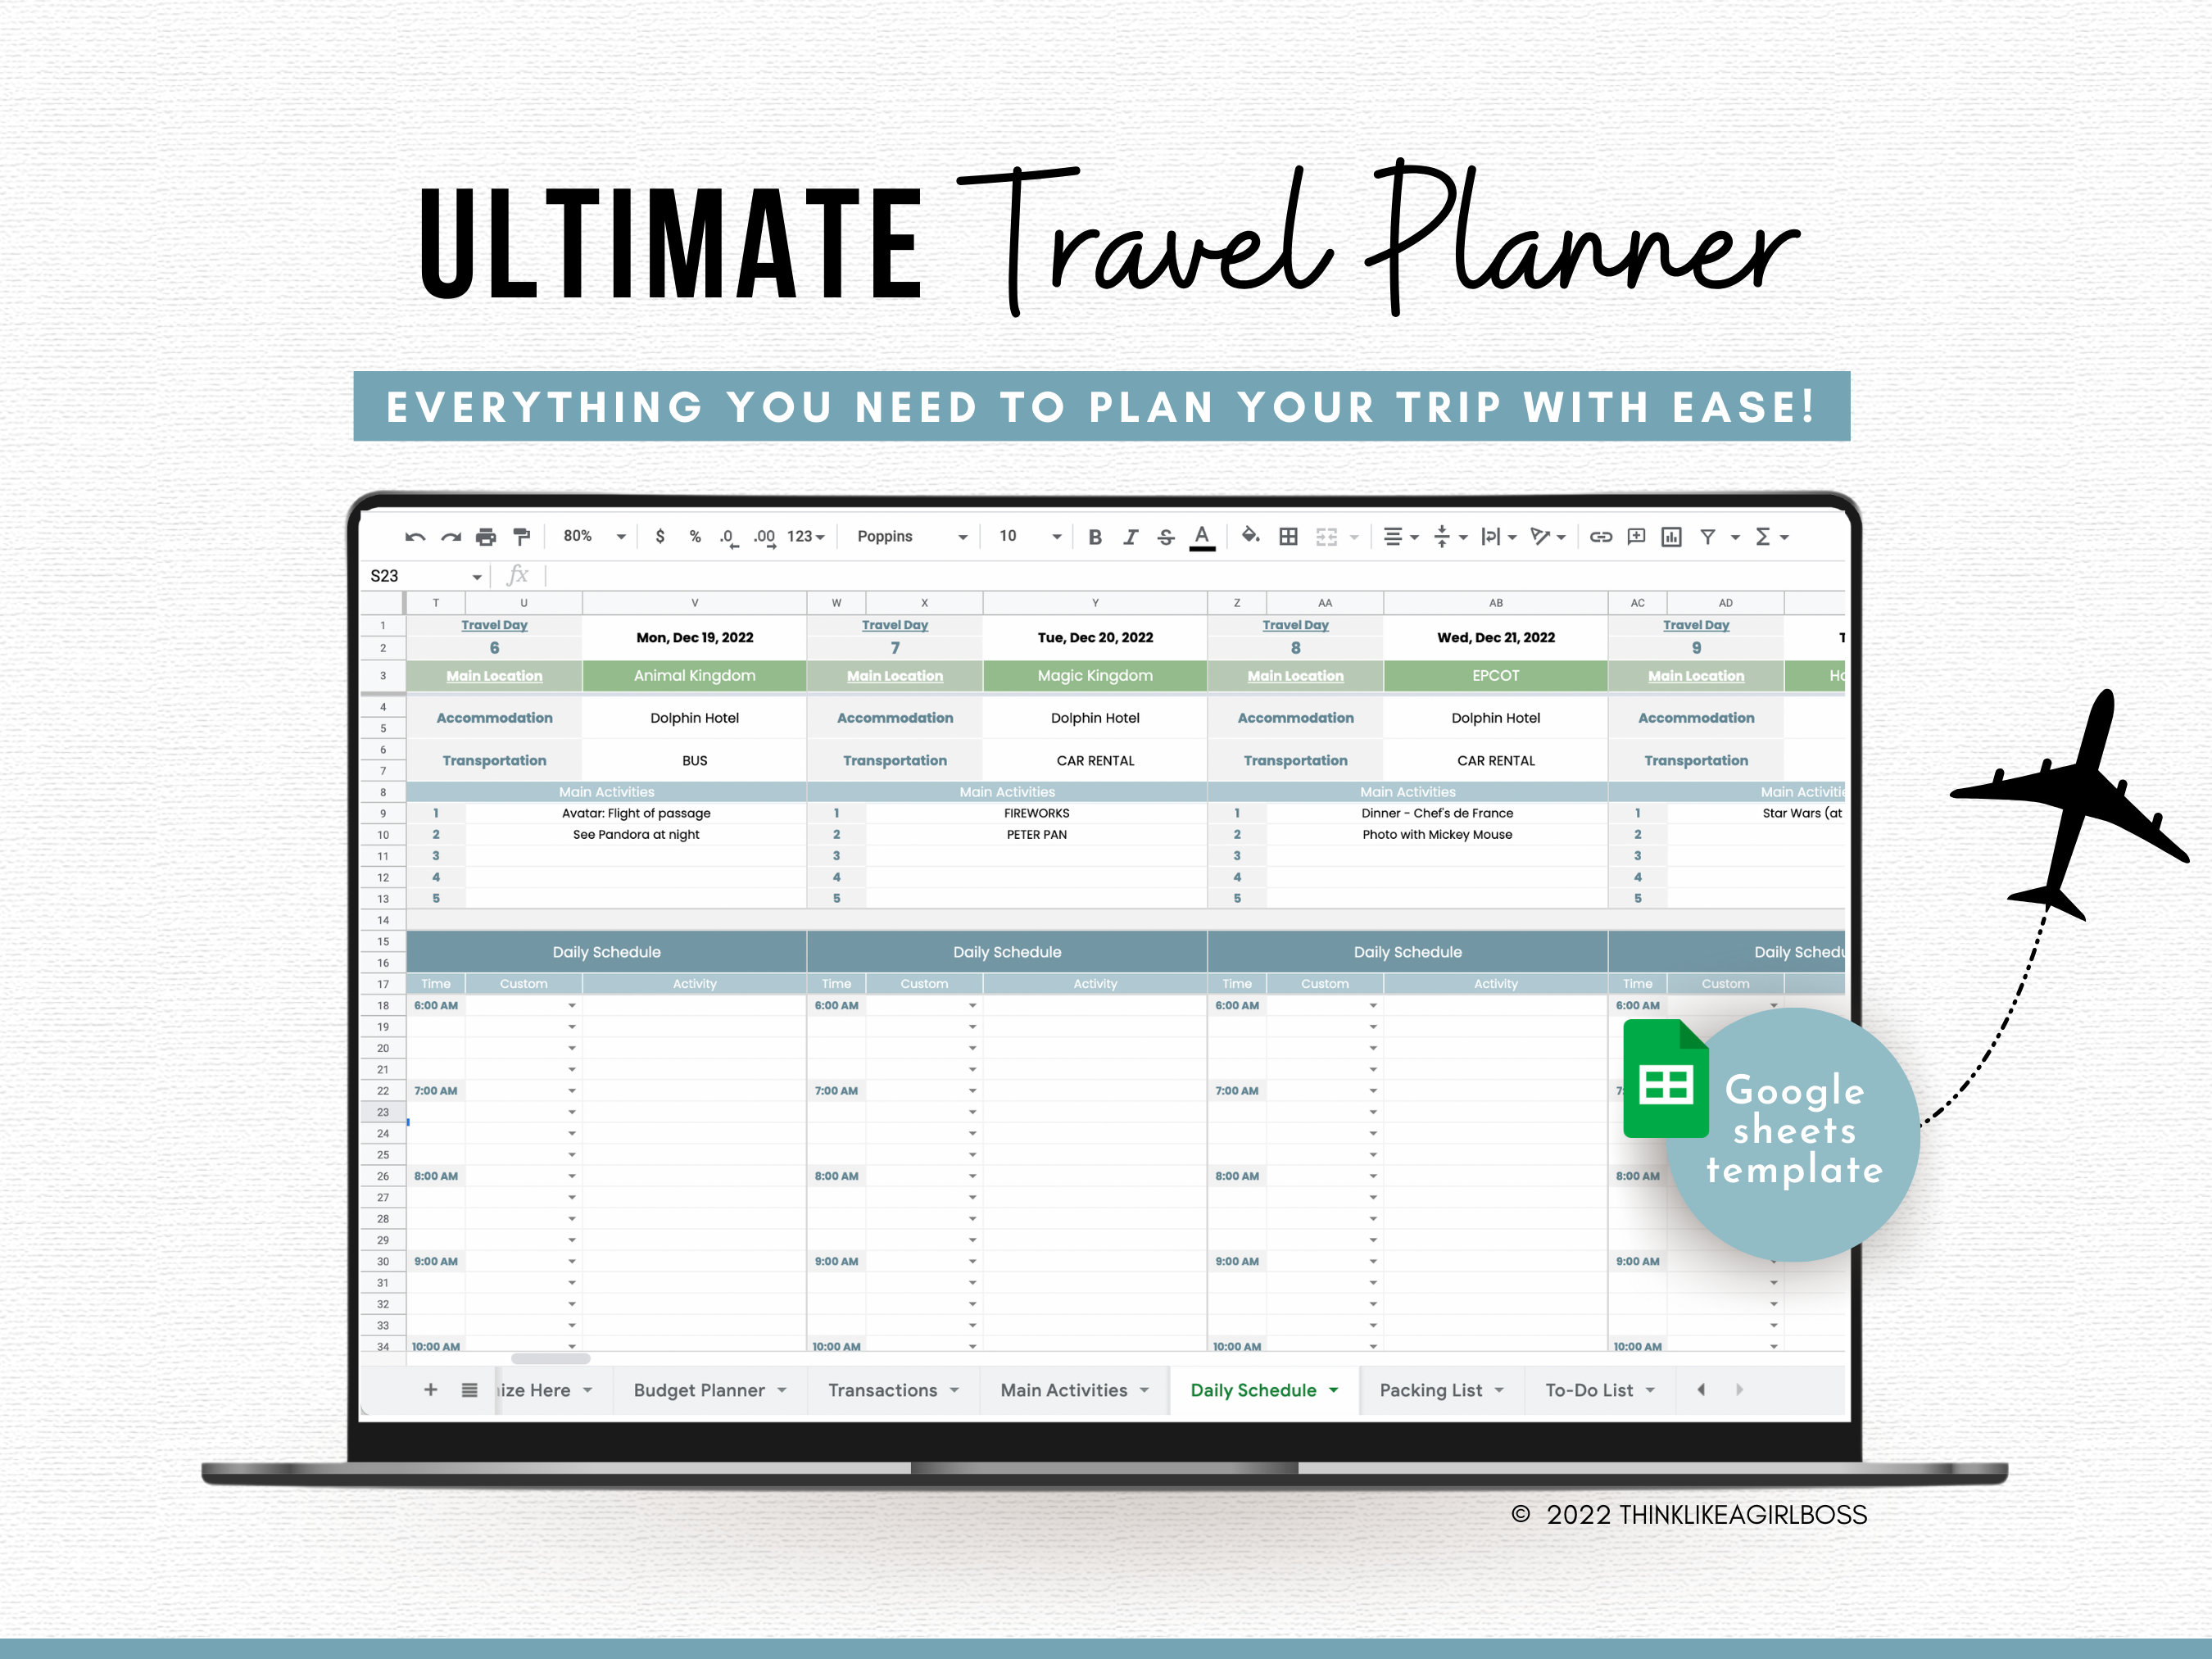
Step 4: The Budget Breakdown
Okay, this part is crucial. I made a simple spreadsheet. Nothing fancy, just columns for:
- Flights
- Accommodation
- Food (estimated daily cost)
- Activities (entrance fees, tours, etc.)
- Transportation (local buses, trains, etc.)
- Emergency Fund (because stuff happens)
I filled in the costs I knew (flights, accommodation) and estimated the rest. I used the average prices.
Step 5: Activity Planning (The Fun Part!)
Now for the fun stuff! I researched free activities in my chosen destination. Parks, walking tours, free museum days – there’s usually a ton to do without spending a dime. Then, I looked into paid activities, prioritizing the ones I really wanted to do.I prioritized! I couldn’t do everything, so I picked the things that were most important to me.
I also figured out local transportation. Was there a cheap bus system? Could I walk most places? This can save a ton compared to taxis or ride-sharing.
Step 6: Putting It All Together
Finally, I combined everything into a day-by-day schedule. It wasn’t super strict, but it gave me a framework. It looked something like this:
- Day 1: Arrive, check into hostel, explore the neighborhood (free!), cheap dinner at a local market.
- Day 2: Free walking tour in the morning, picnic lunch in the park, afternoon at a free museum.
- Day 3: Paid activity (e.g., a cooking class), explore a different neighborhood, cheap street food dinner.
Having this rough schedule helped me stay on track with my budget. It gave me a good balance of free and paid activities, and it made sure I didn’t accidentally overspend on one thing and have to skip something else.
And that’s it! That’s how I planned my trip and stuck to my budget. It took a bit of effort, but it was totally worth it. I had an amazing time without stressing about money the whole time.


")


