
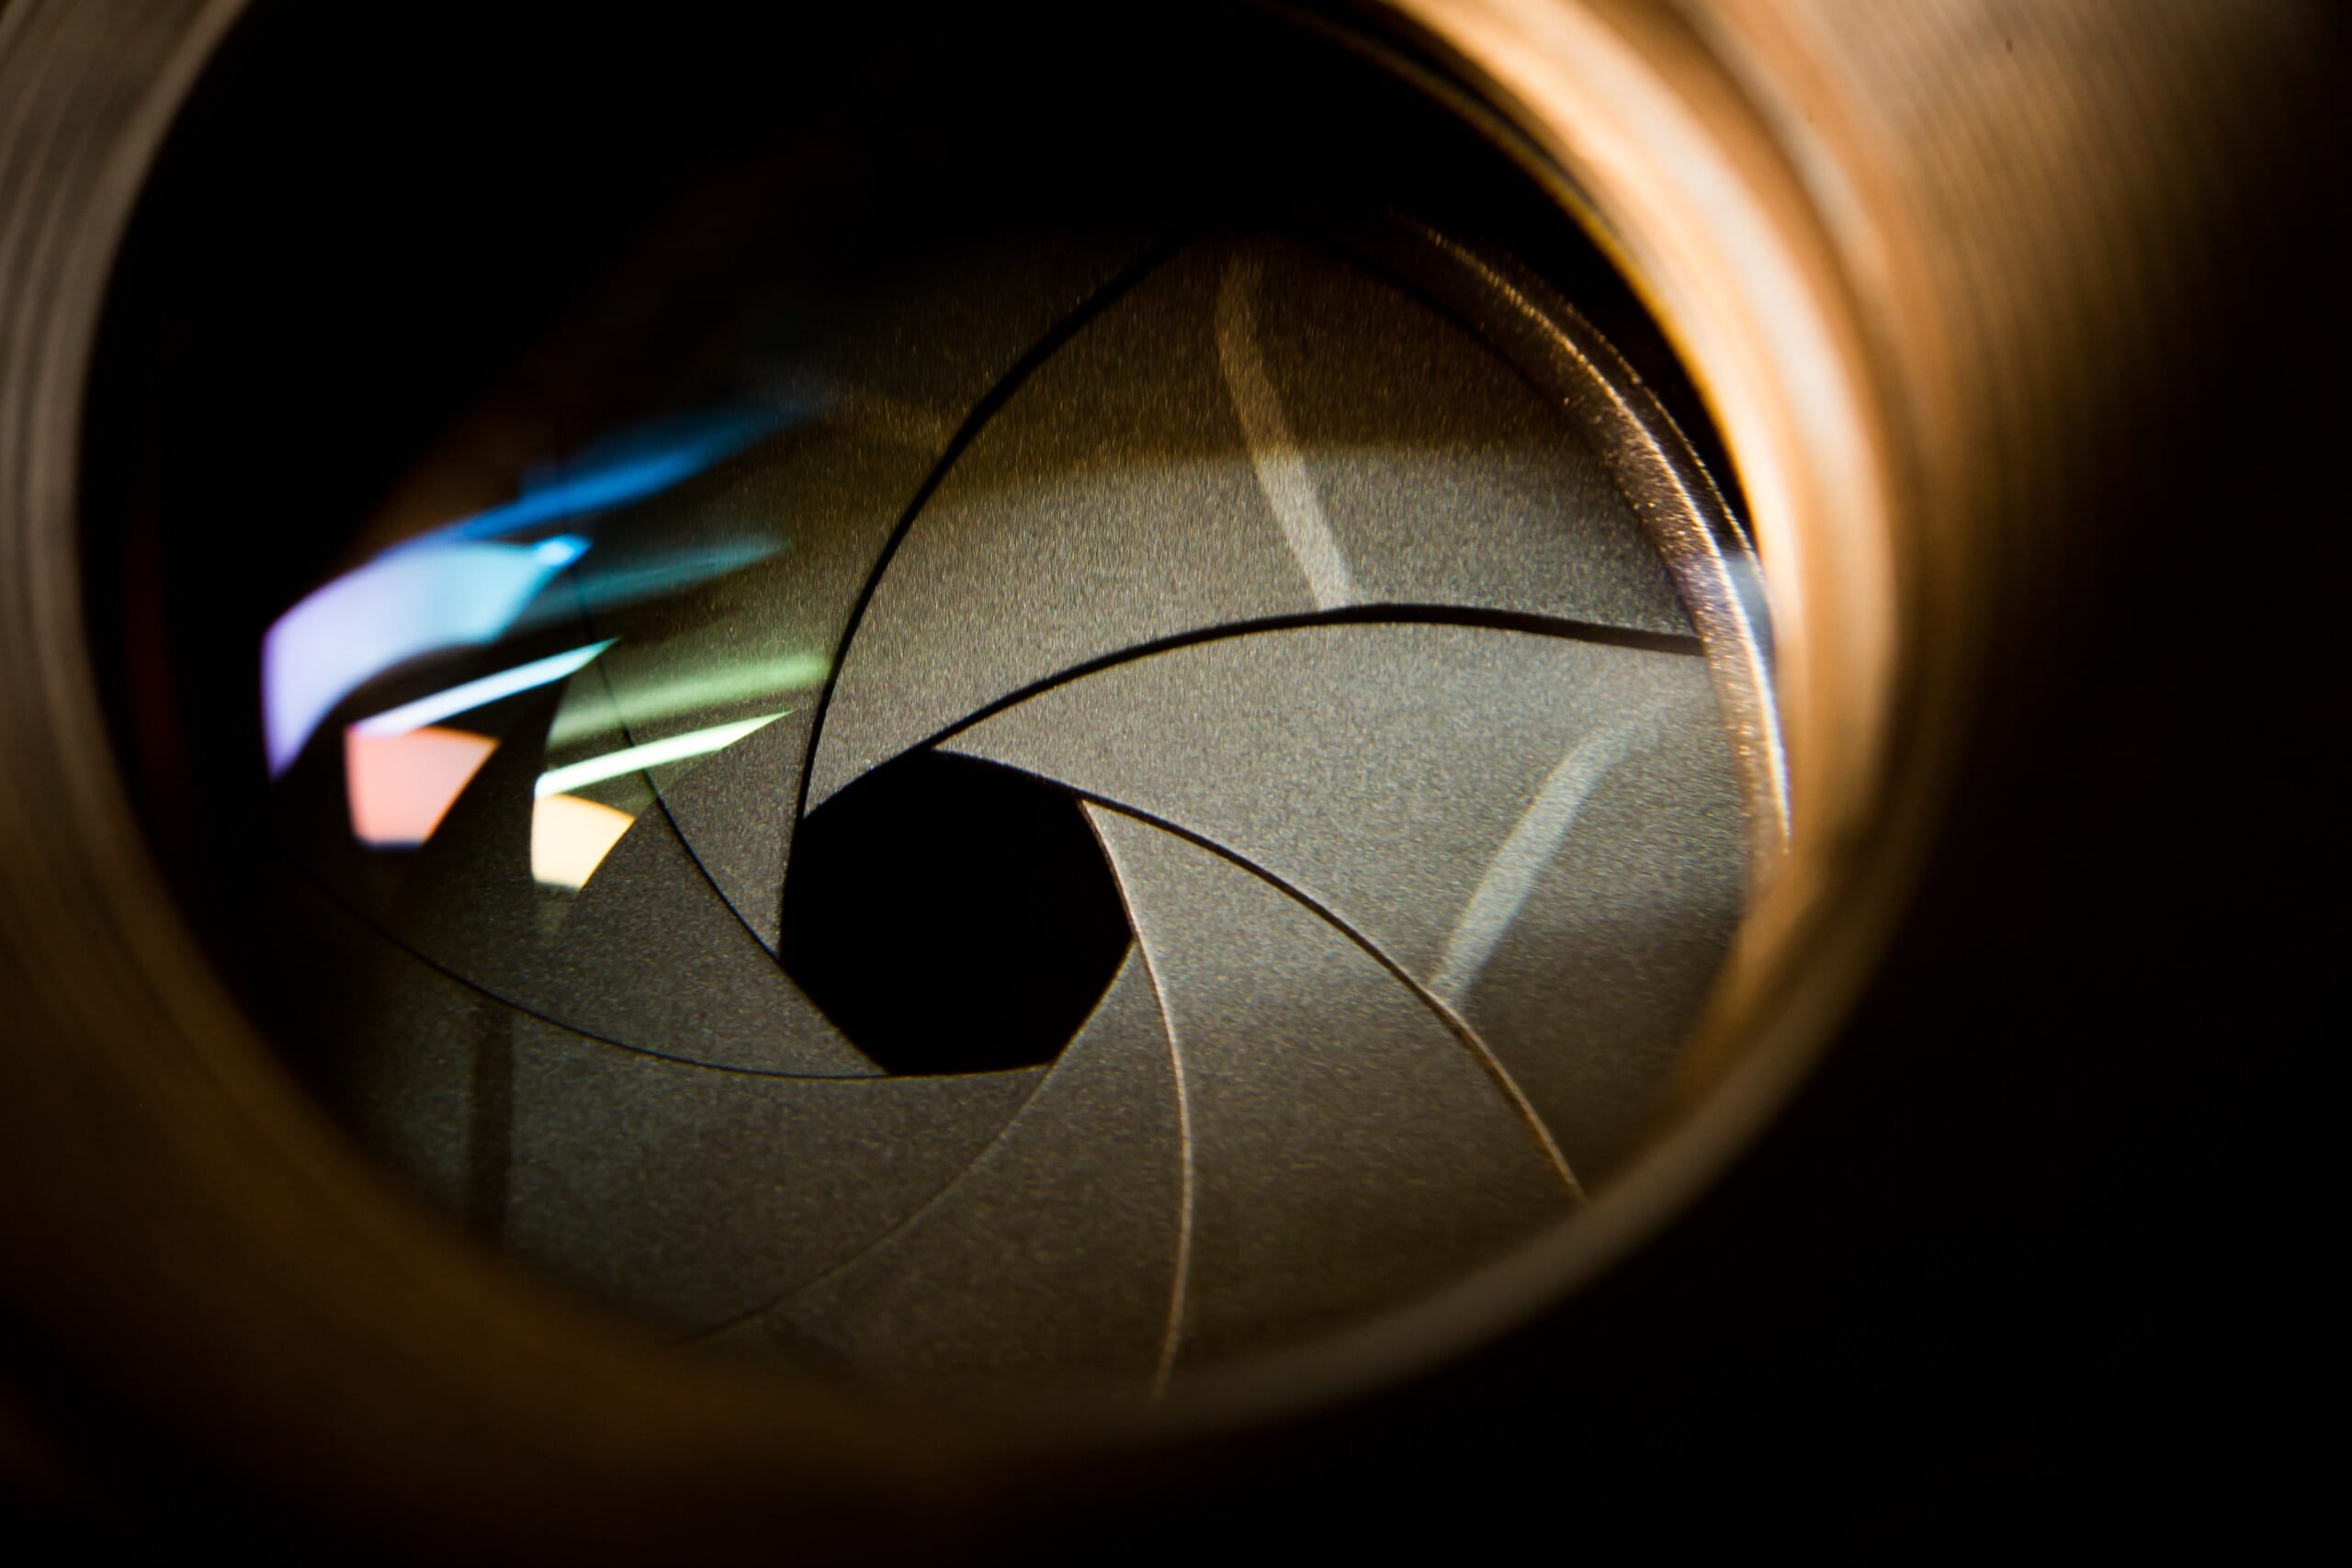
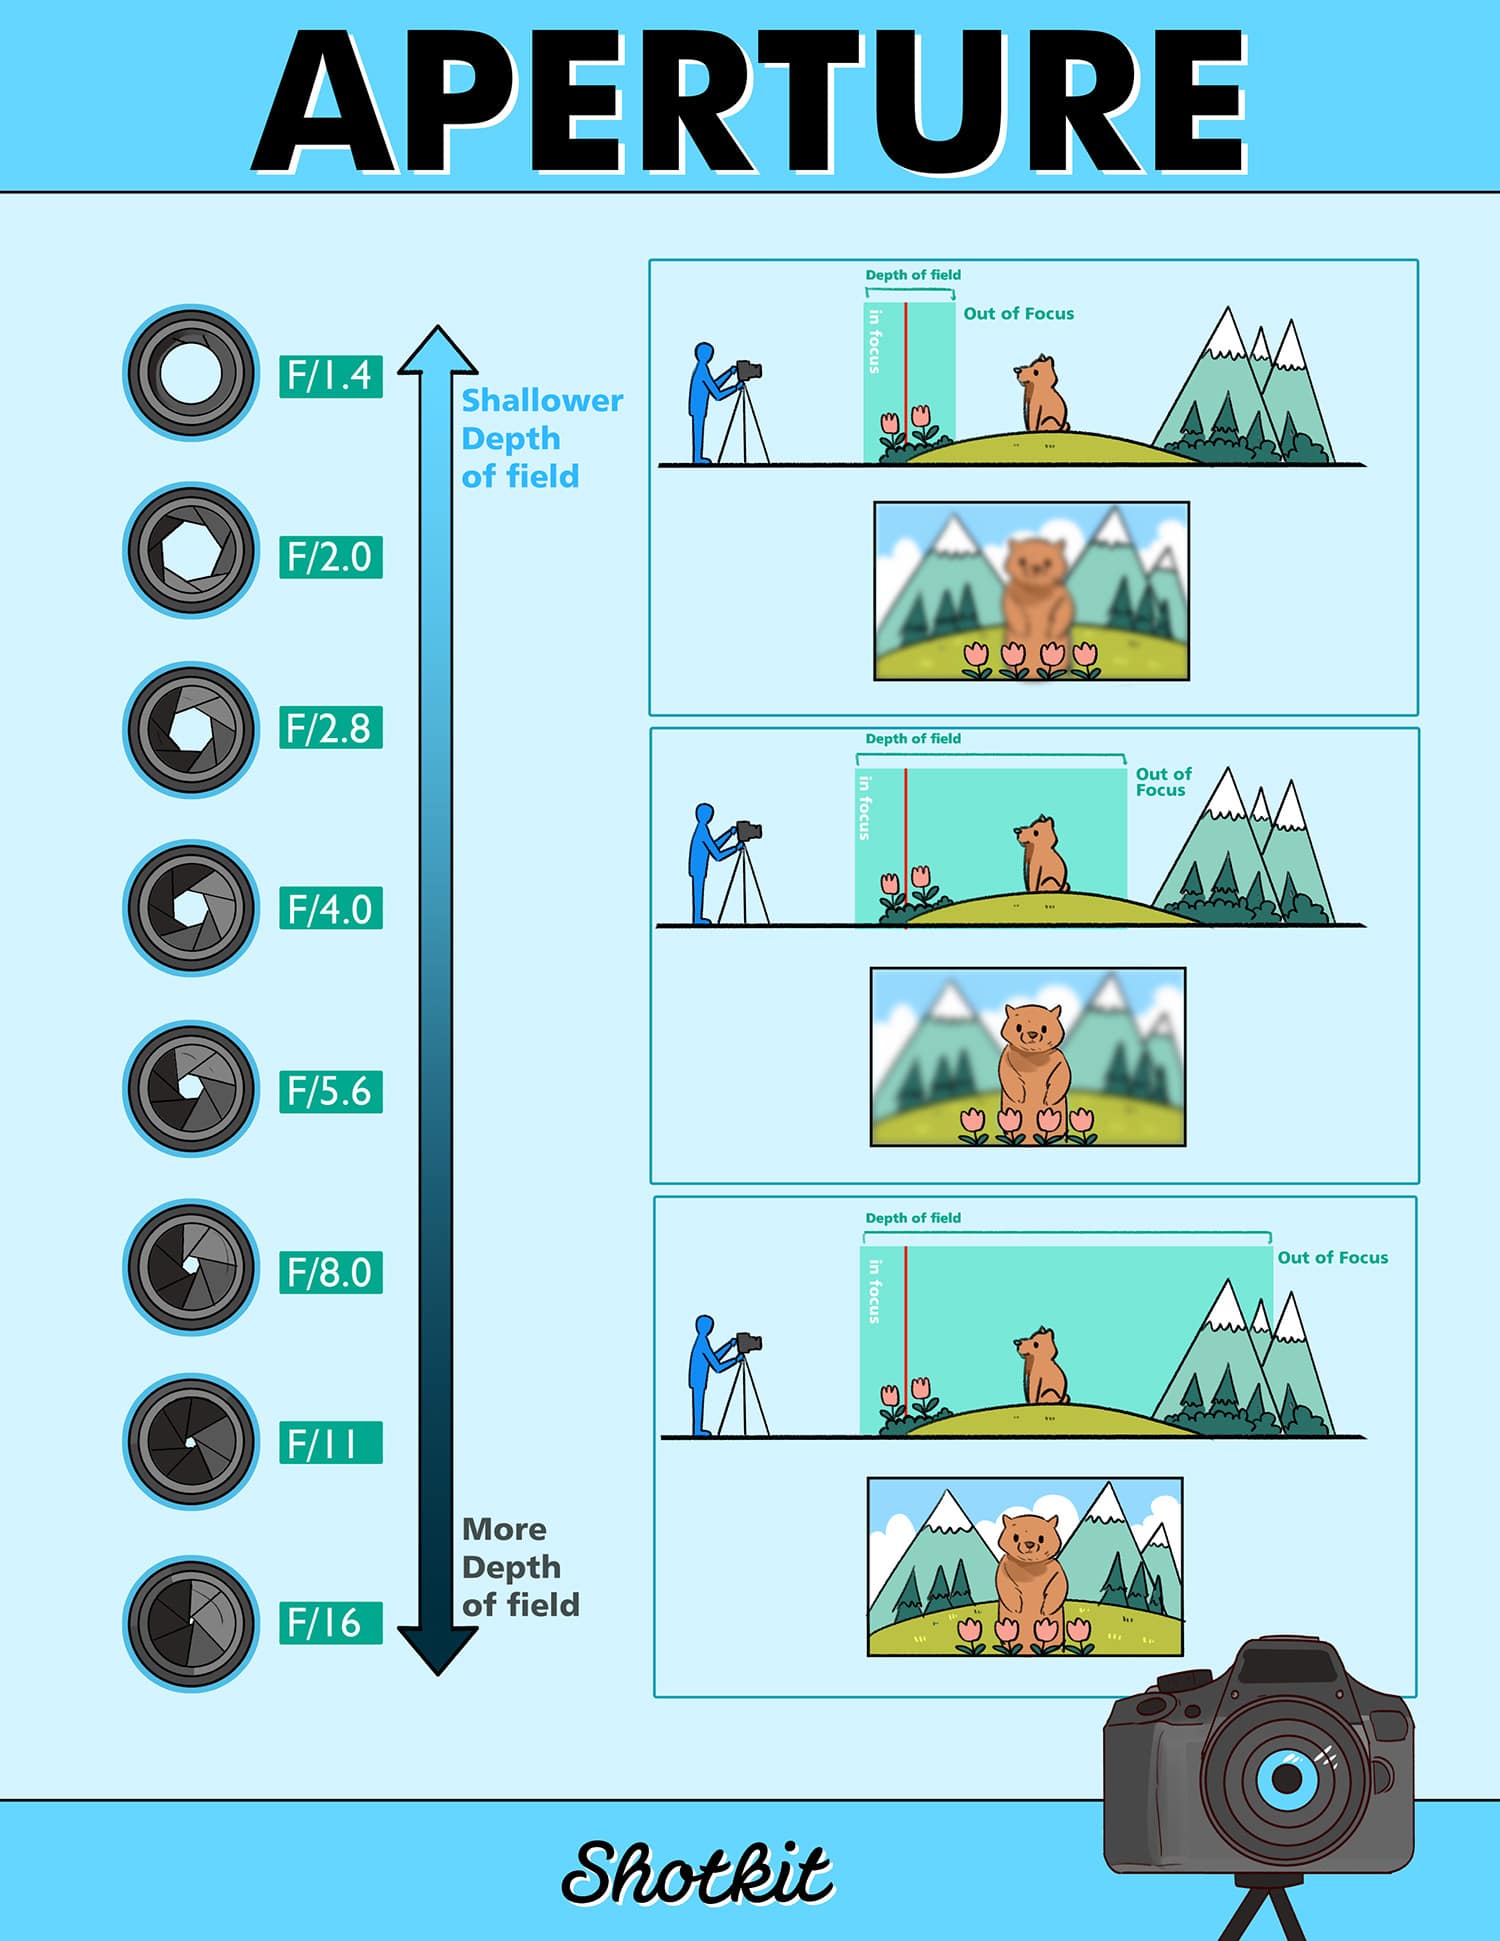
Okay, so I’ve been messing around with my camera lately, you know, trying to get that perfect shot. And I started playing with the aperture setting. You’ve probably heard of it – it’s basically the hole in your lens that lets light in. The bigger the hole (or the wider the aperture), the more light gets to the sensor, and vice versa. But it’s not just about brightness, it also affects something called “depth of field,” which is how much of your picture is in focus.
So, I went out to the park to do some experimenting. I wanted to see what would happen if I closed down the aperture as much as possible. We’re talking about going from something like f/2.8 all the way to f/22 or even smaller.
Here’s what I did:
- Picked a subject: I chose a cool-looking tree with lots of branches. Figured it would be good for testing focus.
- Set up my tripod: Gotta keep the camera steady, especially when you’re messing with settings.
- Started wide open: I took a few shots at f/2.8. The background was all blurry, which looked kinda nice, but the tree wasn’t completely in focus.
- Started closing down: Then I gradually started closing the aperture, taking a shot at each stop. f/4, f/5.6, f/8, you get the idea.
- Took notes: I jotted down the settings for each shot, so I could compare them later.
What I noticed right away was that as I closed the aperture, more and more of the tree came into focus. At f/22, pretty much the whole thing was sharp, from the closest branches to the ones further away. Even the background started to get clearer.
But here’s the catch: As I closed down the aperture, I had to adjust other settings to keep the picture from getting too dark. The smaller hole means less light, right? So, I had to either slow down the shutter speed or bump up the ISO.
Slowing down the shutter speed was tricky because any little movement could make the picture blurry. And cranking up the ISO introduced more noise, which is that grainy look you sometimes see in photos.
Another thing I noticed was something called “diffraction.” Basically, when you close the aperture down really small, the light waves start to bend around the edges of the opening, and that can actually make the picture less sharp overall. It’s a bit of a trade-off.
So, what did I learn? Closing down the aperture can be great for getting a lot of your scene in focus, but it comes with some side effects. You gotta watch out for:
- Less light: You’ll need to compensate with slower shutter speed or higher ISO.
- Diffraction: Going too small can actually make your pictures softer.
- More stuff in focus: That might sound good, but sometimes a blurry background is what you want to make your subject pop.
It’s all about finding the right balance, I guess. I’m still figuring it all out, but it’s been a fun experiment. I’ll definitely keep playing around with these settings to see what else I can discover. Hope this little experiment of mine helps you out a bit!
")


")


