
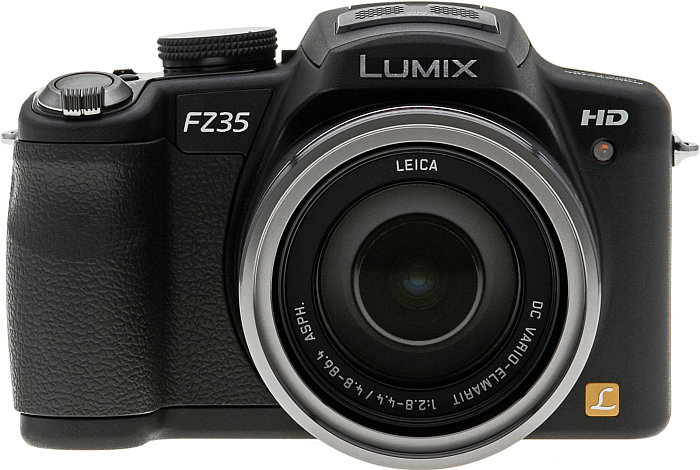
So I dug out my old Lumix DMC FZ35 from the closet yesterday. Felt like giving it a real try, you know? Usually I just leave it on Auto and snap away. But this time, I wanted to see if those “quick tricks” people talk about actually worked.
Starting Simple and Messing Up
First thing? Grabbed the camera, popped off the lens cap, and aimed at my grumpy cat sleeping on the sofa. Used the regular Auto mode. Picture was… okay. Kinda dark and the background was a fuzzy mess. My cat looked like a lump. Not great. I remembered reading something about that little dial on top. It has letters like ‘P’, ‘A’, ‘S’, ‘M’. Intimidating!
Took a breath and switched it to ‘P’ mode. It’s supposed to be smarter Auto. Pointed at the cat again. A little better, but still… meh.
Finding the Shortcuts
Got frustrated and just started pressing buttons. Found this one button on the back, looked like a little mountain scene? Pressed it. A menu popped up! It said “Scene Mode”. Scrolled through it:
- Portrait? Tried that on the cat. Nah, made everything too soft.
- Sports? The cat wasn’t moving. Pointless.
- Macro? Oh! This sounded promising. Flipped the physical switch on the lens barrel to “Macro”. Zoomed in super close on a houseplant leaf. Fired off a shot. Wow! The background completely melted away, leaf looked sharp. That was a surprise win from winging it!
Then I spotted the ‘*’ button next to the screen. Pressed it. Boom! Suddenly all these settings I never noticed were right there: Exposure Compensation, ISO, White Balance… Stuff I usually avoided.
Two Quick Wins I Stumbled On
Okay, feeling braver. Two things actually helped immediately:

- That +- button (Exposure Compensation): Tried taking a picture of my coffee mug near a bright window. The window looked okay, but the mug was just a dark blob. Found the +- button, pressed it, and nudged the little meter upwards towards the + side using the arrow keys. Retook the shot. Mug magically got brighter! Window looked blown out, but hey, the mug was clear now. Easy fix for stuff that’s too dark.
- The “Film Mode” thing: Was messing around and saw “Film Mode” buried in a menu. Default was “Standard”. I switched it to “Vibrant”. Took a picture of a colourful fruit bowl. Colors popped way more! Looked livelier instantly. No idea how it worked, just tried it.
Playing With the Zoom
Got bored inside, walked out to the garden. Saw my neighbour watering plants way down the street. Zoomed the lens all the way out. Like, full stretch. Held the camera steady (leaned on the fence!). Focus was a bit tricky – pressed the shutter halfway down till I heard a beep, then all the way. Got a surprisingly clear shot of him, far away, compressed into the scene. Background looked closer than it actually was. Neat trick I never used properly before.
My Crude Custom Setup Now
After 30 mins of playing and deleting duds, this is my “fast mode” now:
- Dial on ‘P’ (Less scary than full Manual!)
- * ready (Super quick access to change brightness)
- Macro switch flipped if close
- Film Mode on Vibrant (I like the punchier colours)
Yeah, it’s basic. Professionals would probably yell at me. But honestly? Suddenly my wife stopped covering her face when I aimed the camera! Pictures look clearer, brighter, and more “interesting” with way less fiddling. Dumb luck and button mashing actually paid off.
")


")


