
Here’s what happened with my vertical panorama thingy
So I tried taking pictures of this massive tree near my apartment yesterday. Just standing there with my phone, pointing it up? Total mess. The bottom looked okay-ish, but the top? Just tiny branches and a lot of sky. Like someone chopped half the tree off. Felt super frustrating, you know? Couldn’t capture how ridiculously tall it really was.
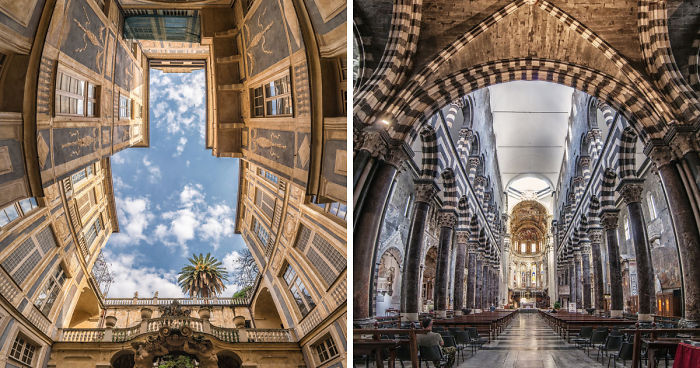
My brain went: “Maybe those vertical stitched photos? People do that for tall buildings, right?” Seemed worth a shot.
Okay, Plan A: Just used my regular phone camera. Held it vertically. Took one shot starting at the very bottom of the tree trunk. Then moved the phone up a bit, overlapping the last shot slightly, took another. Kept doing this, going higher and higher. Easy enough.
Had like seven pictures stacked. Then I grabbed this free app called ‘StitchMaster’ (looks kinda sketchy, but hey, it’s free). Dragged all those pictures into it. Hit the magic “Stitch” button.
First result? Ugh. Straight up garbage. The trunk? Fine. But higher up, the branches were all over the place. Like weird ghost branches everywhere. Some parts doubled up, other parts missing completely. Looked like the tree had a bad hair day after a hurricane. Total flop.
Switched gears. Found this other free app, ‘PhotoStitcher 5000’ (seriously, why do these have such ridiculous names?). This one actually asked for the order of the pics. Top to bottom? Bottom to top? Chose ‘bottom to top’. Also saw this ‘Motion Guide’ thing it had – showed you a faded image of your last shot to help line up the next one better. That seemed smart.

Went back outside. Same tree. Stood very still this time. Used the guide:
- Started at the very bottom of the trunk.
- Got the shot.
- Slowly slid the phone up, carefully lining up the new view with that faded ghost image from the previous shot.
- Took shot #2 when it matched.
- Repeated the slow slide up, careful lining up, repeat… until I got all the way to the top leaves.
Took my time, ended up with six pictures. Fed them to PhotoStitcher 5000, told it ‘bottom to top’. Hit Stitch.
Holy crap. Worked way better! The trunk was solid at the bottom. The middle branches flowed into each other pretty smoothly. Even the tippy-top branches looked connected and sharp. A few spots weren’t perfect – like a slight bend in one branch – but compared to the first disaster? Night and day.
Biggest lessons learned the hard way:
- You gotta stand like a statue. Any wobble ruins everything.
- Overlap is key – way more than you think. Like half the previous image needs to be in the next one.
- Use that guide tool! That little ghost preview is a lifesaver.
- Free apps might look weird, but sometimes they just… work.
- Patience! Moving slow and lining up carefully makes all the difference.
Final pic now lives on my phone, making that tree look like the giant it is. Feels pretty cool to crack it without spending a dime on special gear!
")


")


