
Alright, let’s talk about this saint judas tattoo I just finished. It was a process, man, a real journey. So grab a seat, and I’ll spill the beans on how it all went down.
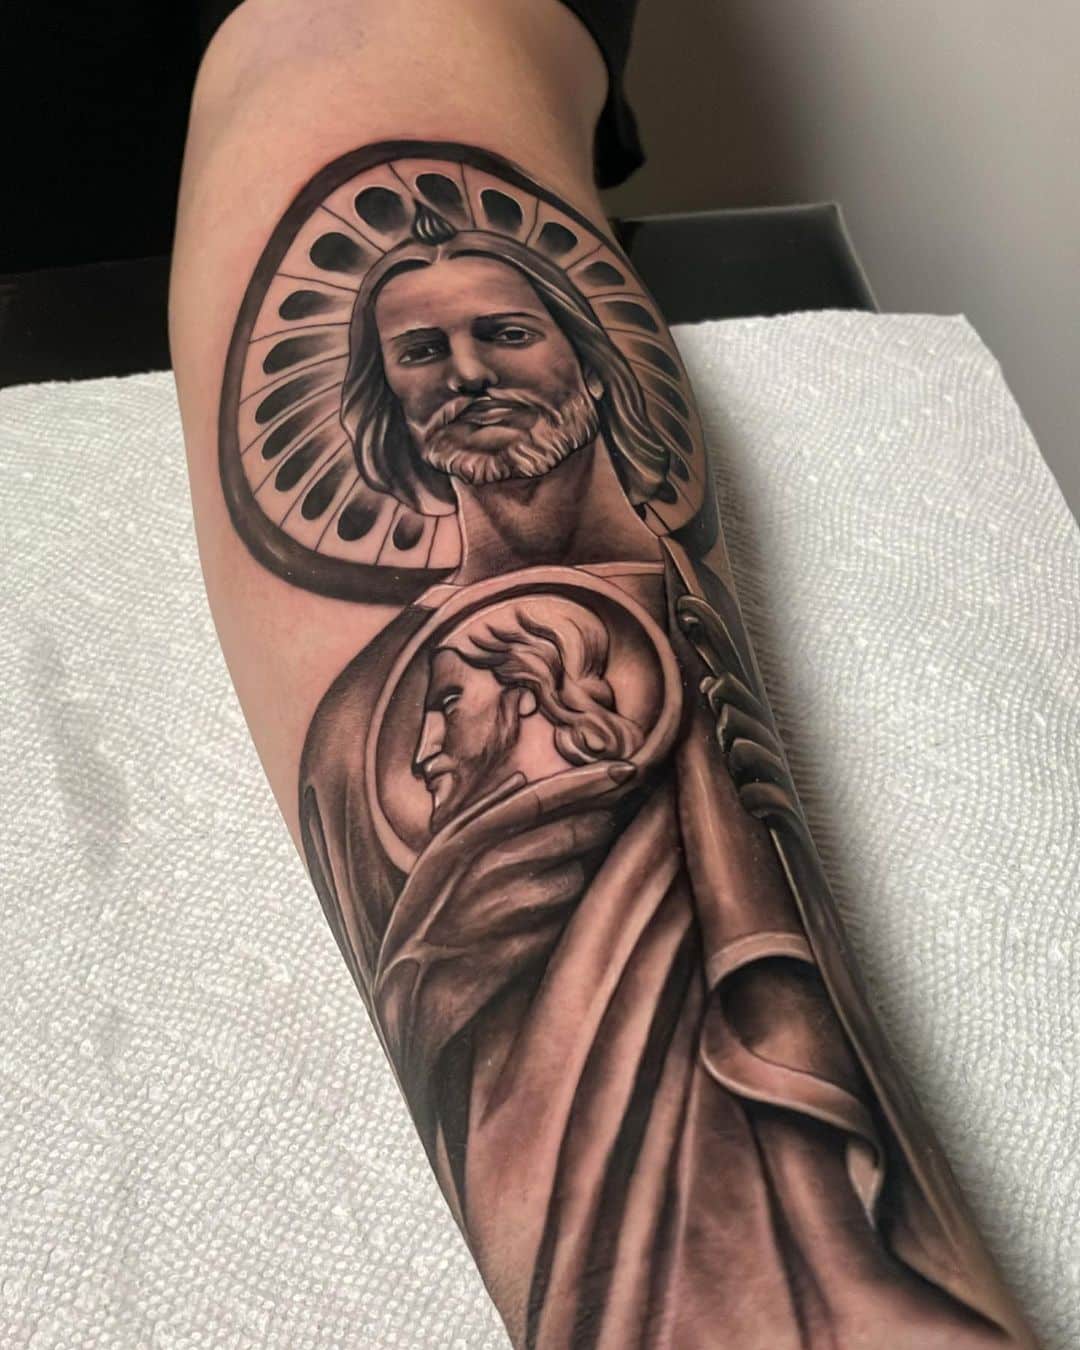
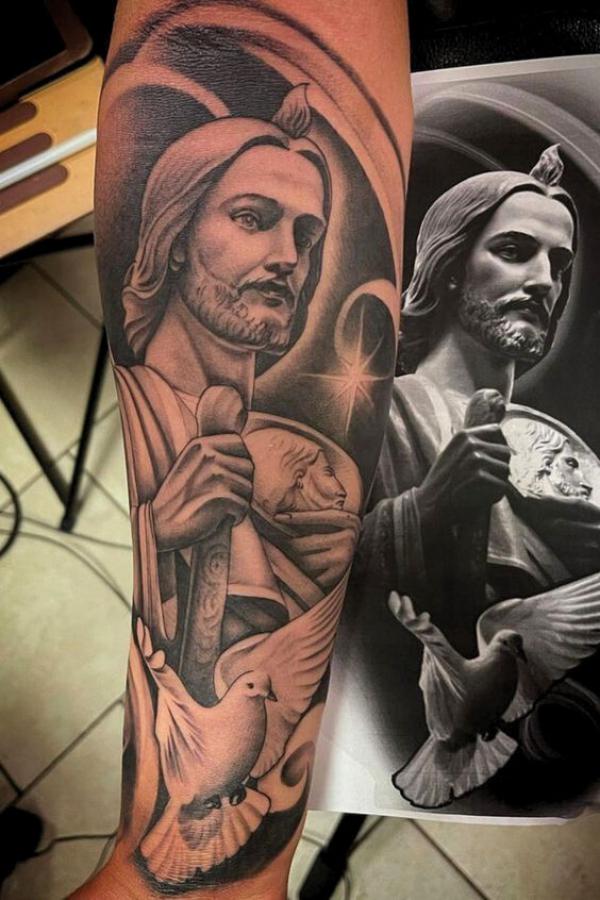
First off, the client came in with this image, right? Kind of a classic Saint Jude vibe – you know, the medallion, the flame, the whole shebang. But he wanted it with a specific kind of look, not too cartoony, but not super realistic either. More like a stylized woodcut, if that makes any sense.
So, I started sketching. I usually rough out a couple of different versions to give the client some options. We played around with the pose, the expression on his face, and the overall flow of the design. It took a few tries, a lot of back and forth, erasing, and redrawing, but we finally landed on something he was stoked about.
Next up, stenciling. Now, this is where things get tricky. Because the design had a lot of fine lines and details, I had to be super careful transferring it to the skin. I used a stencil solution that I swear by, it really helps the ink stick and gives a nice, crisp outline. Applied it slowly, made sure there were no bubbles, and let it dry completely. Patience is key, folks.
Time to tattoo. I started with the outlines, using a tight needle grouping – a 7RL if I remember correctly. Nice and slow, focusing on getting those clean, solid lines. Saint Jude’s robes had some cool folds and textures, so I paid extra attention to capturing those. It’s all about controlling the depth and angle of the needle, keeping the pressure consistent.
Then came the shading. This is where I really tried to get that woodcut feel. I used a combination of whip shading and stippling to create depth and texture. Basically, flicking the needle in and out of the skin to create these little dots and dashes. It takes longer than traditional shading, but the effect is worth it, trust me.
The medallion was a pain in the butt. So many tiny details! I used a super fine needle – a 3RL – and just took my time, meticulously filling in each little area. The client was a trooper, though. Didn’t flinch once.
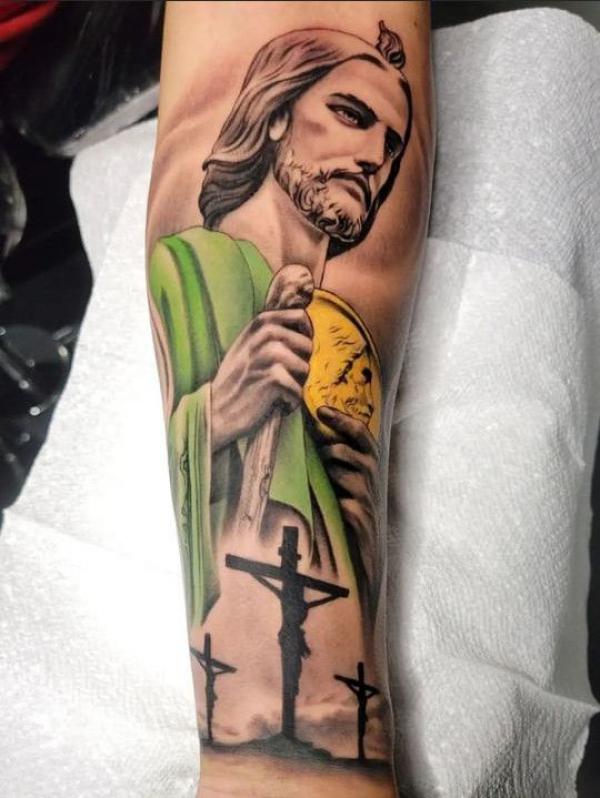
For the flame, I wanted to give it some movement and energy. So I used a slightly looser shading technique, with some brighter highlights to make it pop. I also added a little bit of red ink to the edges to give it that fiery glow.
Once all the tattooing was done, I cleaned it up, applied some ointment, and wrapped it in a bandage. Gave the client aftercare instructions – you know, the usual: keep it clean, moisturized, and out of the sun. And that was it! The Saint Jude tattoo was complete.
He was super happy with the result, said it was exactly what he had in mind. And honestly, I was pretty proud of it too. It was a challenging piece, but it came out looking rad. Another one in the books!
Things I Learned:
- Don’t rush the sketching phase. Taking the time to nail down the design upfront saves a lot of headaches later on.
- Stenciling is an art form in itself. Practice makes perfect.
- Whip shading and stippling are your friends when you want to create texture.
- Patience, my friends, patience. Especially when dealing with tiny details.
So yeah, that’s the story of my Saint Jude tattoo. Hope you found it interesting. Now, time for a beer!


")


")


