
Okay, so I was staring at my Lightroom collection the other day. It was for this little project I was working on, trying to tell a story with a set of photos. You know how it is, you import them, and they’re all over the place, usually by capture time, which is fine, but not for what I needed. I wanted a specific flow, and Lightroom was just not playing ball at first.
My Initial Head Scratching
I remember thinking, this should be easy, right? Just drag ’em around. So, I clicked on a photo in my collection, tried to drag it. Nothing. Or, well, it would let me drag it to another collection, or to a folder, but not within the same collection to change its spot. Super frustrating. I spent a good few minutes just clicking and dragging, hoping a different combination of mouse buttons or a magic word would make it work. No dice. I even restarted Lightroom, thinking maybe it was just a glitch. You know how software can be sometimes.
The “Duh!” Moment
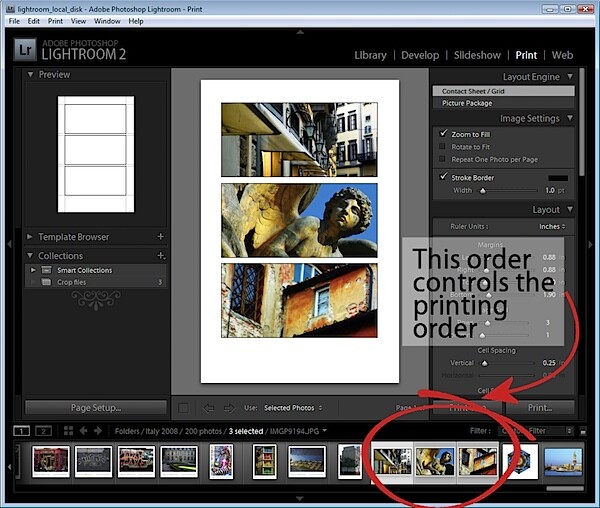
Then I started poking around the interface. I’m usually pretty good at figuring these things out, but this one had me stumped for a bit longer than I’d like to admit. I looked at the top menus, thinking there’d be an “Arrange” or “Sort Manually” option somewhere obvious. Nope. My eyes then drifted down to the bottom toolbar. In Lightroom Classic, when you’re in the Library module and viewing a collection in Grid view (that’s the ‘G’ key shortcut, by the way, super handy), there’s a little toolbar at the bottom of the main window. Sometimes it hides, so you might need to press ‘T’ to toggle it visible.
And there it was. A little dropdown menu, usually it says something like “Sort: Capture Time” or “Sort: Added Order” by default. I clicked on that, and a list of options popped up. And bingo! There was an option called “User Order”.
Actually Getting it Done
So, here’s what I did, step-by-step, once I found that magic button:
- First, I made sure I was in the Library module. That’s where all the organizing happens.
- Then, I clicked on the specific collection I wanted to reorder in the Collections panel on the left.
- I was in Grid view (you press ‘G’ if you’re not). You can also do this from the filmstrip at the bottom, but Grid view gives you a better overview, I think.
- I looked at that toolbar at the bottom of the Grid view. If you don’t see it, try pressing the ‘T’ key to show the toolbar.
- I found the “Sort:” dropdown menu. Mine was set to “Capture Time,” which was why I couldn’t just drag things around willy-nilly.
- I clicked it and selected “User Order” from the list. This is the absolute key!
As soon as I selected “User Order,” it was like magic. Suddenly, I could click on any photo and just drag it to a new position in the sequence. Drop it between two other photos, move it to the beginning, to the end, wherever I wanted. It just worked. I spent the next ten minutes happily shuffling my photos around until they were in the perfect narrative order for my project. It felt so good to finally have control!

Why Did I Bother?
You might be wondering why I even bothered. Well, this particular collection was for a printed photo book I was making for my niece. It was a collection of photos from her birthday party, and I wanted the book to flow like the day did, from guests arriving, to the cake, to opening presents. Having them in chronological order was okay, but I wanted to group certain moments together, highlight some funny shots, and build up to the big “Happy Birthday” moment. Just sorting by capture time wouldn’t cut it. I needed that personal touch in the ordering. It’s these little details that make a difference, I reckon. And honestly, once you know how, it’s really quick to do.
So yeah, that was my little adventure in reordering photos in a Lightroom collection. It seemed tricky at first, mostly because that “User Order” option isn’t super obvious if you don’t know where to look. But once you find it, it’s a piece of cake. Hopefully, this saves someone else the head-scratching I went through!


