
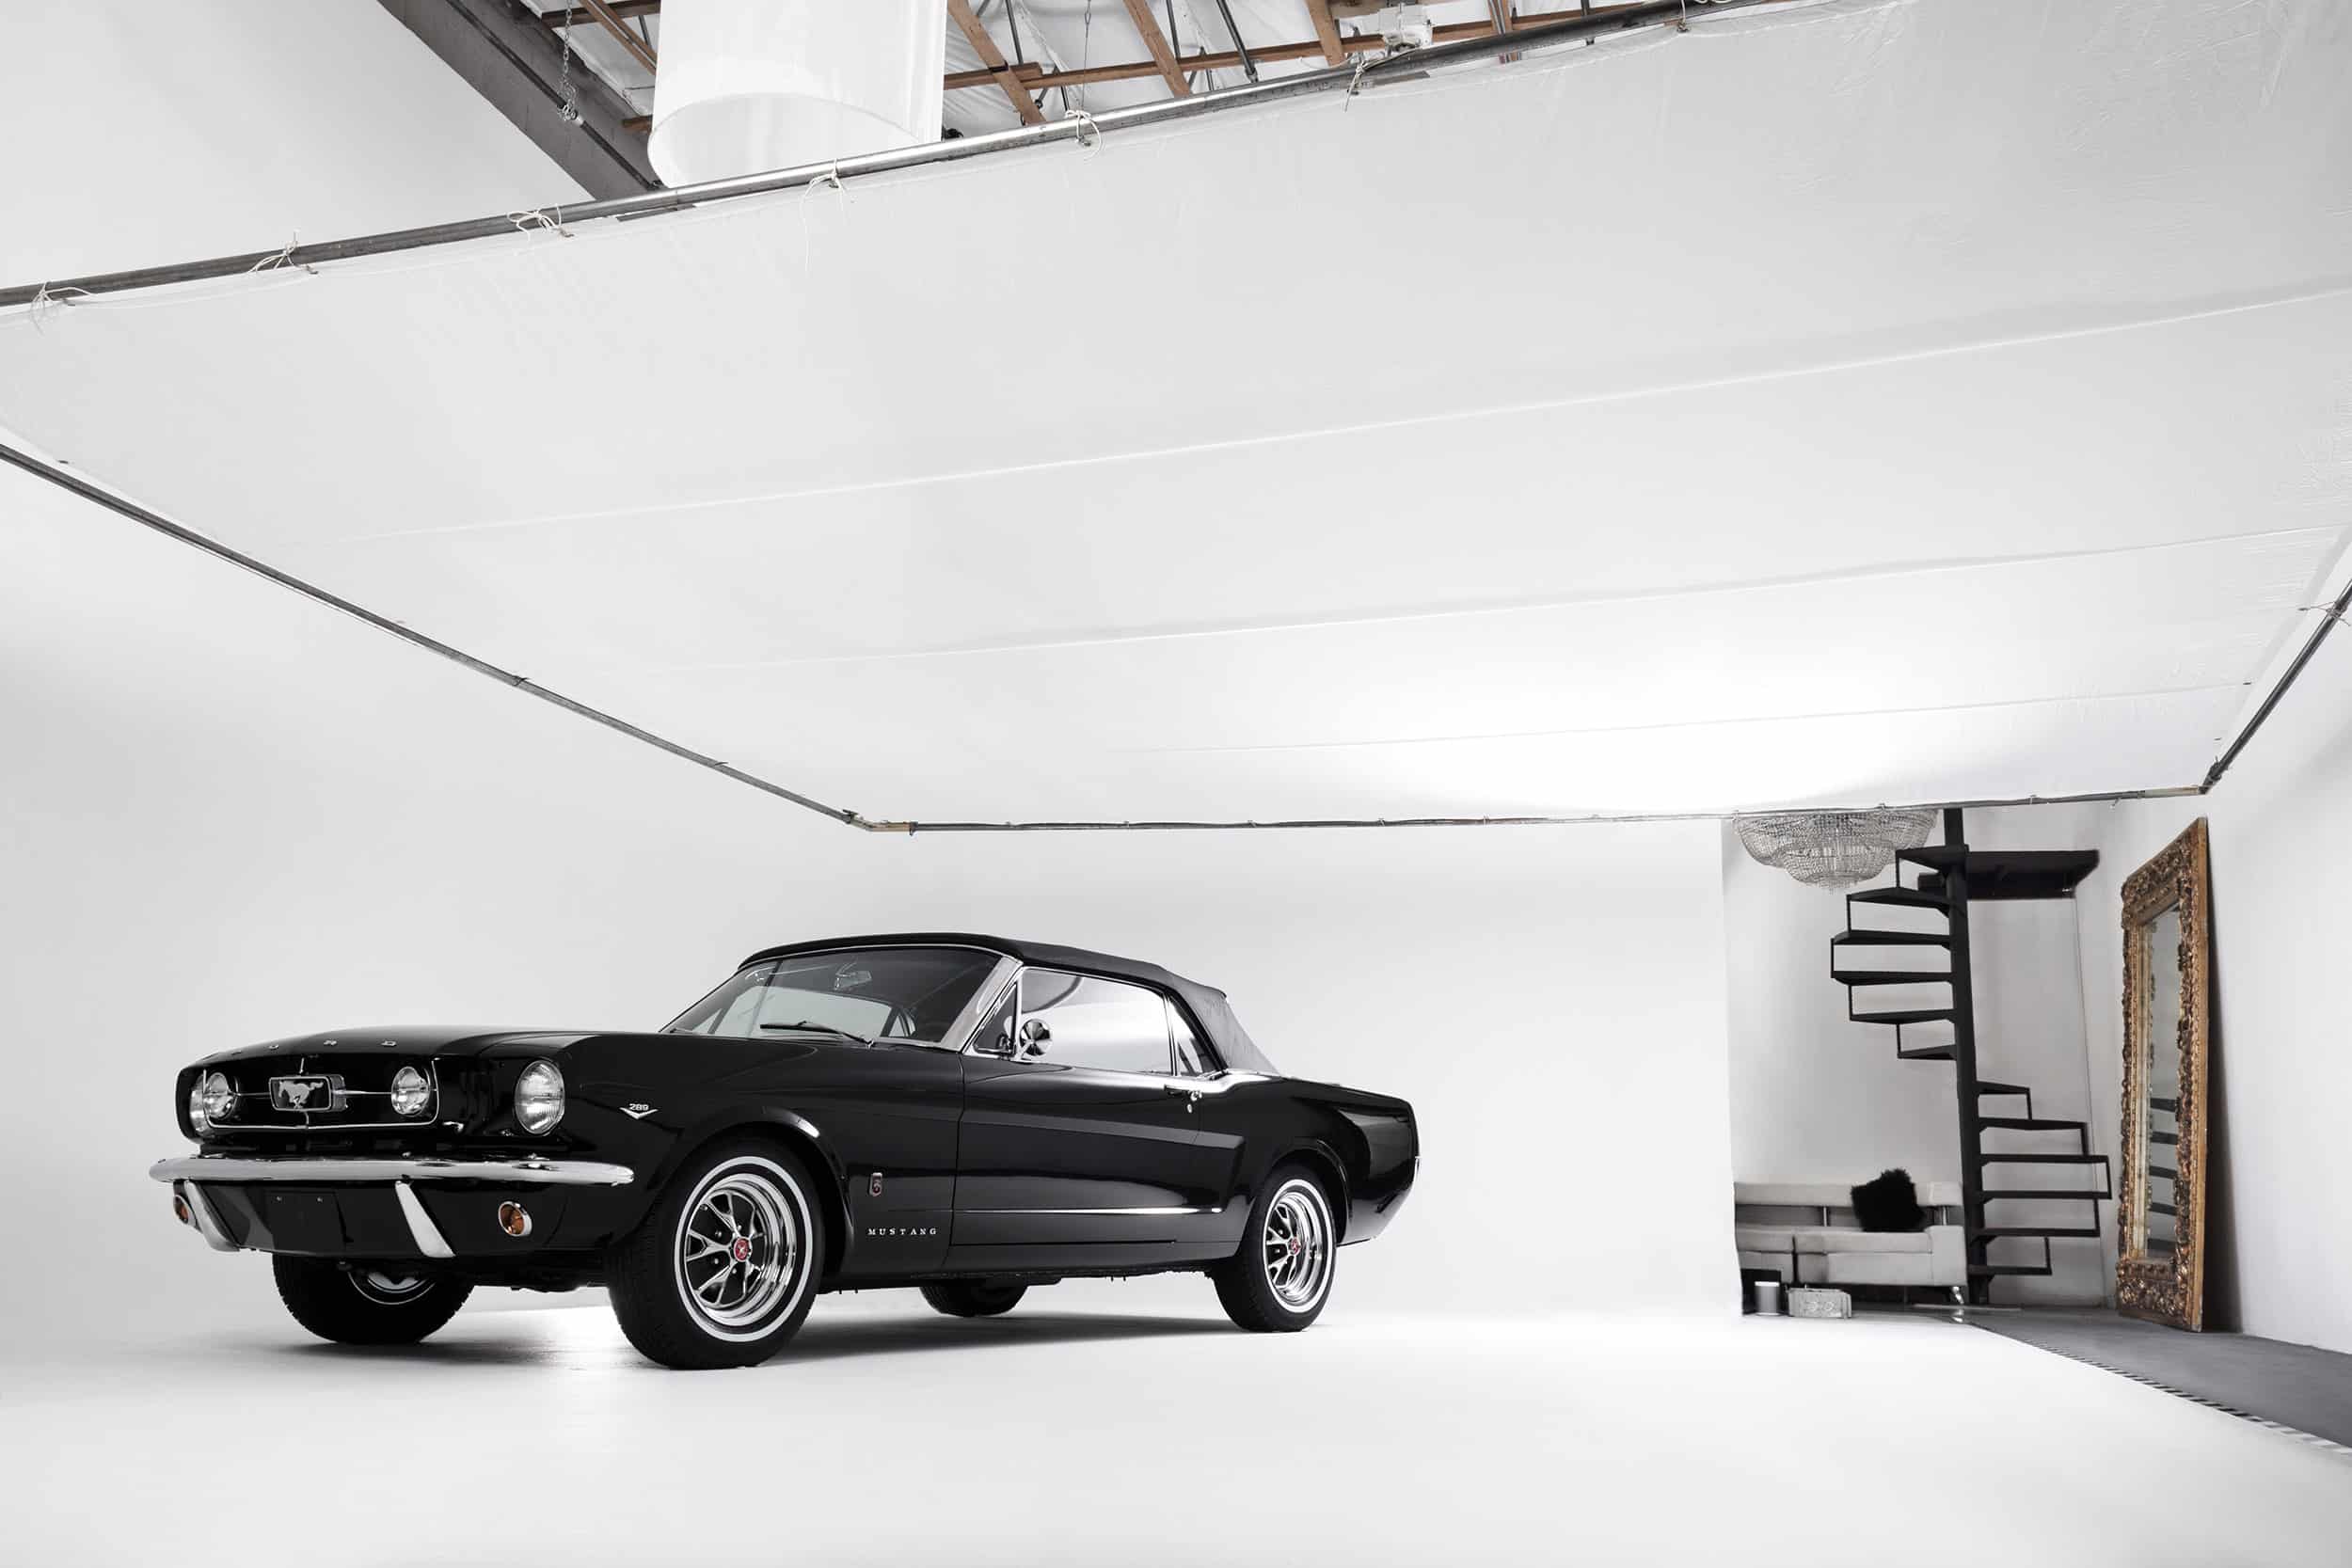
Okay, so I’ve been wanting to nail that portrait indoor infinite white look for a while. You know, where the background just disappears into pure, clean white, and the person just pops. Sounds simple, right? Well, let me tell you, it was a bit of a journey.
Getting Started – The Grand Idea
I’d seen these kinds of shots everywhere, looking super professional. My first thought was, “Hey, I’ve got a white wall, how hard can it be?” Turns out, a white wall is just… a white wall. It’s not “infinite.” It has texture, it picks up shadows, and it definitely doesn’t just melt away into nothingness. So, that was my first lesson: a regular wall wasn’t gonna cut it for this particular dream.
My Setup – What I Cobbled Together
After realizing my wall was a no-go, I figured I needed some proper gear. Here’s what I ended up using:
- A big roll of white seamless paper. This was key. I got the widest one I could find and fit in my space.
- Lights. Oh boy, lights. I started thinking two would be enough. I had a couple of strobes. More on this later.
- Some light stands, obviously.
- A softbox for my main light on the person.
- My trusty DSLR and a good portrait lens, something like an 85mm.
I cleared out a good chunk of my living room, which wasn’t easy, because you need space. You really need to pull your subject away from that white background. That was another thing I learned pretty quick.
The Actual Process – Fiddling and More Fiddling
So, I unrolled the seamless paper, making a nice curve from the wall down to the floor so there’s no harsh line. That part was easy enough. Then I placed my subject, let’s say, a good five or six feet in front of the paper.
Lighting the background – this was the real head-scratcher. My first attempt was to point one strobe at the white paper. Took a test shot. The background was kinda light grey, definitely not “infinite white.” I cranked up the power on that strobe. Brighter grey. Still not white. It also looked uneven, with a hotspot where the light was aimed.
Then I remembered reading somewhere you need to light the background separately and make it way brighter than your subject. Like, blow it out completely. So, I grabbed a second strobe and aimed both of them at the background, one on each side, trying to get even coverage. I didn’t use any modifiers on these background lights at first, just bare bulbs to get as much punch as possible. I pointed them so they crossed, sort of, to spread the light.
Then came the light meter. I metered the light falling on the background and then metered for my subject separately. The goal was to get that background reading at least two, maybe even three stops brighter than the light I planned to use on my subject. This took a LOT of back and forth. Adjust power, move lights, take a reading. Adjust again. It felt like I was cooking, constantly tasting and tweaking.
Once the background looked like it was hopefully nuked to pure white in my meter, I set up my main light for the subject. I used a softbox to get some nice, soft light on their face. Positioned it to the side, feathered it a bit. Metered that carefully. I had to be super careful that this main light didn’t spill too much onto my super-bright background, and also that the super-bright background light didn’t wrap around my subject too much and make them look hazy.
The “Aha!” Moment (and some struggles)
After what felt like ages, I took a test shot. And BAM! The background was pretty darn white. Like, really white. My subject was well lit. It was close!
But there were still issues. Sometimes the edges of my subject would get a little bit… lost, or almost see-through, especially with hair. This was because the background was SO bright. I found that moving the subject even further from the background helped. Also, sometimes I’d add a tiny bit of rim light, like a gridded strip box from behind and to the side of the subject, just to help define their edges against that blazing white.

Another problem was flare. If my background lights were angled even slightly towards my camera lens, I’d get nasty flare. So, I had to be careful with positioning and sometimes used a lens hood or even a piece of cardboard to block stray light (a makeshift flag).
My camera settings were pretty standard for strobes: ISO 100, shutter speed at my camera’s sync speed (like 1/160s or 1/200s), and then I adjusted my aperture based on the power of my main light on the subject, usually somewhere around f/5.6 to f/8 for a decent depth of field.
Finally Nailing It
The trick really was getting that background independently lit and overexposed to oblivion, while keeping the subject perfectly exposed. Checking the histogram on my camera was crucial. The right side of the histogram (the highlights) for the background needed to be slammed all the way to the edge, totally clipped. But for the subject, their skin tones needed to be in the right place, not blown out.
Once I got that balance, it was magic. The white paper just vanished. No edges, no texture, just pure white space. It felt good, man.
A little bit of cleanup in post-production, like making sure the white floor sweep was perfectly clean and uniformly white if there were any scuffs, but most of the work was done in camera. And that’s always the best feeling.

What I Learned From This Whole Thing
So, yeah, it wasn’t as simple as just pointing a camera at someone in front of a white thing. Here’s the gist of my takeaways:
- You absolutely need to light the background separately from your subject.
- The background needs to be significantly brighter (overexposed) than your subject. Think 2-3 stops.
- Distance is your friend. Subject far from background, lights far enough to spread evenly.
- Use at least two lights for the background for evenness, unless it’s a very small area.
- Watch out for light spill from the background onto your subject, and from your subject light onto the background. Flags and grids can help.
- Meter everything. Don’t just guess.
It took a fair bit of trial and error, a lot of walking back and forth adjusting lights, but the end result was totally worth it. That clean, professional look is pretty sweet. So, if you’re thinking of trying it, go for it, but be prepared to fiddle around a bit. It’s a good learning experience!
")


")


