")
Alright, so I decided to finally give this split light portrait thing a go. You see it all over the place, looks kinda dramatic, and I figured, how hard can it be, right? Famous last words, as always with photography stuff for me.
Getting Started – Or Fumbling, Rather
So, I grabbed my one trusty speedlight – nothing fancy, just the basic one I’ve had for ages. Didn’t have a fancy studio, just my living room, cleared a bit of space. My buddy, let’s call him Alex, agreed to be the guinea pig. Poor guy, he’s patient.
First, I just plonked the light sort of to the side. I remembered reading somewhere it’s a “side lighting pattern” where you put the light “directly to one side of the subject’s face.” Seemed simple enough. First few shots? He looked like he was emerging from a cave, but only half of him. Or like he had a really bad sunburn on one side. Not quite the “moody and cool” I was aiming for.
The “Aha!” (Sort Of) Moment
I kept thinking about that “directly to the side” bit. So, I moved the lightstand. Then moved it again. And again. We’re talking tiny shuffles here. I practically had the light kissing his ear at one point. Alex was getting that glazed-over look models probably get after hour seven.
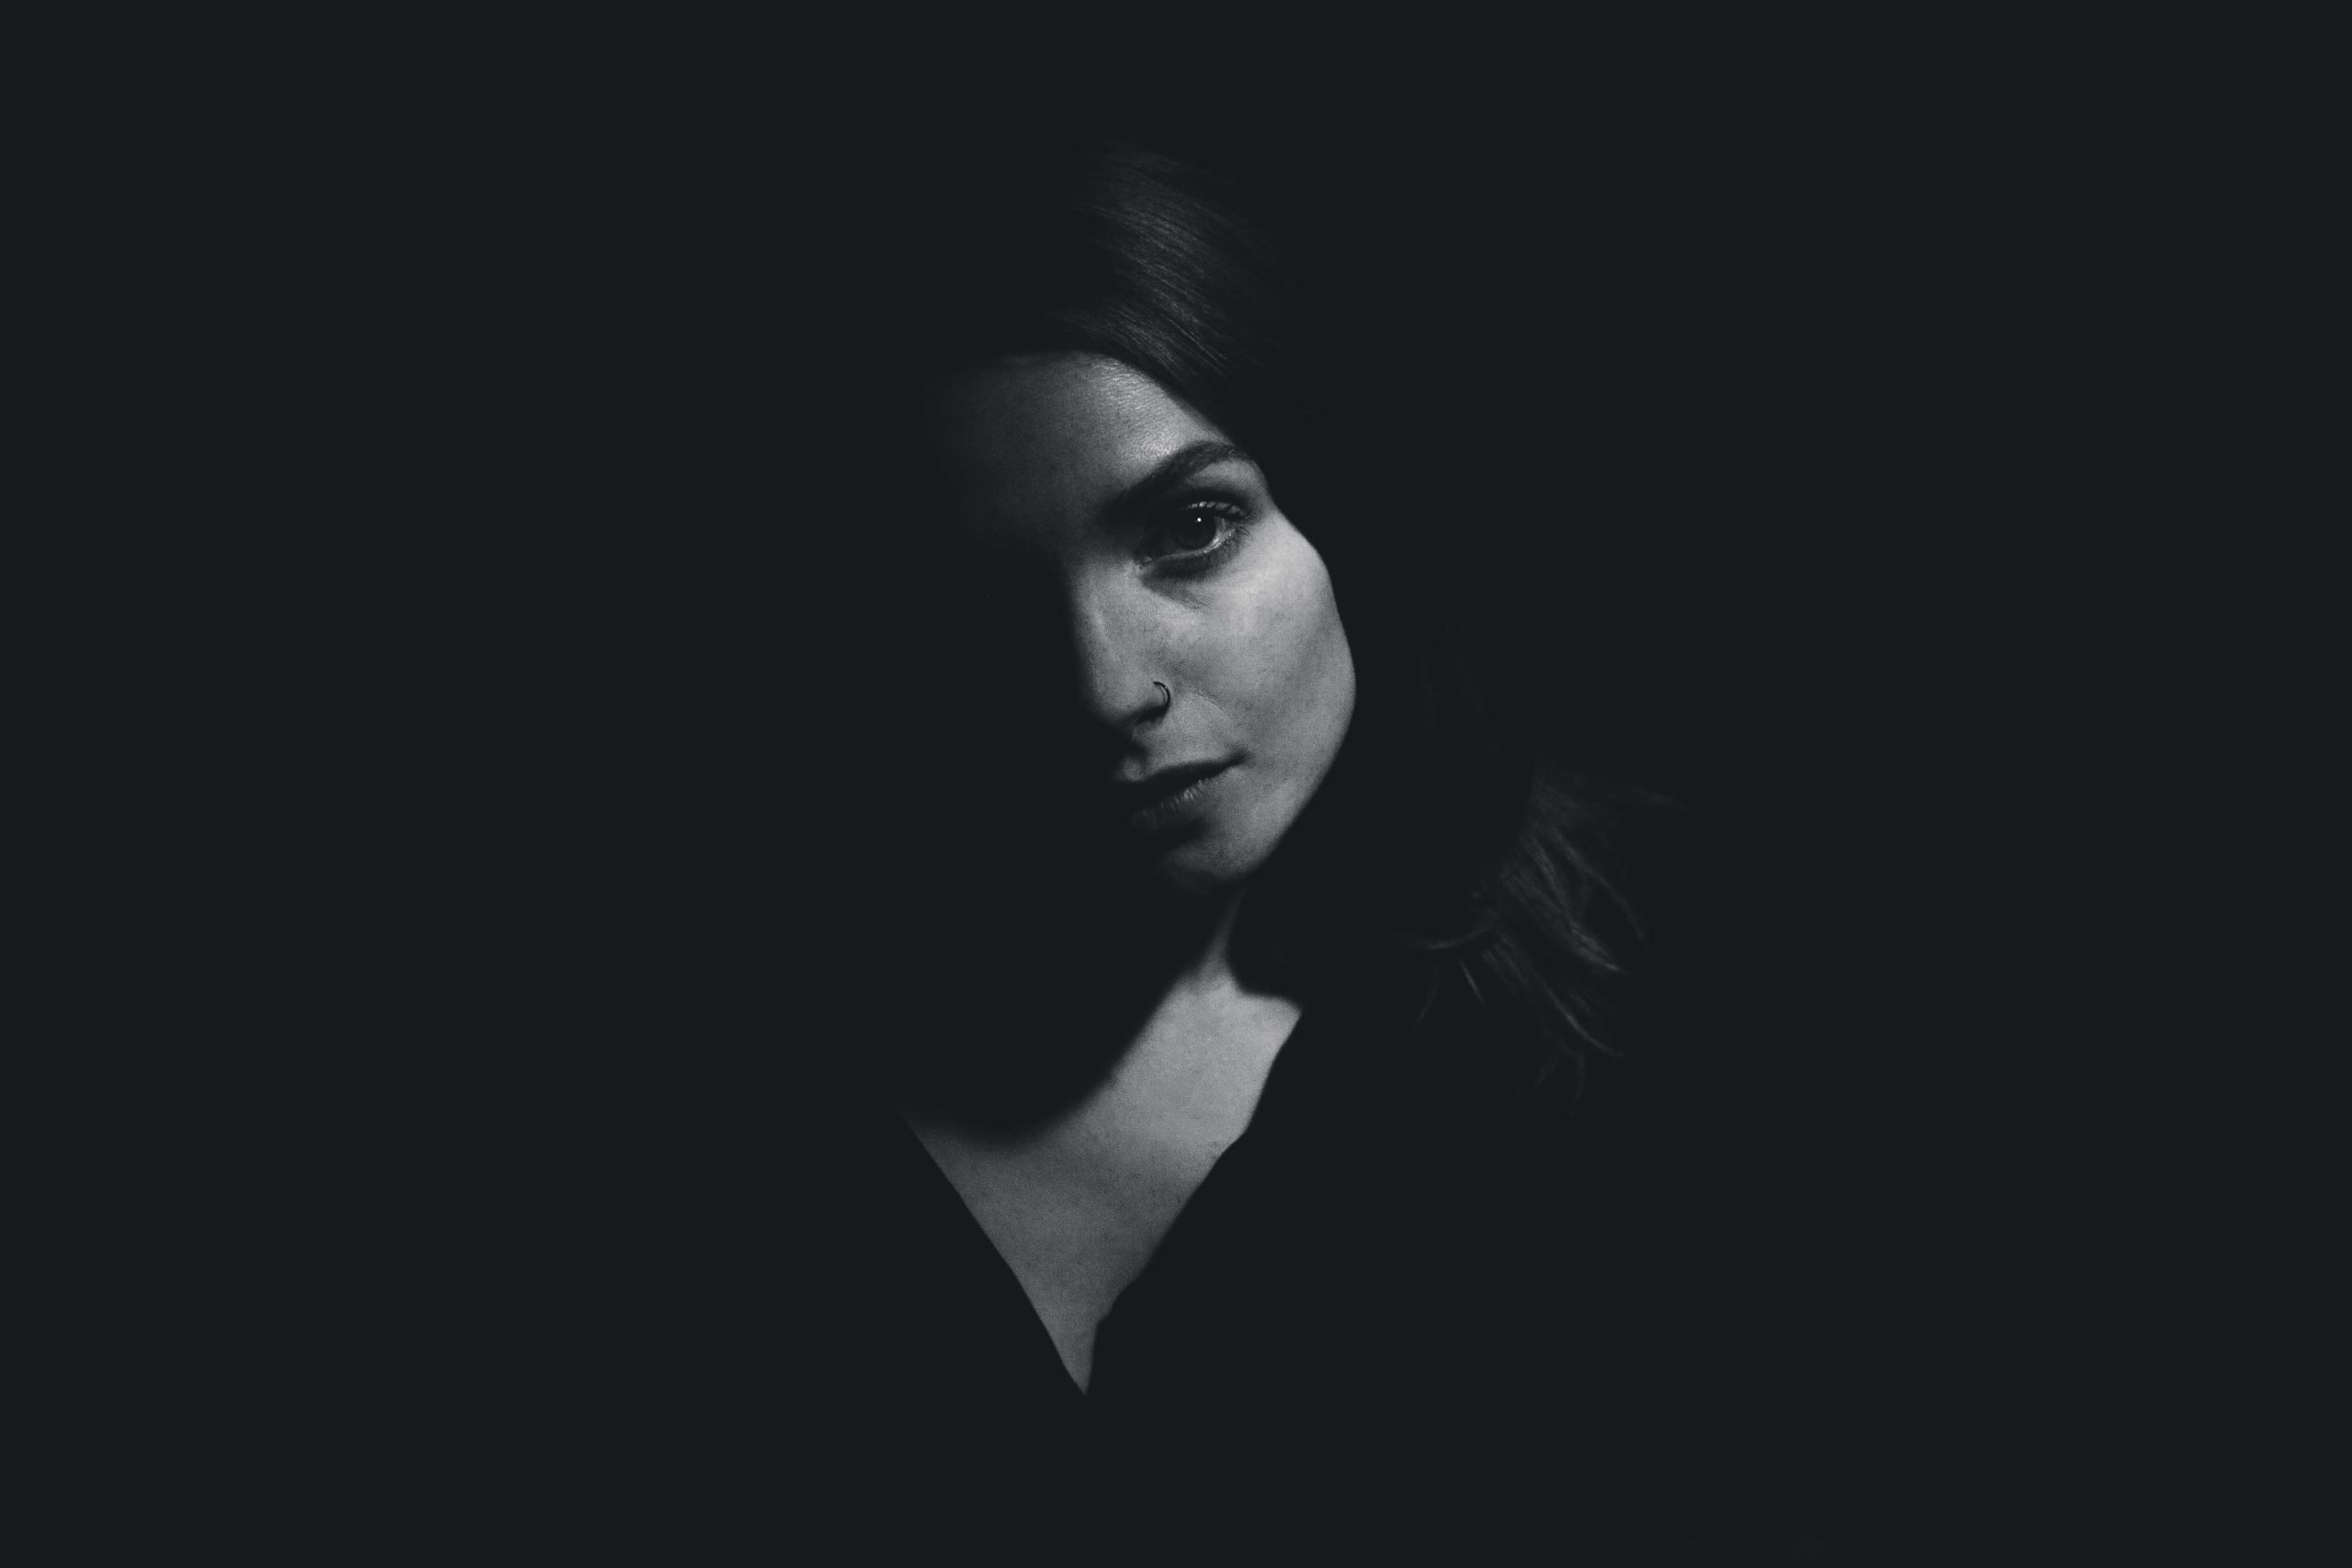
The key, I think, was getting it almost perfectly at a 90-degree angle to his face. Like, if he’s looking straight at the camera, the light is coming straight from the left or right, hitting just that one side. When I finally got it close to that, I started to see it. That distinct line right down the middle of his nose, one side of his face lit, the other falling into shadow. That’s the “split” they talk about, I guess.
Fiddling and More Fiddling
It wasn’t just about the angle, though. Oh no. Then came the power settings on the flash. Too bright, and the lit side was just a white blob. Too dim, and he looked like he was hiding in the dark. I must have taken fifty shots, each one a tiny bit different.
- Moved the light closer.
- Moved it further away.
- Tilted the flash head up, then down.
- Tried with the little diffuser cap, then without.
Honestly, it felt less like art and more like trying to tune an old radio, hoping to catch a clear signal. You just keep tweaking dials. My living room started looking like a mad scientist’s lab with wires and a single, blinking light.
What I Ended Up With
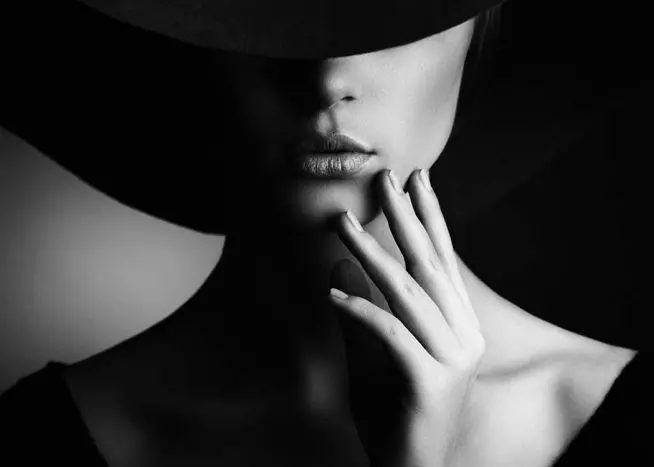
After a while, and Alex almost falling asleep, I got a few shots that were… okay. Decent, even. You could clearly see the split lighting effect. One half of his face had good detail, nice highlights, and the other half was all shadow and mystery. It definitely has a certain vibe to it, very different from just blasting someone with light from the front.
It’s a simple setup, really. One light. That’s it. No complicated reflectors or multiple strobes. I guess that’s the appeal. But simple in gear doesn’t always mean simple in execution. Getting that light just right took way more patience than I thought. You see these amazing portraits online and think they’ve got some secret sauce. Maybe the secret sauce is just a whole lot of tiny adjustments.
So yeah, that was my adventure into split lighting. Learned a bit. Got a couple of usable photos. And mostly confirmed that photography is 10% knowing what to do and 90% messing around until it looks right. Will I use it again? Probably. It’s a cool tool to have in the mental toolkit. Now, to convince someone else to sit still for an hour…
")


")


